14 - using cds, Using track at once – Teac DP-32 User Manual
Page 84
84
TASCAM DP-32
14 - Using CDs
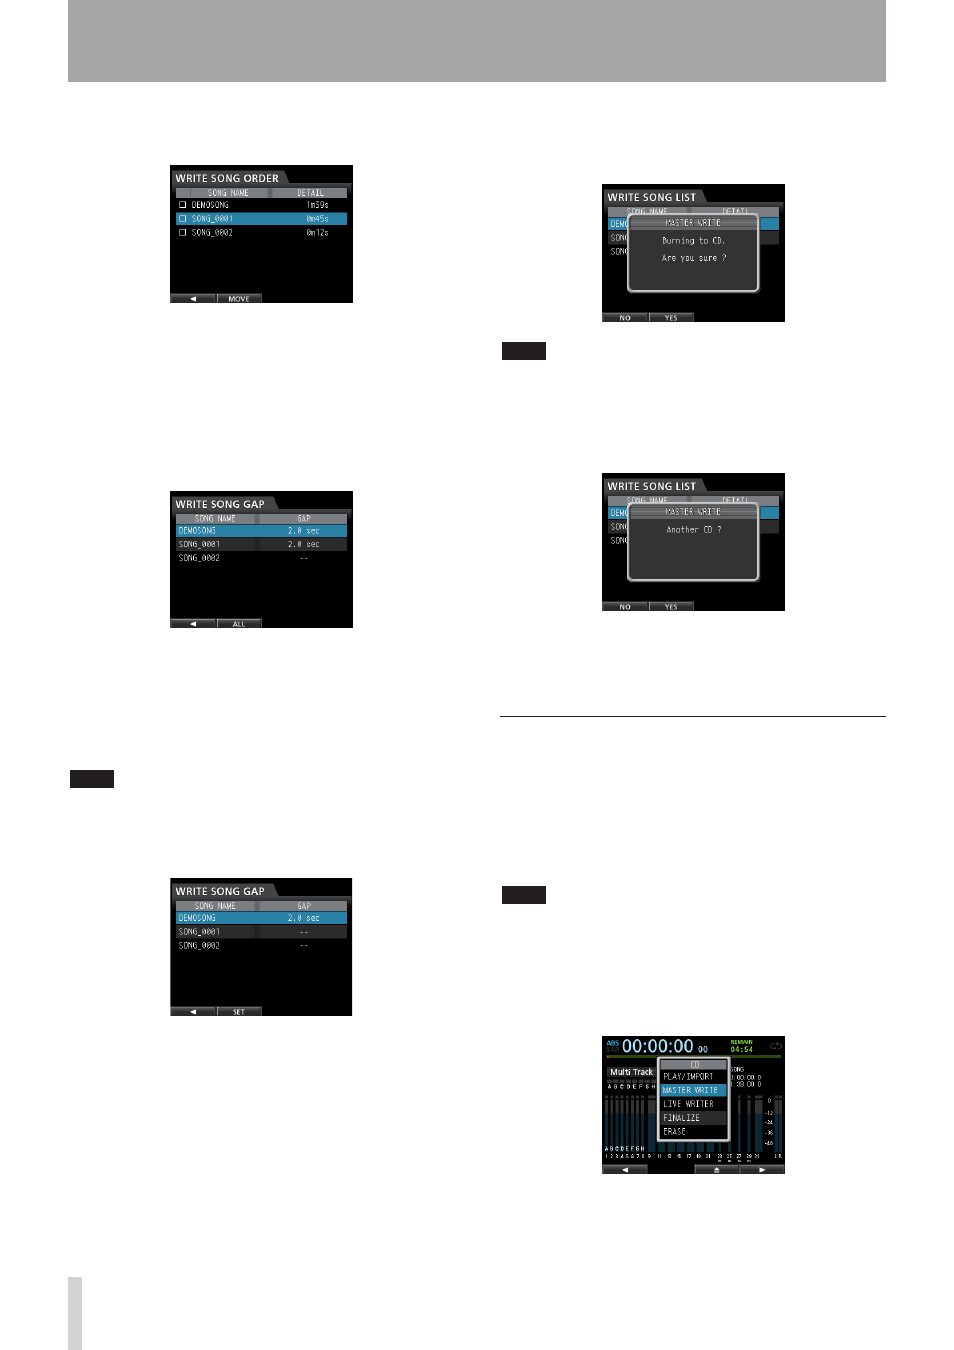
10. Use the JOG/DATA dial to change the song position.
Press the F2 (
SELECT
) button to confirm.
To change the order of multiple songs, repeat the
steps 9 and 10 above.
11. When the song order is as you want, press the
F1
(g) button to return to the
WRITE SONG LIST
screen.
12. To change the gap between the songs, press the F3
(
GAP
) button.
The
WRITE SONG GAP
screen opens.
13. Use the CURSOR (5/b) buttons to select (highlight
blue) the song for which you want to change the
length of the gap that follows it, and then use the
JOG/DATA dial to set the gap length.
The song gap can be set between 0.0 to 9.9 seconds,
in 0.1-second units.
NOTE
To change the gap between multiple songs, repeat step 13
above.
14. You can also press the F2 (
ALL
) button to set all
gaps at once.
Use the JOG/DATA dial to set the gap between the
songs.
Press F2 (
SET
) to confirm the setting and return to the
WRITE SONG GAP
screen.
15. Once you have completed setting the gap
lengths, press the
F1 (g)
button to return to the
WRITE SONG LIST
screen.
16.
After you have finished changing the song order
and song gap settings, press the
F4 (t) button.
17. When the confirmation message appears, press the
F2 (
YES
) button to confirm.
CD-R/CD-RW writing starts.
NOTE
If you want to cancel the writing, press the F1 (
NO
) button to
return to the
WRITE SONG LIST
screen.
18. When writing completes, a message appears
asking whether you want to write another CD-R/
CD-RW with the same contents.
If you want to burn another CD-R/CD-RW with the
same contents, press the F2 (
YES
) button. If you
do not want to burn another disc, press the F1 (
NO
)
button.
Using Track At Once
When using Track At Once, after one track is written, a
two-second gap is added after it.
1. When in
Multi Track
mode, press the CD button
to open the
CD
menu.
2. Place a blank CD (unused CD-R/CD-RW disc or a
completely erased CD-RW) on the disc tray.
NOTE
If you put a CD-R/CD-RW that has been used previously to
write tracks using Track At Once and has not been finalized,
you can add another track to it. In this case, no pop-up
window to confirm erasure of the CD-RW appears.
3. Use the JOG/DATA dial to select (highlight blue)
MASTER WRITE
and then press the F4 (t) button.