Installing backplanes, Installation – Grass Valley NV7512 v.1.3 User Manual
Page 51
NV7512 Audio Router • User’s Guide
41
2. Installation
Installing Backplanes
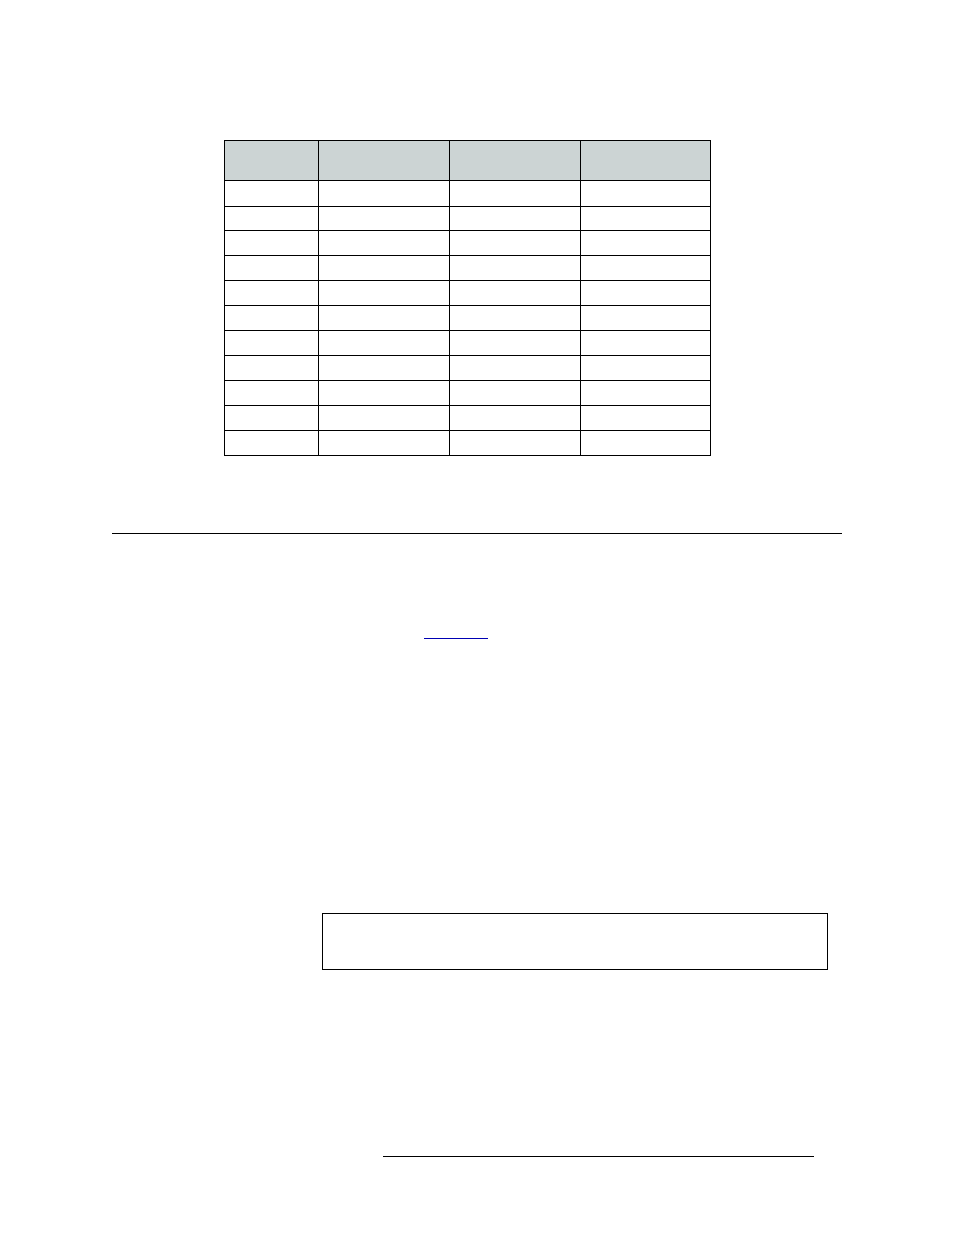
NC = No Connect
Installing Backplanes
The NV7512 features backplanes that correspond to different signal types. Backplanes are inserted
into empty slots in the back plate on the rear of the router. For a description of each backplane and
the type of signal managed, see
How to install a backplane
1 Viewing the router frame from the rear, remove the plate that currently exists in the slot into
which a backplane is being installed. Use a #1 Phillips screwdriver to loosen the spring-loaded
card retention screws.
2 Using the screws, grip the plate, gently pulling it free of the frame. Use care to avoid damaging
the connector pins.
3 Insert the new backplane into the frame, applying gentle pressure to the backplane to ensure the
connector is fully mated with the motherboard. Use a #1 Phillips screwdriver to tighten the two
spring-loaded card retention screws.
Be sure to align the backplane with the stamped metal guides in the frame. A single connector
at the top edge provides the electrical connection.
4 To maintain proper airflow for cooling make sure that any unused backplane slots are covered
with a plate.
4
TEMP4
TEMP4
TEMP8
3
TEMP5
NC
NC
2
TEMP6
NC
NC
10
TEMP7
NC
NC
9
TEMP8
NC
NC
11
GND
GND
GND
12
GND
GND
GND
13
GND
GND
GND
14
GND
GND
GND
25
GND
GND
GND
1
GND
GND
GND
DB25 Pin
NV6257 Connector
Router 1
Connector
Router 2
Connector
Note
Before placing the router into service, be sure to verify the quantity and loca-
tion of each backplane.