Making diagnostic connections, Temporarily connecting to uniconfig, Connections, see – Grass Valley NV7512 v.1.3 User Manual
Page 74: Reconfigured. see, Installation

64
Rev 1.3 • 10 Oct 08
2. Installation
Making Diagnostic Connections
Making Diagnostic Connections
The diagnostic connections enable the NV7512 to communicate with the UniConfig application.
UniConfig is installed on hardware (e.g., a PC), separate from the router, and is used to perform
system setup tasks, and configure and monitor the router. (See
on page 85.) For
information about using UniConfig, see the UniConfig User’s Guide.
There are two types of diagnostic connections: temporary and permanent. A temporary diagnostic
serial connection is located on the front of each control card. Permanent diagnostic serial connec-
tions are located on the rear of the router, labeled ‘DIAG’. For a detailed description of the diagnos-
tic connections, see
Temporarily Connecting to UniConfig
A temporary connection is created through the DE9 port located on the front of the primary control
card. (See
on page 20.) The settings for this connection are RS-232, DTE, 9600
baud, 8 data bits, no parity.
How to make a temporary diagnostic connection
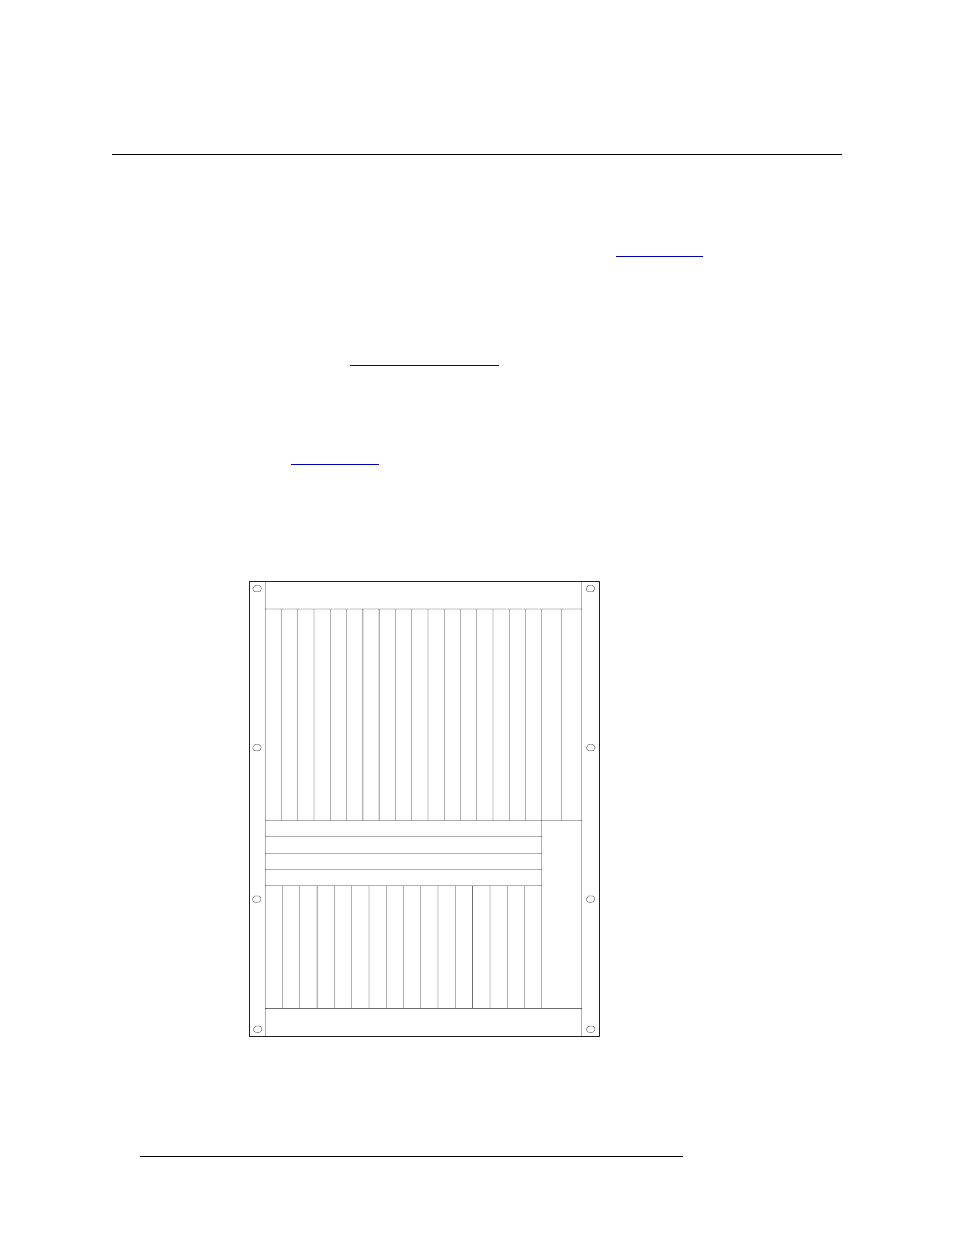
1 Locate the primary control card slot, as shown in Figure 2-26. When facing the front of the
router, the control cards are located in the upper, right-hand section.
Figure 2-26. Location of Primary Control Card (Front View)
Fan
Fan
Slot A - Crosspoint (Outputs 1-128)
Slot B - Crosspoint (Outputs 129-256)
Slot C - Crosspoint (Outputs 257-384)
Slot D - Crosspoint (Outputs 385-512)
Output
s 132
Output
s 33-64
Output
s 65-96
Output
s 97-128
Output
s 129-160
Output
s 161-192
Output
s 193-224
Output
s 225-256
Output
s 257-288
Output
s 289-320
Output
s 321-352
Output
s 353-384
Output
s 385-416
Output
s 417-448
Output
s 449-480
Output
s 481-512
Control Secondary
Control Primary
Input
s 132
Input
s 33-64
Input
s 65-96
Input
s 97-128
Input
s 129-160
Input
s 161-192
Input
s 193-224
Input
s 225-256
Input
s 257-288
Input
s 289-320
Input
s 321-352
Input
s 353-384
Input
s 385-416
Input
s 417-448
Input
s 449-480
Input
s 481-512
Fan
Monitor