Casio YA-W72M User Guide User Manual
Page 43
43
To select full-screen view or window view for a slideshow
In the Presentation Mode, you can select either full-screen view or window view for a slideshow. For
more information, see “Changing Presentation Mode Configuration Settings” (page 47).
Note that any time you change the view you will need to restart IWB for CASIO.
To end a slideshow in the Presentation Mode
In the lower right corner of the Presentation Mode toolbox, click the close (
) button
If you have written or drawn data into the PPG file or made other changes during the slideshow, a
dialog box will appear with the message, “Save presentation data before exiting?”.
– Click [Yes] to save. On the “Save As” dialog box that appears, specify a file name and storage
location and then click [Save].
– If you want to discard the changes without saving them, click [No].
Digital Pen Operations during a Slideshow (Presentation Mode)
This section provides brief explanations of the operations that can be performed with the digital pen
on the dot screen or on a printed document with special dot patterns. For details about each individual
operation, see “Tool Operations in the Presentation Mode and Capture & Draw Mode” (page 61).
Dot Screen Operations
You can use the digital pen to perform mouse click and drag operations on the dot screen.
In addition, you can click the Presentation Mode toolbox icons to perform the Presentation Mode
functions described in the table below.
z The term “page” in the table refers to the slideshow slide that is the target of the operation being
performed.
z The term “object” refers to content, a shape, or an image that has been added to a slideshow page
using an IWB for CASIO function.
z An asterisk (*) next to an icon indicates that the icon’s function can be performed from the
“Presentation Mode” operation palette on a printed document with special dot patterns.
z Only the
icon is a main toolbox icon.
To perform this mouse
operation:
Do this with the digital pen:
Click
Tap the dot screen once with the digital pen.
Drag
Hold the nib of the digital pen against the dot screen as you drag it from one location
to another.
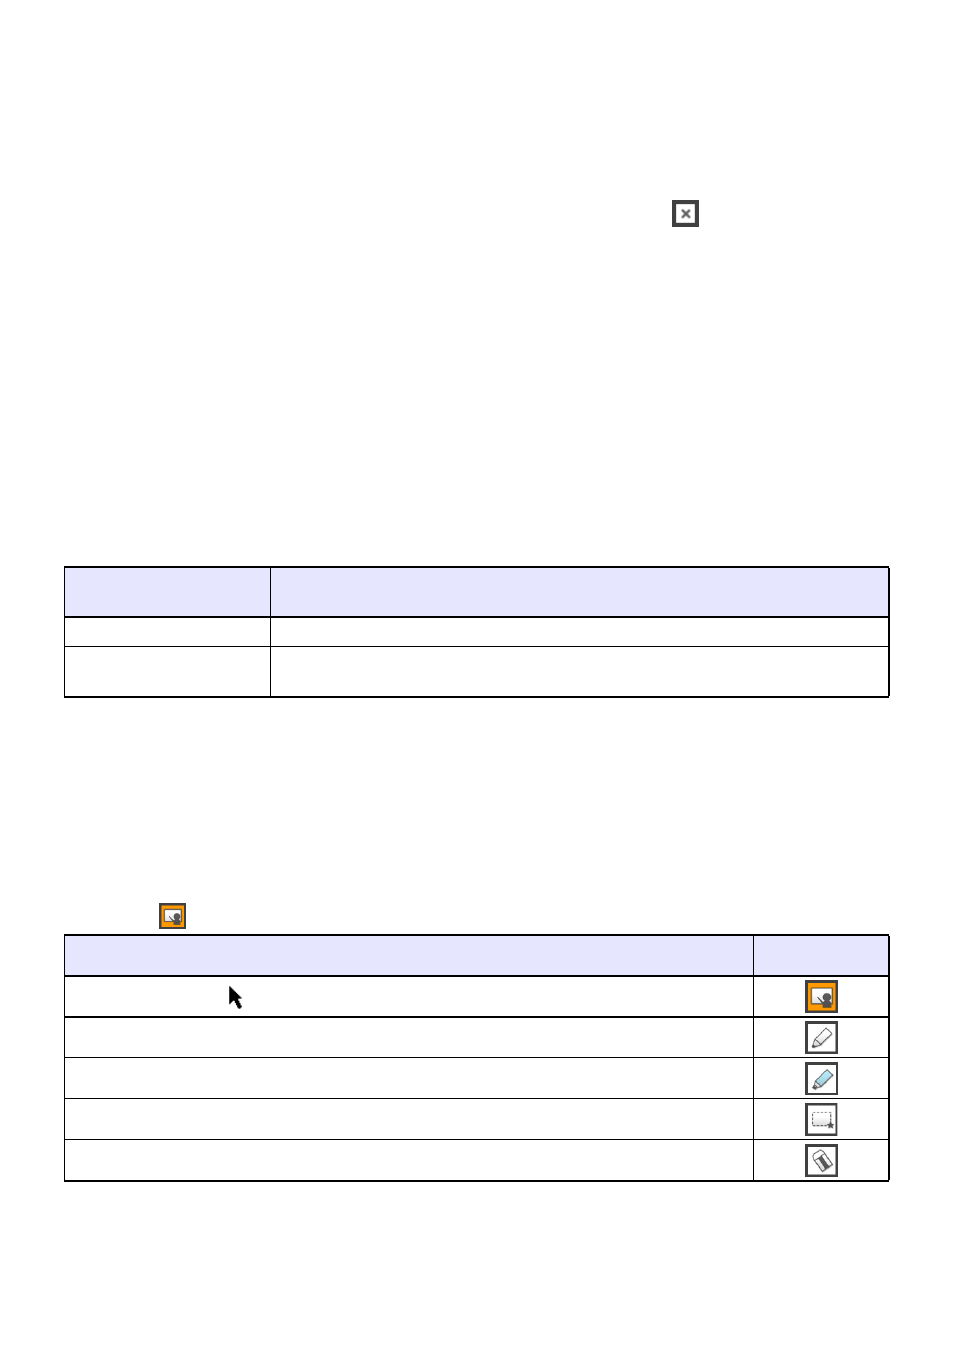
To do this:
Click this icon:
Select the Arrow tool
(which can be used to advance to the next page by clicking)
*
Select the Pen tool (for pen input on the page)
*
Select the Marker Pen tool (for marker input on the page)
*
Select the Selection tool (for selecting objects on the page)
Select the Eraser tool (for deleting objects from the page)
*