Casella CEL Software for the Microdust dust monitor User Manual
Page 22
6.
Allow a few seconds for auto-ranging and for the reading to stabilise.
If the reading does not stabilise, rapidly squeeze the bulb a further
5 or 6 times and try again.
7.
Once the reading is stable, press
.
The instrument will now set the reading to zero, ±1 digit.
If the reading is not within ±1 digit of zero, wait a few seconds then
press
again until it is.
When it is not possible for the instrument to zero itself on the
0 - 2.5 mg/m
!
range, a Contamination Warning message will be
displayed and a higher range selected. The 0 - 25 mg/m
!
range will
then become the lowest useable range until the probe is cleaned.
However, for accuracy and stability it is recommended that factory
cleaning take place.
8.
Once the instrument has been set to zero, ensure that the rubber cap
is re-fitted to the purge inlet.
9.
Select Set Span from the Calibration menu, so that the factory
calibrated span can be checked.
The basic span (or sensitivity*) of the instrument and probe is set
at the factory using ISO (Fine 12103-1 A2) calibration dust.
Enter
Enter
Note*:
All light scattering instruments can have some sensitivity to a particulates
refractive index, size, shape and colour. The MicroDust pro uses a narrow
forward scattering angle to minimise these effects, but for optimum
calibration to a specific dust type, gravimetric calibration may be required.
This is described under calibration for a specific dust type in Section 2.3.2.
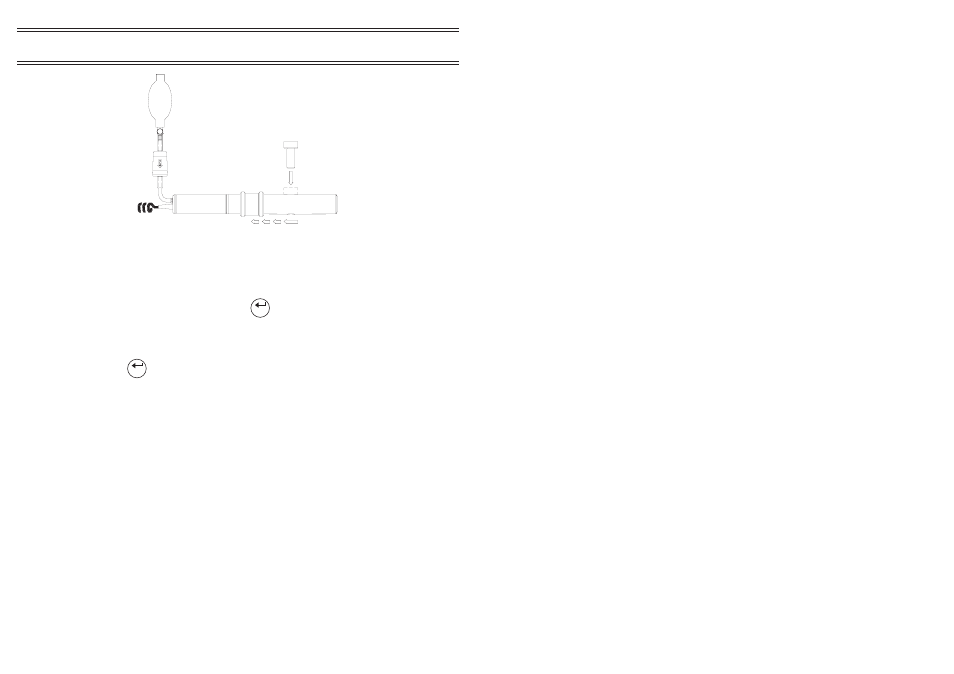
Purge Bellows
Calibration
Filter
00023
Figure 12: Inserting the Calibration Filter
Page 22 of 60
Operation
MICRODUST pro Aerosol Monitoring System &
WINDUST pro Application Software - Handbook