Casella CEL Software for the Microdust dust monitor User Manual
Page 26
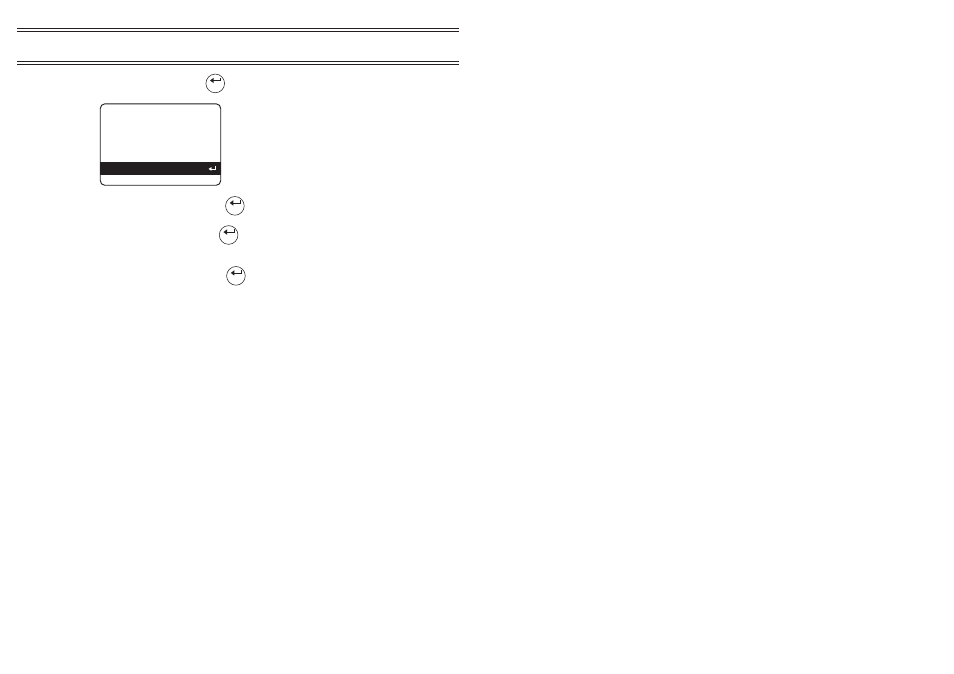
5.
Select set and press
.
6.
Select Set Name and press
.
7.
Edit the name, then press
to store the new name and return to
the Set Dust Parameters screen.
8.
Select Set Factor and press
.
9.
Set the correction factor according to your calculation (Section 2.3.2).
10.
When the instrument is used to measure this particular type of dust,
load the appropriate type from the Dust Name screen so that the
correction factor is applied automatically to the measured values.
2.4
Measurement
Before carrying out measurement, check the zero and span as described in
Section 2.3.1, calculate and apply a dust correction (Sections 2.3.2 and 2.3.3)
and select an Averaging Time and Range appropriate to the monitoring
application (Section 2.2.3).
With the measurement chamber aperture exposed, slowly move the probe
through the aerosol or rely on natural air movement. Measurements can be
taken with the probe either clipped to or unclipped from the display unit. For
static monitoring applications the use of an aspirator system is preferred
(refer to the Sampling Accessories sections in Chapter 4).
Any dust deposited on the surface of optical components should be blown
clear. To prolong the serviceable life of the instrument, it is recommended
that this operation be performed before and after each use.
In addition to the basic real time dust indication, the MicroDust pro is able to
calculate and display other useful data values as follows.
2.4.1 Maximum Value (Max.)
This value represents the maximum dust concentration that has occurred in
any one second period since the instrument was switched ON, reset
Enter
S E T D U S T PA R A M E T E R S
D u s t : S I T E 4
F a c t o r : 1 . Ø Ø Ø
S e t F a c t o r :
S e t N a m e :
MP27
Enter
Enter
Enter
Page 26 of 60
Operation
MICRODUST pro Aerosol Monitoring System &
WINDUST pro Application Software - Handbook