Bottom right-hand button cluster, Baseline, Undo – Baby Lock ProStitcher Version 14.04.0051 (BLPS2) Instruction and Reference Guide User Manual
Page 29: Redo, History
Pro-Stitcher User Manual
5.2 Design Menu
Bottom Right-Hand Button Cluster
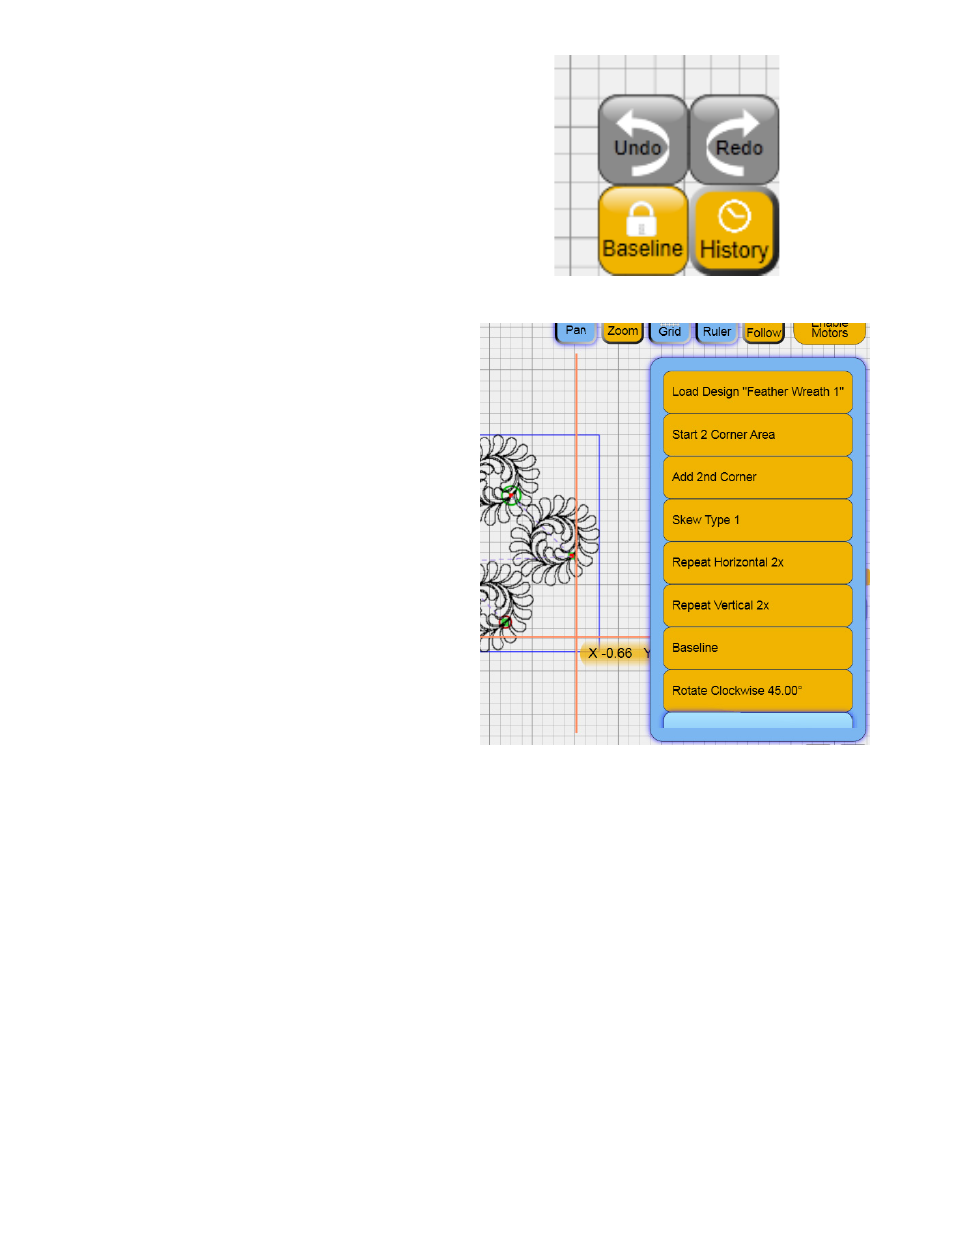
The four buttons in the bottom right-hand corner
of the Design screens help to keep track of changes
made to the design (Figure 5.2).
Undo
Press the Undo button to undo the last function
performed.
Redo
The Redo button will be grayed out until the Undo
button has been pressed. Redo will redo the last
function that was undone.
History
Press the History button to show a list of all the
functions that have been performed since opening
a design (Figure 5.3). The list may be dragged up or
down to reveal more of the history. The item at the
top of the list is the first function performed and
the item at the bottom of the list is the last function.
Press any of the history items to return the design to
the state it was when that function was performed.
Baseline
It is important to understand the Baseline feature
because the Pro-Stitcher software allows for a lot
of flexibility in the design process. For example, a
design can be forced to skew within an area and
then that same design can be rotated and as it
rotates, it continues to skew to keep it within the
area. This is because each function that is performed
is reprocessed and reapplied when the next function
is performed.
If there comes a point in the design process that the
quilter wants to freeze the design as it is and have
the software treat it as a new design, simply press
the Baseline button. All rotations, repeats, resizing,
cropping, etc. are frozen in their current state and
the design can then be treated as a new unaltered
design.
One useful situation for using the Baseline function
is marking a quilt with multiple identical blocks.
Mark the area of the first block, fit the design to
the block using Skew or other functions, and then
baseline the design. Now the Area can be cleared
and the design will maintain its shape. It can be
repositioned to the other blocks throughout
the quilt.
Another case for using Baseline may be when a
quilter wants to crop multiple shapes from a design.
The first area is marked and cropped, followed by
selecting Baseline. Then clear the area and create a
new area in another location for cropping. Continue
marking and cropping the regions desired, followed
by selecting Baseline after each crop to create
multiple cropped regions in a design.
Figure 5.2
Figure 5.3