Basler Electric BE1-700 Modbus Protocol User Manual
Page 17
9376700991 Rev D
BE1-700 Modbus™ Protocol
1-7
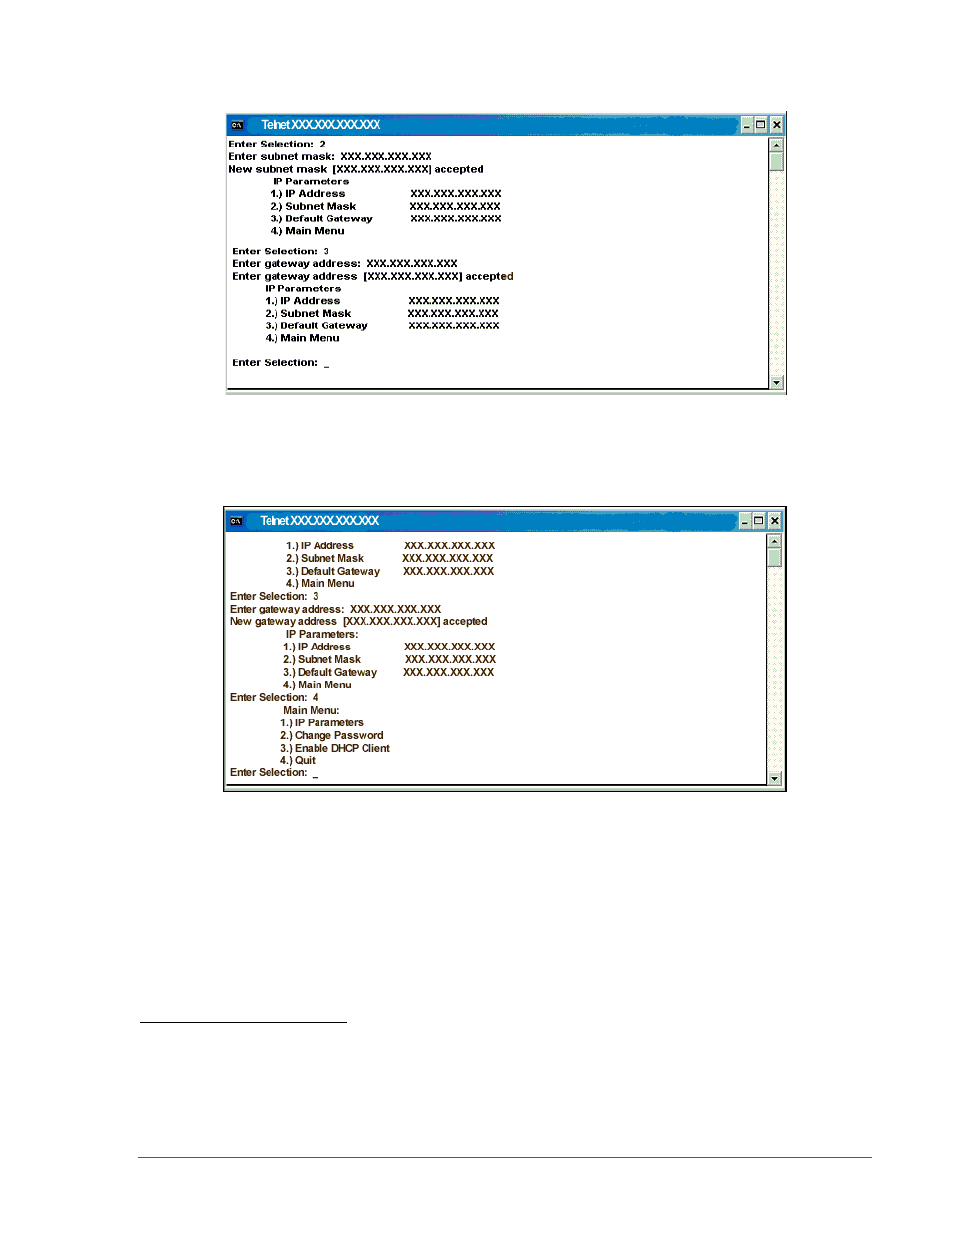
Type 3 and press the Enter key. See Figure 1-8. Then type the
Default Gateway address for the BE1-
700 and press the Enter key.
Figure 1-8. DOS Configuration Utility Screen – Enter Default Gateway
Type 4 and press the Enter key. After a few seconds a screen similar to the one shown in Figure 1-9 will
appear.
Figure 1-9. DOS Configuration Utility Screen – Return to Main Menu
At this time, the screen refreshes with the new IP parameters. The information that was changed is saved
but it will take a few seconds for the save operation to complete. Also, from the Main Menu, the user is
encouraged to change the password from the default value.
To quit and exit the DOS window, type 4 and press the Enter key or click the X in the upper right hand
corner of the screen. In order to finish the IP setting procedure, it will be necessary to cycle the relay
power. This resets the parameters. Once this is completed, as a self-check, wait about 90 seconds and
run the Discovery program again to verify that the IP parameters are correct. Then exit the configuration
utility program. The relay is now ready to communicate with the PC.
This protocol assigns a dynamic IP addresses to devices on a network. With dynamic addressing, a
device can have a different IP address every time it connects to the network. Since this may not be
desirable within a company’s local area network, the IP address may have to be set statically. That is,
DHCP will have to be disabled and a permanent IP assigned as previously discussed. Previously shown
figures will be referenced in the following discussion on enabling the DHCP.
Verifying or Setting the DHCP