Lwd-2400, Hapter, Dvanced – Leprecon Litescape dimmer User Manual
Page 44: Peration of the, Cue stack operations
Litescape User’s Manual, Page 28
C
HAPTER
12: A
DVANCED
O
PERATION OF THE
LWD-2400
Cue Stack Operations
The LWD-2400 contains a programmable 100-step cue stack. Various parameters are programmable for
each step, including fade time, delay time, next-step link, and channel output level for all 48 channels. In
addition, the cue stack can be triggered by time of day or level on a specified DMX input channel.
The following tutorial shows how to initialize the stack, record a three-step cue stack, run the stack, stop
and edit a step, snapshot from DMX and then restart the stack.
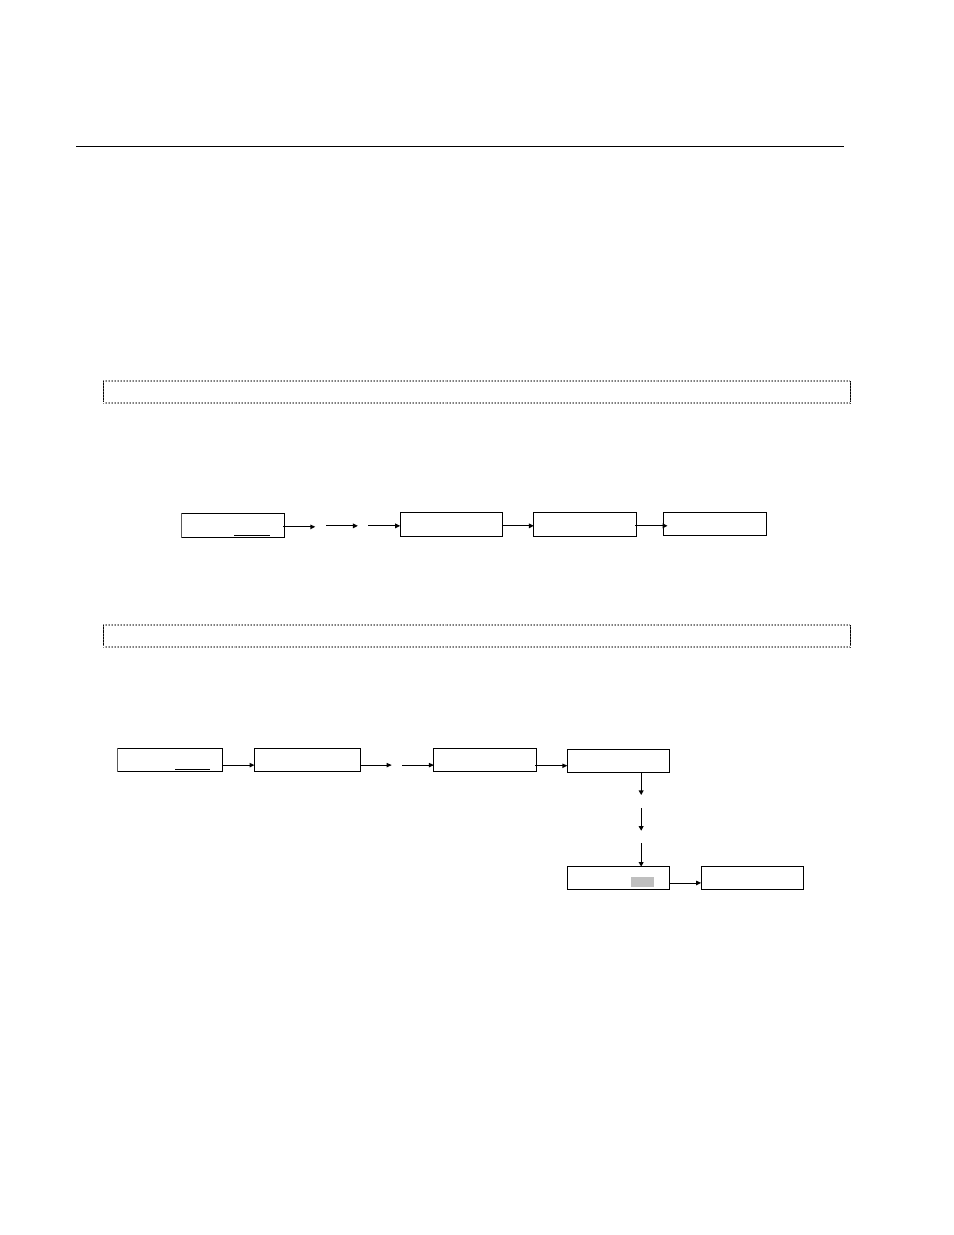
Clearing the Cue Stack
In the
MAIN MENU, navigate to the “system” sub-menu choice and press ENTER. Press NEXT until the
CLEAR SCENES sub-menu appear, then press ENTER twice. All stack steps should be initialized the
default values.
MAIN MENU
status system
ENTER
NEXT
CLEAR SCENES? >
(ENT = Yes)
ENTER
CLEAR SCENES? >
(ENT again)
NEXT
ENTER
CLEAR SCENES? >
(..DONE.. )
Clearing the Cue Stack
Programming a Three Step Cue Stack
In the MAIN MENU, navigate to the
scenes sub-menu choice and press ENTER. SCENE STATUS
should be
off, now is 1 and nxt is 2. Press NEXT until the FADE time field is displayed. Modify the FADE
time field for SCENE 1 to “0:02” by pressing DOWN three times. The field “0:02” should be reverse
blinking; press
ENTER to accept the change and the field changes to an underline blink.
MAIN MENU
dimmers scenes
ENTER
SCENE STATUS:off
Now: 1 nxt: 2
NEXT
SCENE ACTION
1 view
NEXT
NEXT
SCENE FADE
1 0:05
DOWN
SCENE FADE
1 0:02
DOWN
DOWN
ENTER
SCENE FADE
1 0:02
NEXT
Programming Cue Action and Fade Time
Press NEXT and modify the
DELAY time field from “INF.” to “0:05” seconds by pressing UP 6 times.
Press
ENTER to accept the change. Proceed through the LINK select menu without modification and get
to the CHANNEL LEVEL sub menu. Press UP as required to change the level of channel 1 to 100%.
It is not necessary to press
ENTER to cause the change to be accepted. Also note that since the SCENE
ACTION field must be set to EDIT to accept any changes. If the ACTION had been set to view, no
editing is possible.
If the scene is ON, then the effect of the edit will be live, and reflected in the dimmer output. If the scene
is off, the edit will be ‘blind’, and the effects will not be visible until the scene is turned ON.