Replacement - installation, Installing printer, Replacement - installation -9 – Gasboy TopKAT PLUS User Manual
Page 65: Installing printer -9
MDE-5013C TopKAT™ PLUS Installation Manual · February 2015
Page 4-9
Replacement - Installation
Printer
Replacement - Installation
Following table lists the items required for the printer installation (see
No. Description
Part Number Quantity
1
Connector Screw MC1.5/6-STF-3.81 mm
813326106
1
2
Clamp Housing, Printer Module
814935500
1
3
Wing Screw M6 X 12
815200100
2
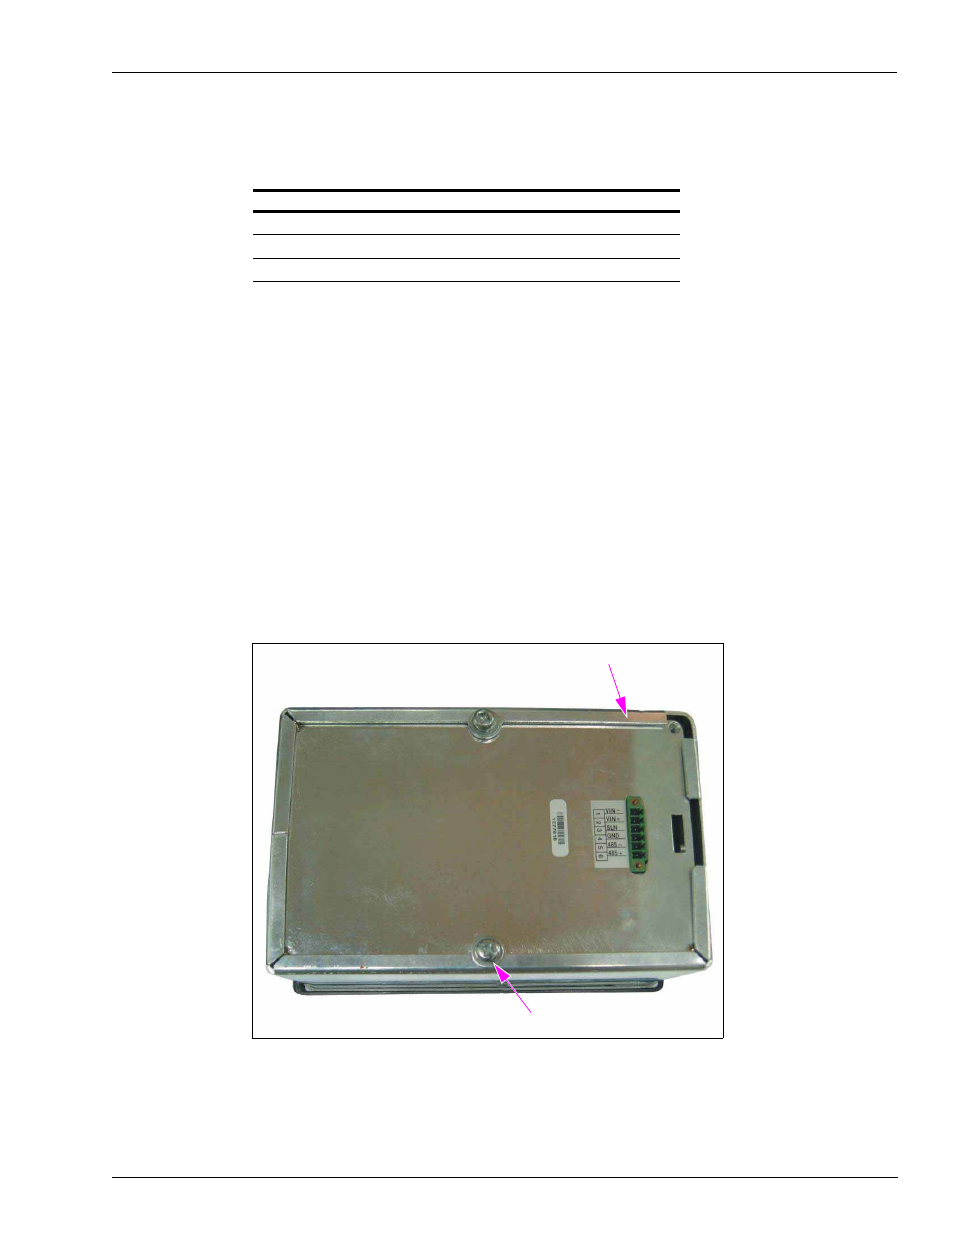
Installing Printer
To install the printer in the TopKAT PLUS dedicated aperture, proceed as follows:
1
Shut down any power source at the installation and working area.
2
Insert the printer into the designated aperture.
3
Secure the printer using the clamp housing, two flat washers, two spring washers, and two
wing screws as shown in the above table.
4
Prepare the power and communication cables to be connected as described in the following
paragraph.
Figure 4-10: Installation Clamp
Housing Clamp
Wing Screw