Using the menu, Choosing images individually selecting a range – Canon EOS M10 User Manual
Page 100
100
Before Use
Basic Guide
Advanced Guide
Camera Basics
Auto Mode /
Hybrid Auto Mode
Other Shooting Modes
Tv, Av, and M Mode
Playback Mode
Wi-Fi Functions
Setting Menu
Accessories
Appendix
Index
P Mode
3
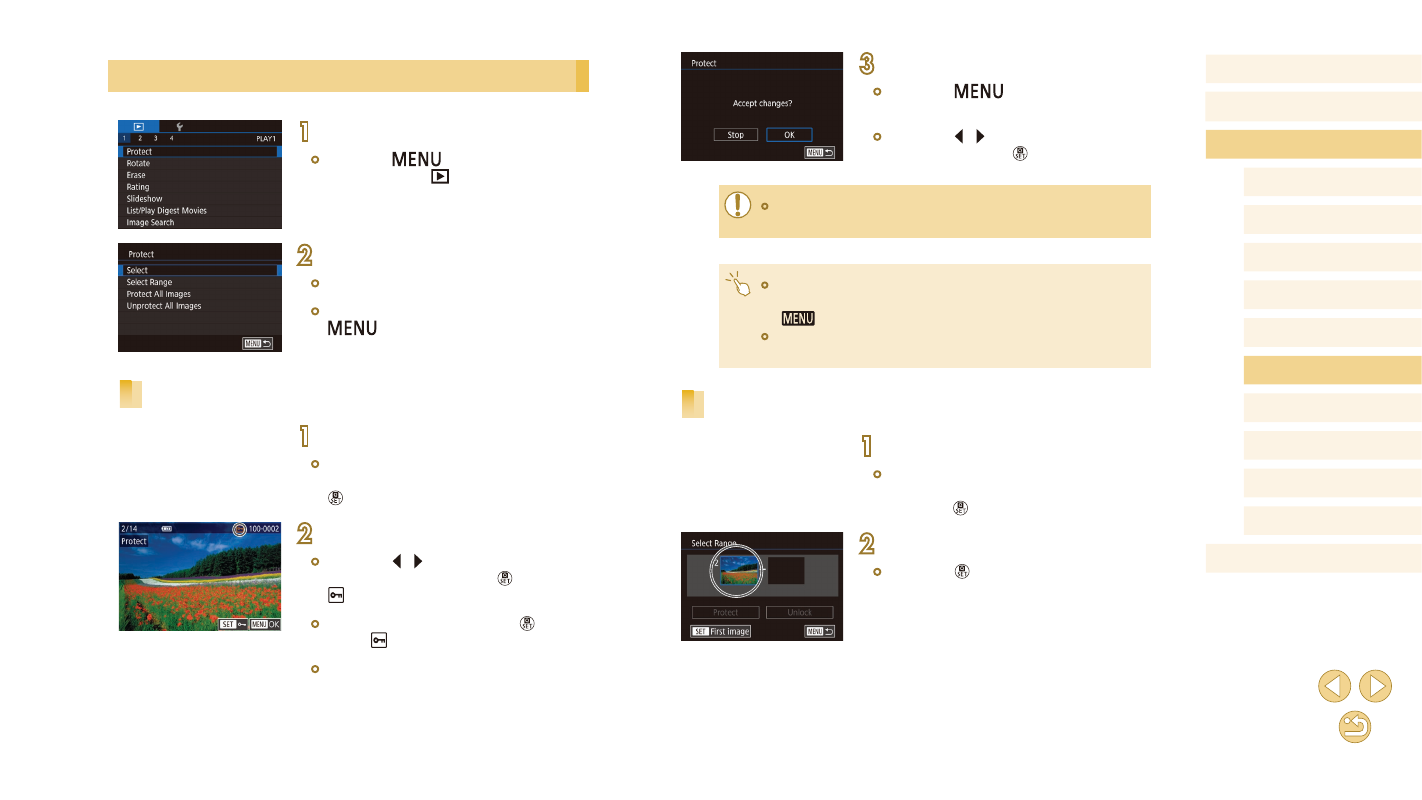
Protect the image.
●
Press the [
] button. A confirmation
message is displayed.
●
Press the [ ][ ] buttons to choose [OK],
and then press the [ ] button.
●
Images will not be protected if you switch to Shooting mode or
turn the camera off before finishing the setup process in step 3.
●
You can also select or clear images by touching the screen in
step 2, and you can access the confirmation screen by touching
[
].
●
You can also protect images by touching [OK] on the screen in
step 3.
Selecting a Range
1
Choose [Select Range].
●
Following step 2 in “Using the Menu”
(= 100), choose [Select Range] and
press the [ ] button.
2
Choose a starting image.
●
Press the [ ] button.
Using the Menu
1
Access the setting screen.
●
Press the [
] button and choose
[Protect] on the [
2
Choose a selection method.
●
Choose an option as desired (= 32).
●
To return to the menu screen, press the
[
] button.
Choosing Images Individually
1
Choose [Select].
●
Following step 2 in “Using the Menu”
(= 100), choose [Select] and press the
[ ] button.
2
Choose an image.
●
Press the [ ][ ] buttons to choose an
image, and then press the [ ] button.
[ ] is displayed.
●
To cancel selection, press the [ ] button
again. [ ] is no longer displayed.
●
Repeat this process to specify other
images.