Viewing – Canon EOS M10 User Manual
Page 26
26
Before Use
Basic Guide
Advanced Guide
Camera Basics
Auto Mode /
Hybrid Auto Mode
Other Shooting Modes
Tv, Av, and M Mode
Playback Mode
Wi-Fi Functions
Setting Menu
Accessories
Appendix
Index
P Mode
Viewing
After shooting images or movies, you can view them on the screen as
follows.
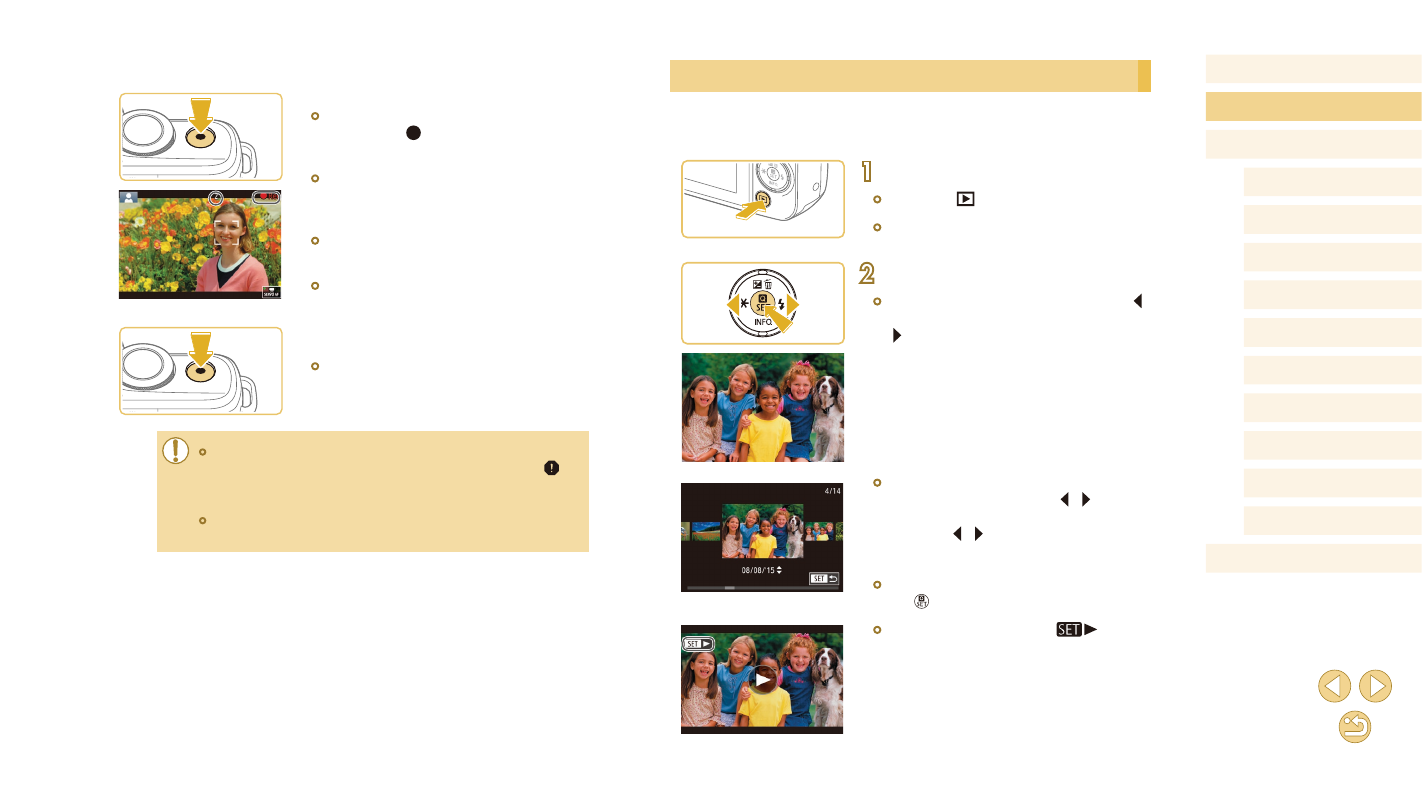
1
Enter Playback mode.
●
Press the [
] button.
●
Your last shot is displayed.
2
Choose images.
●
To view the previous image, press the [ ]
button. To view the next image, press the
[ ] button.
●
To access this screen (Scroll Display
mode), press and hold the [ ][ ] buttons
for at least one second. In this mode,
press the [ ][ ] buttons to browse
through images.
●
To return to single-image display, press
the [ ] button.
●
Movies are identified by a [
] icon.
To play movies, go to step 3.
Recording Movies
1) Start recording.
●
Press the movie button. Recording
begins, and [ Rec] is displayed with the
elapsed time.
●
Black bars displayed on the top and
bottom edges of the screen indicate
image areas not recorded.
●
Frames displayed around any detected
faces indicate that they are in focus.
●
Once recording begins, take your finger
off the movie button.
2) Finish recording.
●
To stop movie recording, press the movie
button again.
●
If the camera cannot focus on subjects when you press the
shutter button lightly, an orange AF frame is displayed with [
],
and no picture is taken if you press the shutter button all the way
down.
●
Once movie recording with a Dynamic IS-compatible lens begins
(= 80), the display area narrows and subjects are enlarged.