Applying filter effects correcting red-eye, 108) is only available when the, Correcting red-eye – Canon EOS M10 User Manual
Page 108: Applying filter effects
108
Before Use
Basic Guide
Advanced Guide
Camera Basics
Auto Mode /
Hybrid Auto Mode
Other Shooting Modes
Tv, Av, and M Mode
Playback Mode
Wi-Fi Functions
Setting Menu
Accessories
Appendix
Index
P Mode
●
[
]: To switch the orientation of the frame to vertical, press
the [ ][ ] buttons on the screen in step 2. To move the frame,
press the [ ][ ] buttons again. To return the frame to horizontal
orientation, press the [ ][ ] buttons.
●
The same operations are available by pressing the [
]
button and choosing [
2] tab > [Creative filters], choosing an
image, and pressing the [ ] button.
●
To cancel applying effects on the screen in step 1, choose [
].
●
You can also adjust the effect by touching or dragging the bar on
the bottom of the screen in step 2. For [
], you can also move
the frame by touching or dragging across the screen.
Correcting Red-Eye
Still Images
Movies
Automatically corrects images affected by red-eye. You can save the
corrected image as a separate file.
1
Choose [Red-Eye Correction].
●
Press the [
] button, and then
choose [Red-Eye Correction] on the [ 2]
2
Choose an image.
●
Press the [ ][ ] buttons to choose an
image.
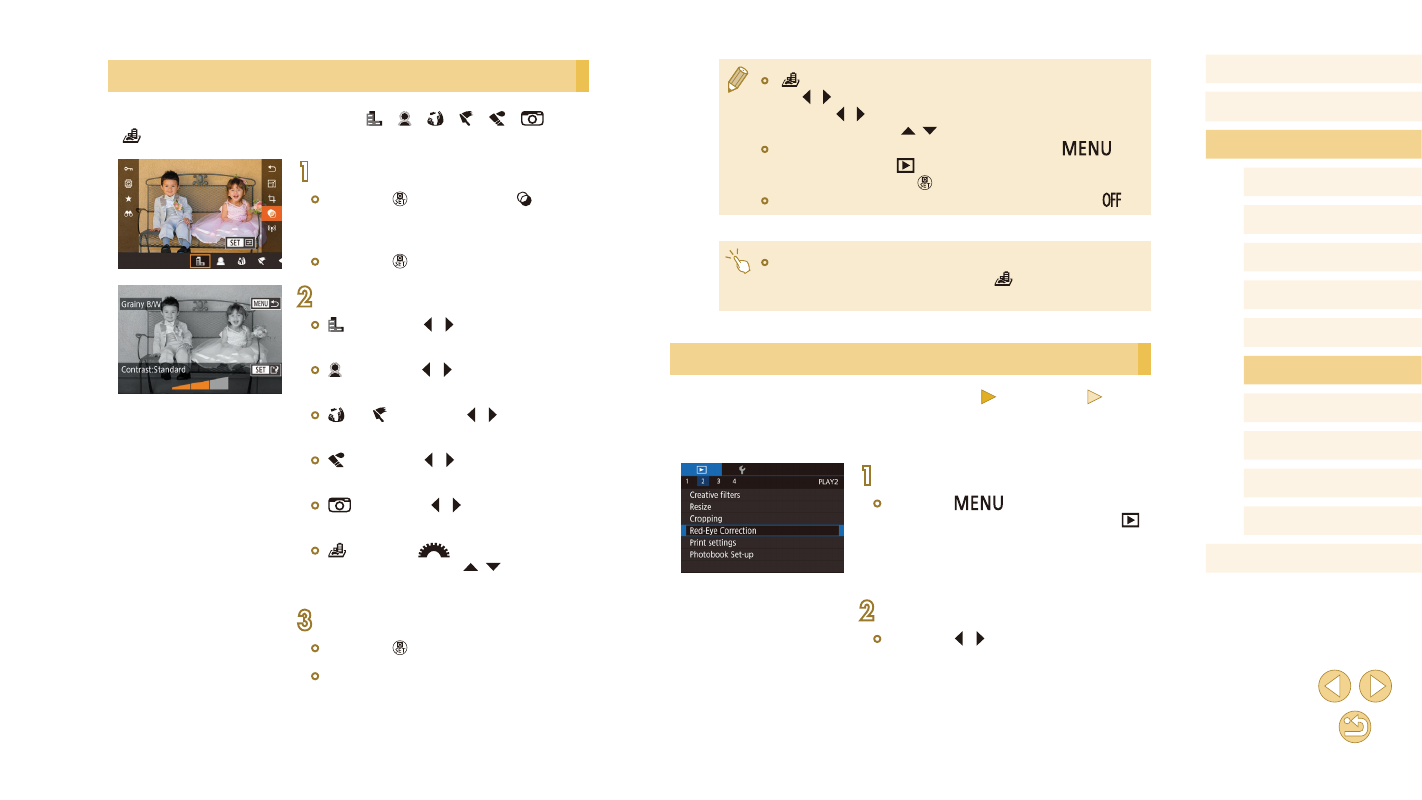
Applying Filter Effects
Apply effects equivalent to shooting in [ ], [ ], [ ], [ ], [ ], [
], and
[ ] modes to images and save them as separate images.
1
Choose an effect.
●
Press the [ ] button, choose [ ] in
the menu, and then choose the effect
●
Press the [ ] button.
2
Adjust the effect as needed.
●
[ ]: Press the [ ][ ] buttons to adjust
contrast.
●
[ ]: Press the [ ][ ] buttons to adjust
defocusing.
●
[ ] or [ ]: Press the [ ][ ] buttons to
adjust the level of the effect.
●
[ ]: Press the [ ][ ] buttons to adjust
color saturation.
●
[
]: Press the [ ][ ] buttons to adjust
color tone.
●
[ ]: Turn the [
] dial to resize the
frame, and press the [ ][ ] buttons to
move it.
3
Save as a new image and review.
●
Press the [ ] button.
●
Follow steps 2 – 3 in “Resizing Images”