Canon EOS M10 User Manual
Page 36
36
Before Use
Basic Guide
Advanced Guide
Camera Basics
Auto Mode /
Hybrid Auto Mode
Other Shooting Modes
Tv, Av, and M Mode
Playback Mode
Wi-Fi Functions
Setting Menu
Accessories
Appendix
Index
P Mode
Recording Movies
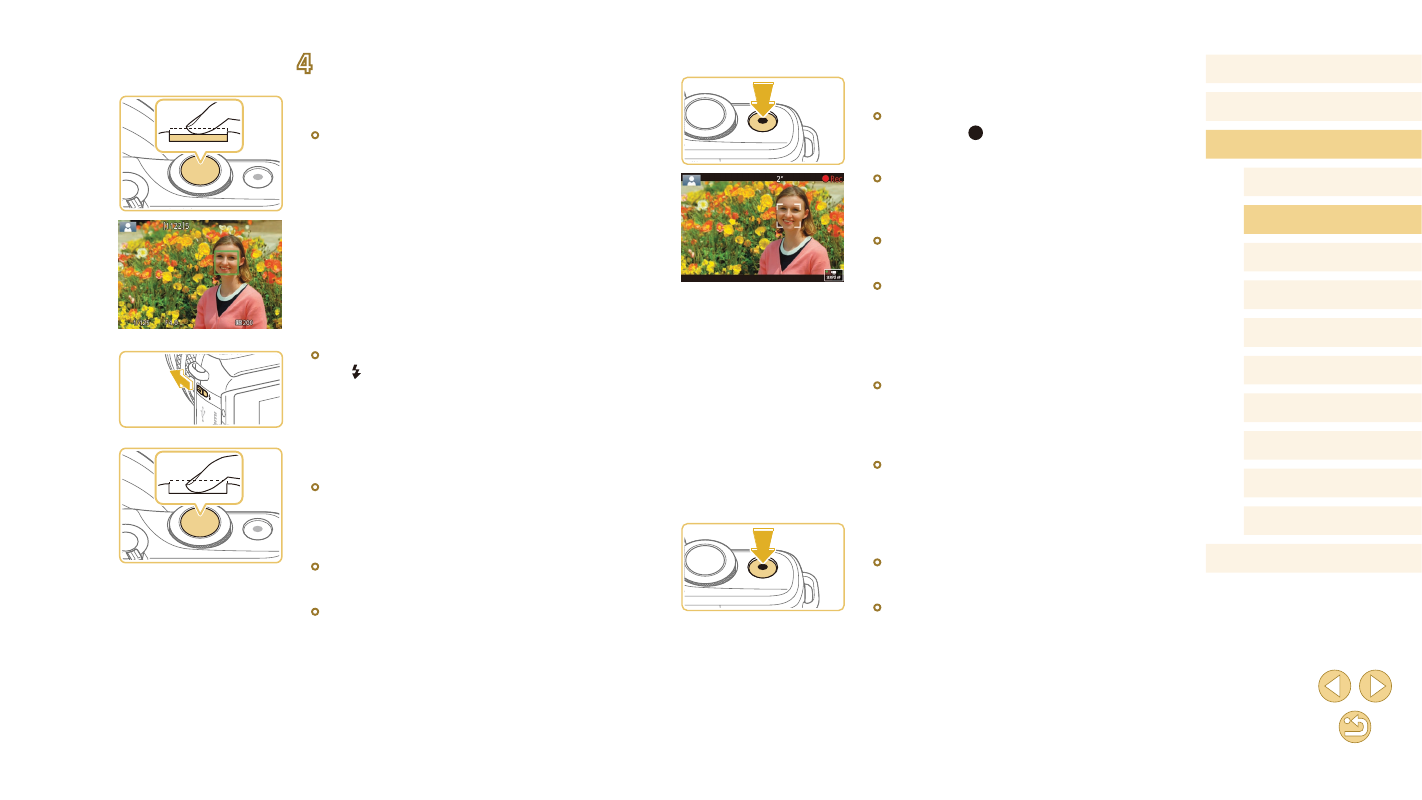
1) Start recording.
●
Press the movie button. Recording
begins, and [ Rec] is displayed with the
elapsed time.
●
Black bars displayed on the top and
bottom edges of the screen indicate
image areas not recorded.
●
Frames displayed around any detected
faces indicate that they are in focus.
●
Once recording begins, take your finger
off the movie button.
2) Resize the subject and recompose
the shot as needed.
●
To resize the subject, repeat the
operations in step 3.
However, note that the sound of camera
operations will be recorded.
●
When you recompose shots, the
focus, brightness, and colors will be
automatically adjusted.
3) Finish recording.
●
To stop movie recording, press the movie
button again.
●
Recording will stop automatically when
the memory card becomes full.
4
Shoot.
Shooting Still Images
1) Focus.
●
Press the shutter button halfway. The
camera beeps twice after focusing, and
AF frames are displayed to indicate
image areas in focus.
●
If [Raise the flash] is displayed, move
the [ ] switch to raise the flash. It will fire
when shooting. If you prefer not to use
the flash, push it down with your finger,
into the camera.
2) Shoot.
●
Press the shutter button all the way down
to shoot. (In low-light conditions, the flash
fires automatically when you have raised
it.)
●
Your shot remains displayed on the
screen for about two seconds.
●
Even while the shot is displayed, you can
take another shot by pressing the shutter
button again.