Switching display modes, Customizing the shooting information displayed – Canon EOS M10 User Manual
Page 93
93
Before Use
Basic Guide
Advanced Guide
Camera Basics
Auto Mode /
Hybrid Auto Mode
Other Shooting Modes
Tv, Av, and M Mode
Playback Mode
Wi-Fi Functions
Setting Menu
Accessories
Appendix
Index
P Mode
Switching Display Modes
Press the [ ] button in Playback mode to switch from “no info display” to
“info display 1” (basic info) to “info display 2” (details).
●
Switching display modes is not possible while the camera is
connected via Wi-Fi to devices other than printers.
Customizing the Shooting Information Displayed
Customize the information shown on each screen. For details on the
information available, see “During Playback” (= 168).
1
Access the setting screen.
●
Choose [Playback information display]
on the [
4] tab, and then press the [ ]
button.
2
Choose information to display.
●
Press the [ ][ ] buttons to choose
information to display, and then press the
[ ] button to add a [ ] mark.
●
To return to the menu screen, press the
[
] button.
●
An example of display with the options selected in step 2 is shown
at left for reference.
●
To display [
] mode setting details, add a [ ] mark to [Info
display 2]. This setting information, followed by [Info display 2],
will be displayed when you press the [ ] button.
●
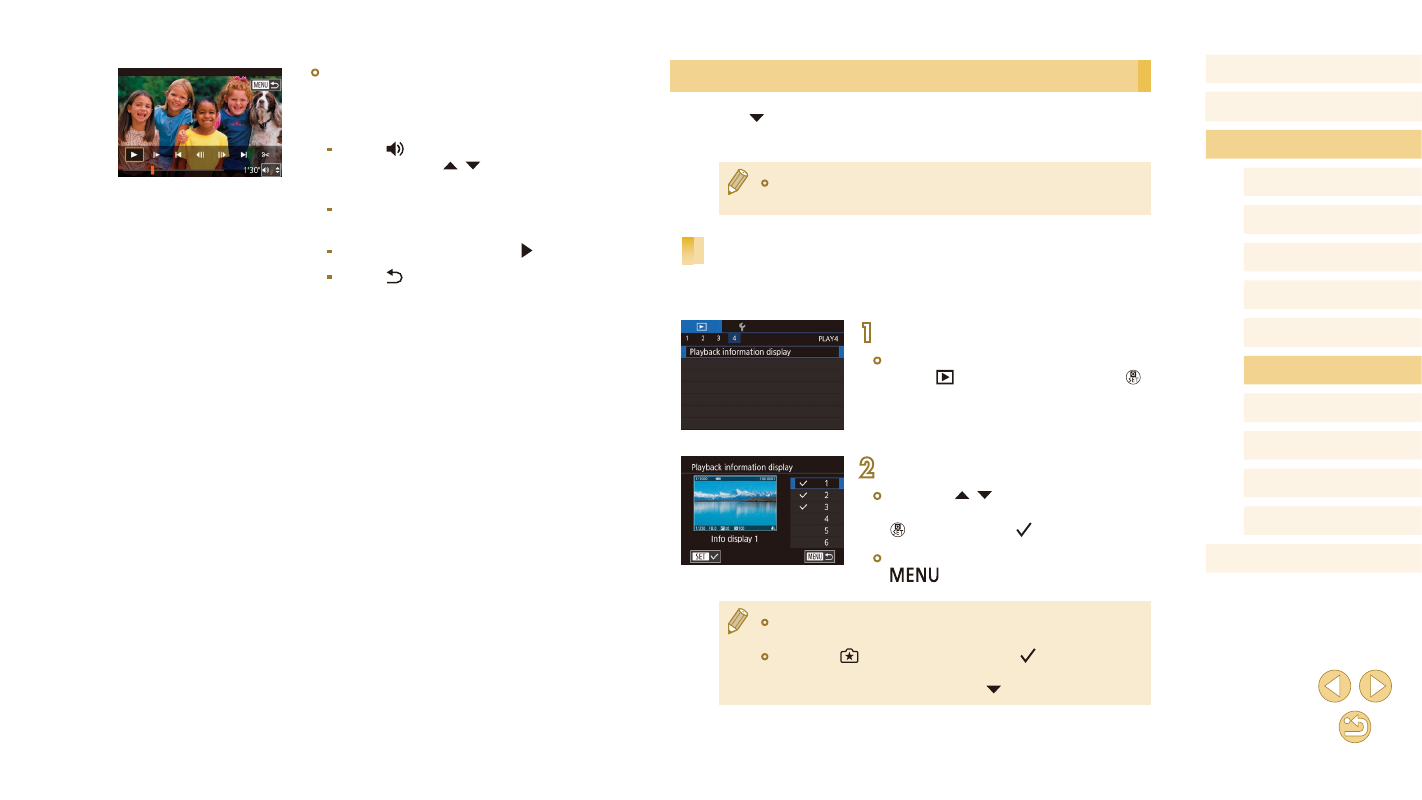
To stop movie playback, touch the
screen. The screen shown here is
displayed, and the camera is ready for
your next operation.
-
Touch [ ] to display the volume panel,
and then touch [ ][ ] to adjust the
volume.
-
To switch frames, touch the scrollbar or
drag left or right.
-
To resume playback, touch [ ].
-
Touch [ ] to return to the screen in
step 2 of “Viewing” (= 91).