Uploading images to web services – Canon EOS M10 User Manual
Page 124
124
Before Use
Basic Guide
Advanced Guide
Camera Basics
Auto Mode /
Hybrid Auto Mode
Other Shooting Modes
Tv, Av, and M Mode
Playback Mode
Wi-Fi Functions
Setting Menu
Accessories
Appendix
Index
P Mode
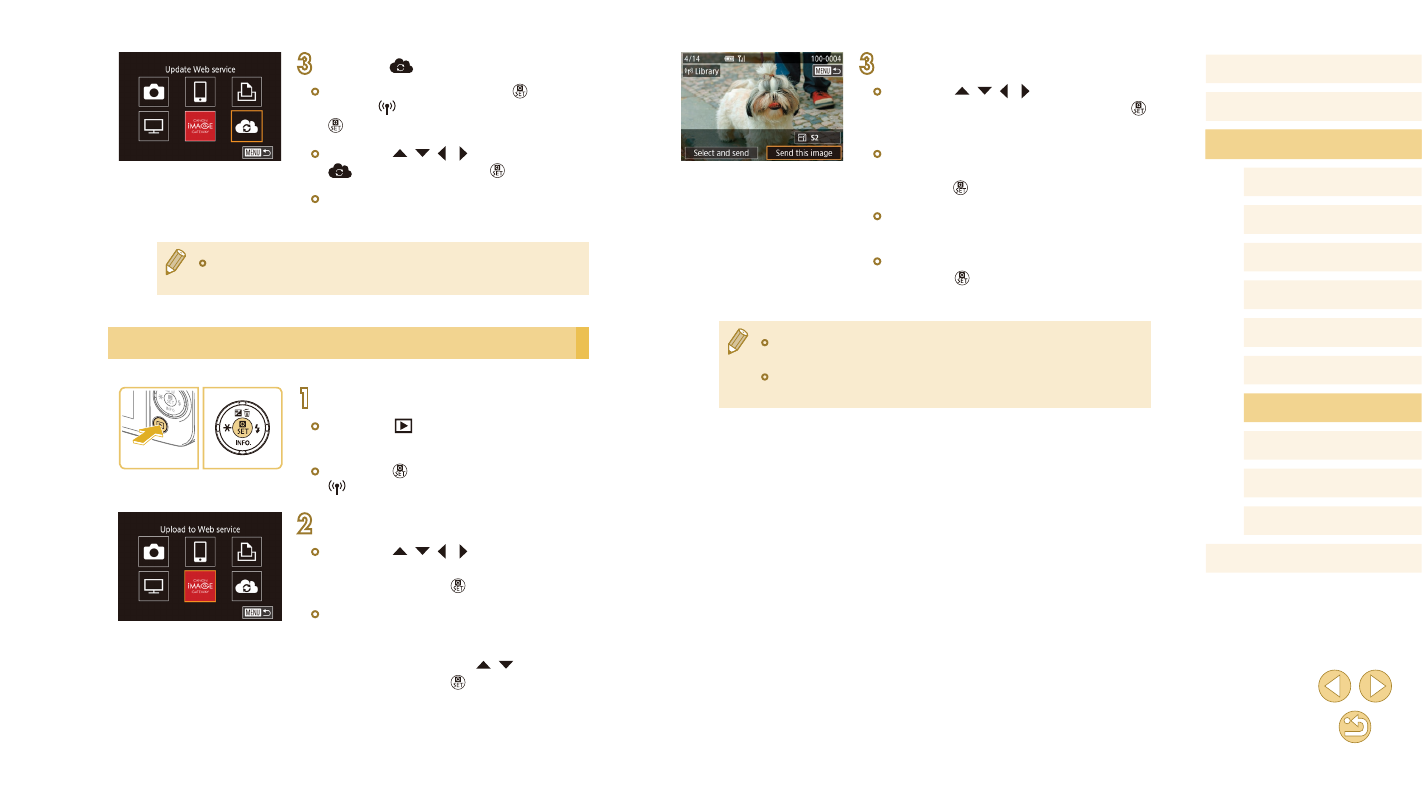
3
Send an image.
●
Press the [ ][ ][ ][ ] buttons to choose
[Send this image], and then press the [ ]
button.
●
When uploading to YouTube, read the
terms of service, choose [I Agree], and
press the [ ] button.
●
Image transfer will begin. The screen
darkens during image transfer.
●
After the image is sent, [OK] is displayed.
Press the [ ] button to return to the
playback screen.
●
Connections require that a memory card with saved images be in
the camera.
●
You can also send multiple images at once, resize images, and
add comments before sending (= 129).
3
Choose [
].
●
In Playback mode, press the [ ] button,
choose [ ] in the menu, and press the
[ ] button to access the Wi-Fi menu.
●
Press the [ ][ ][ ][ ] buttons to choose
[
], and then press the [ ] button.
●
The Web service settings are now
updated.
●
If any configured settings change, follow these steps again to
update the camera settings.
Uploading Images to Web Services
1
Access the Wi-Fi menu.
●
Press the [
] button to turn the camera
on.
●
Press the [ ] button, and then choose
2
Choose the destination.
●
Press the [ ][ ][ ][ ] buttons to choose
the icon of the Web service to connect to,
and then press the [ ] button.
●
If multiple recipients or sharing options
are used with a Web service, choose the
desired item on the [Select Recipient]
screen by pressing the [ ][ ] buttons,
and then press the [ ] button.