Getting started with cross triggering, Cross-triggering prerequisites, Getting started with cross triggering -96 – Altera SoC Embedded Design Suite User Manual
Page 115: Cross-triggering prerequisites -96
Getting Started with Cross Triggering
The Altera SoC offers powerful cross-triggering capability between the HPS and the FPGA fabric. The
HPS can trigger the FPGA and also the FPGA can trigger the HPS.
ARM has updated the DS-5 tool specifically for Altera to enable this SoC capability to be easily used.
This section presents an example of how cross-triggering can be used.
The Golden Hardware Reference Design (GHRD) contains the necessary instrumentation to be able to
use Quartus Signal Tap II tool to demonstrate cross-triggering.
The Quartus Signal Tap II utility is an optional component of the SoC EDS installation, and is selected by
default.
Related Information
•
The ARM DS-5 Altera Edition reference material can be accessed online on the documentation page of
the ARM website (www.arm.com); and from Eclipse by navigating to Help > Help Contents > ARM
DS-5 Documentation.
•
For more information about Cross Triggering, refer to the Coresight Debug and Trace section in
volume 3 of the Cycone V Device Handbook.
Cross-triggering Prerequisites
This section presents the preparation steps that are required in order to perform the cross triggering
scenarios. We boot the HPS, start Signal Tap II and program the FPGA.
Note: Any debugging scenario on HPS can be running, as long as it uses a JTAG connection. It does not
necessarily have to be Linux. It could be a bare metal program, for example.
1. Boot the board using the Linux SD card as shown in the Getting Started with Running Linux section.
2. Connect USB cable from the USB Blaster II
™
connection to the host PC.
3. Open the Quartus SignalTap II program by running the command
<Quartus installation directory>/bin/
quartus_stpw
. This assumes you have accepted the default settings when installing SoC EDS.
4. In Signal Tap II, select File > Open, browse to
<SoC EDS Installation directory>/examples/hardware/cv_
soc_devkit_ghrd/cti_tapping.stp
and click Open
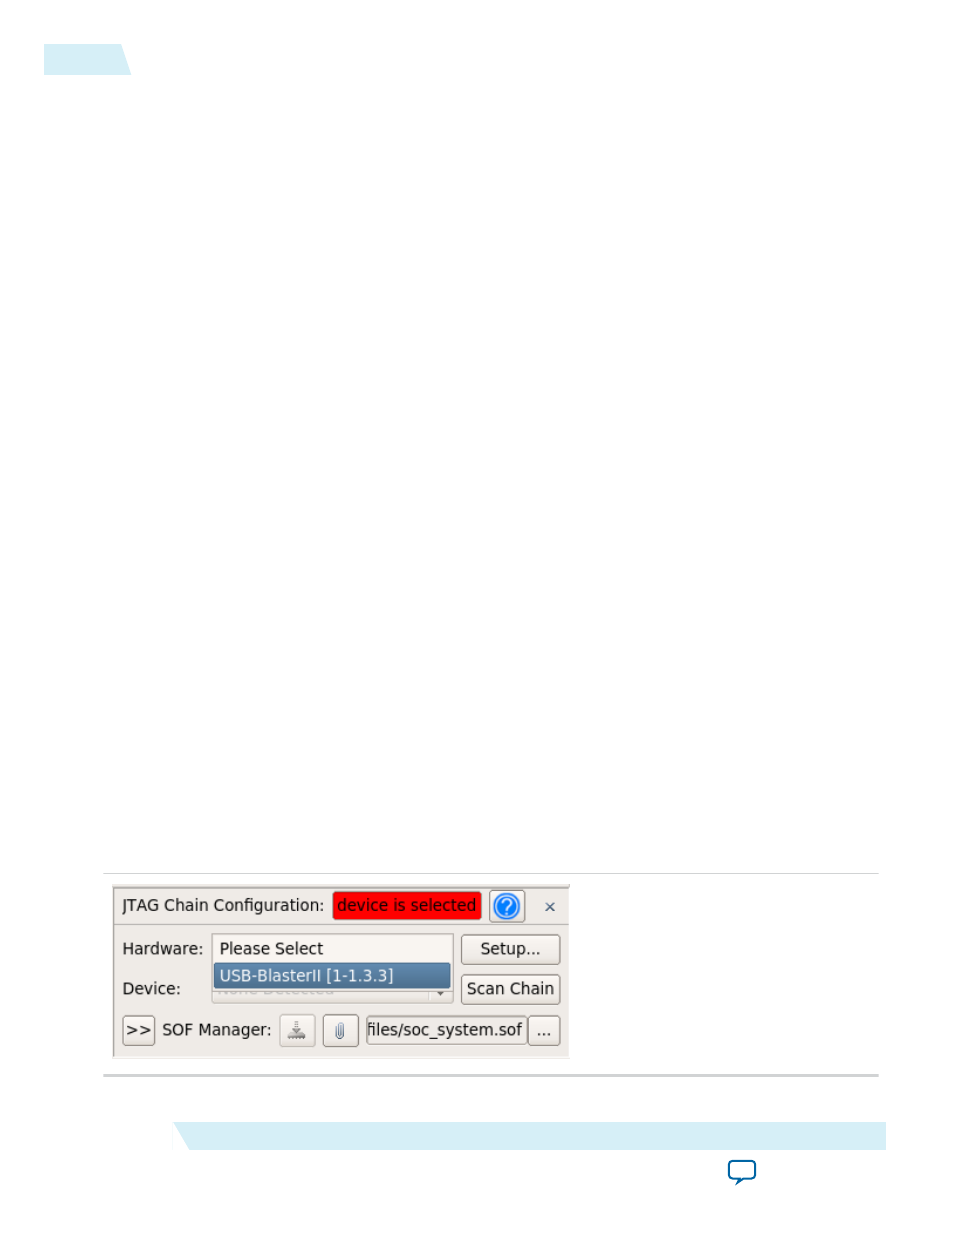
5. In Signal Tap II, on the JTAG Chain Configuration > Hardware, select the USB Blaster II Instance
Figure 4-71: Select USB Blaster II Instance
4-96
Getting Started with Cross Triggering
ug-1137
2014.12.15
Altera Corporation
Getting Started Guides