Getting started with preloader, Getting started with preloader -3 – Altera SoC Embedded Design Suite User Manual
Page 22
The steps are:
1. Setup the board as described in Board Setup section.
2. Extract the SD card image from the archive
<SoC EDS installation directory>\embeddedsw\socfpga\
prebuilt_images\sd_card_linux_boot_image.tar.gz
. The file is named sd_card_linux_boot_image.img.
The command
tar -xzf<filename>
can be used from Embedded Command Shell to achieve this.
3. Write the SD card image to a micro SD card using the free tool Win32DiskImager from the
Sourceforge Projects website (sourceforge.net) on Windows or the dd utility on Linux.
4. Power up the board using the PWR switch.
5. Connect a serial terminal from the host PC to the serial port corresponding to the UART USB
connection; and use 115,200 baud, no parity, 1 stop bit, no flow control settings.
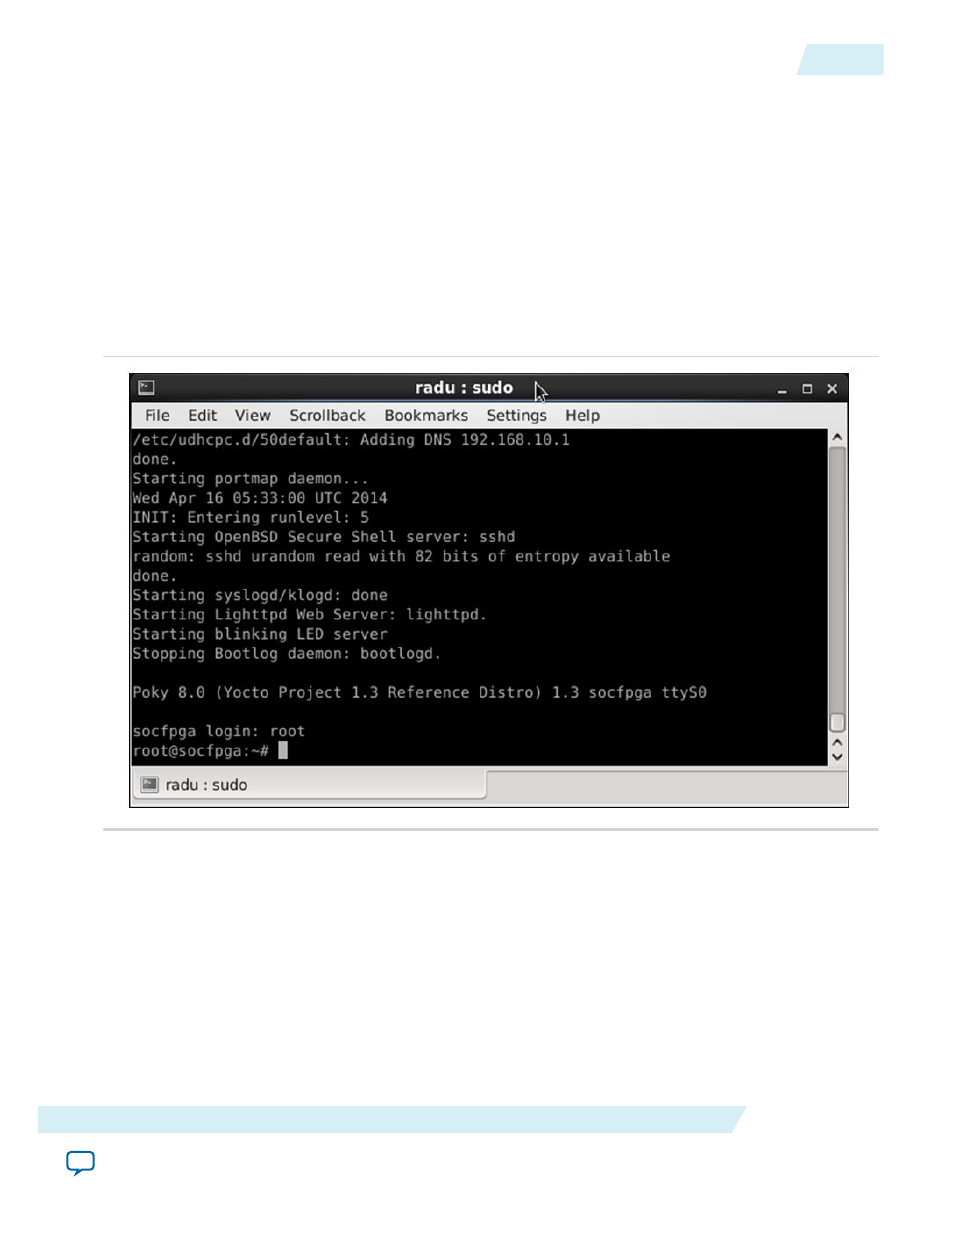
6. After successful boot, Linux will ask for the login name. Enter root and click Enter.
Figure 4-1: Linux Booted
Related Information
•
For more information about the latest Linux version, refer to the Rocketboards website.
•
To obtain the free tool - Win32DiskImager, refer to the Projects section of the Sourceforge website.
Getting Started with Preloader
This section presents an example of how to generate and compile the Preloader for the Cyclone V SoC
Golden Hardware Reference Design (GHRD) that is provided with SoC EDS.
ug-1137
2014.12.15
Getting Started with Preloader
4-3
Getting Started Guides
Altera Corporation