Draw test – TabletKiosk Sahara Slate PC i575/i535 User Manual
Page 62

36
Chapter 04: Using Your Sahara Slate PC with Microsoft® Windows® 7
4. When the calibration is complete, you can test the screen
accuracy by either tapping around the screen, or using the
“Draw” test in the “Tools” tab in the main window of the
PenMount Control Panel.
If you check the Plot Calibration Data option in the “Advanced
Calibration” mode, a linearity comparison graph will be dis-
played after the “Advanced Calibration” is complete. The black
lines reflect the ideal linearity assumed by the PenMount control
panel, while the blue lines represent the approximate linearity
calculated by the calibration.
There may be circumstances where you don’t want the calibra-
tion data to be stored in the controller. Perhaps you are only run-
ning a test, or you want the pre-calibrated state to be restored
when you restart the system. In these cases, checking Turn off
EEPROM storage will disable the write-in of calibration data.
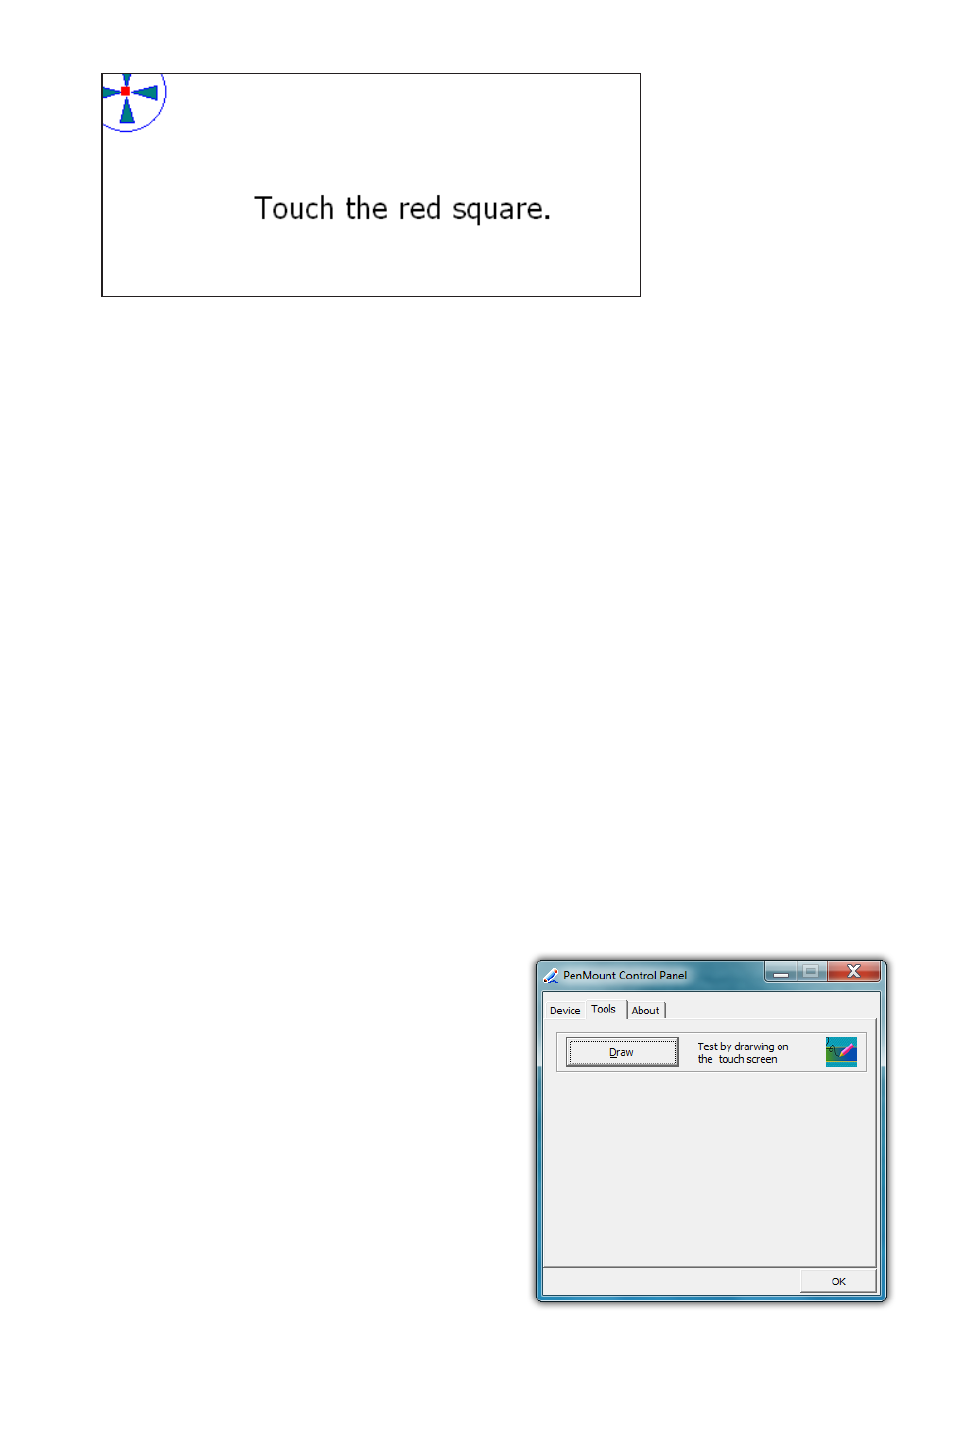
Draw Test
Tap on the “Draw” button in the
“Tools” tab to test the accuracy
of your screen’s calibration by
drawing on it. Using the “Menu”
button in the upper left corner
of the test window, you can hide
or show a visual grid, display the
point coordinates of where you
touch the screen—and if a mouse
button press occurs— plus clear
the screen to start over, and lastly
exit the Draw Test.
Touch each of the red
squares that appear on-
screen to calibrate the
touch screen. Remember
to hold your finger or
stylus down on the
square until it tells you
to release.