KLING & FREITAG CON:SEQUENZA+K&F User Manual
Page 41
User’s Guide
K&F CON:SEQUENZA+
KLING & FREITAG GmbH Version 1.0 Seite 41 von 53
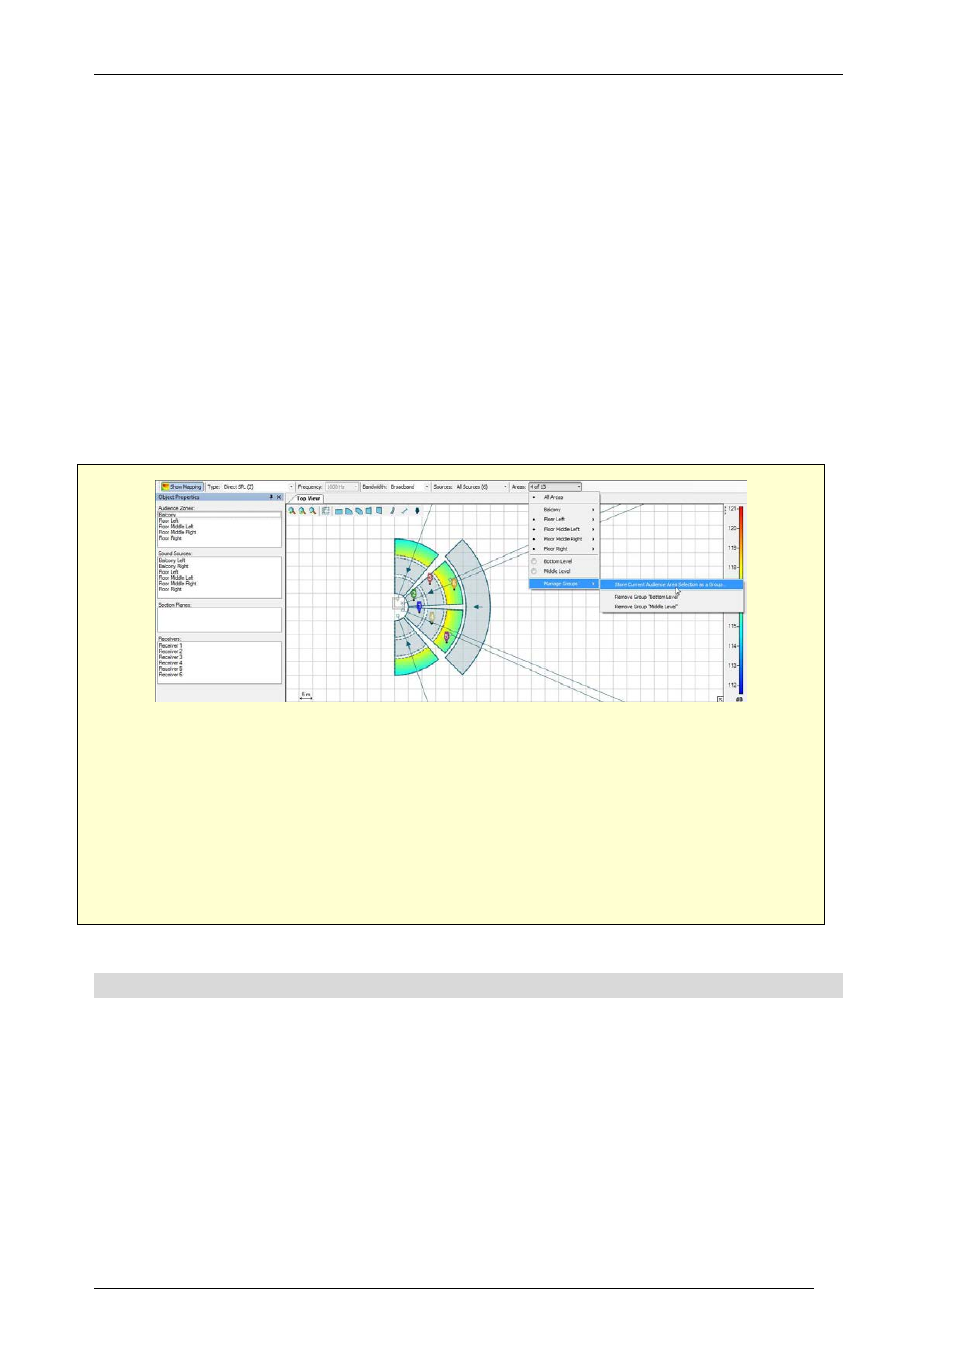
For Audience Areas you can also create groups, as already described for Sound Sources: switch on
all the Areas you want to include, and select Manage Groups | Store Current Selection as a Group.
You can then use the submenu Manage Groups to rename it or delete it.
Note that you can create or edit Audience Area groups when copying Audience Areas between
Zones as well (§2.6). If you want to do so, you need to perform this operation from the Copy
Areas button in the Object Properties window of your Audience Zone. Here you can pick one of
two options: Create New Groups will make from scratch a new group for every Audience Area to
be copied, including the original Area and all its copies across all Zones. If you already have one or
more groups including some of the areas that you want to copy instead, and you want to include
their copies in the same groups, you need to check Extend Existing Groups. You can even choose
which specific groups you want to extend.
Please note that the Distribution Graph (§3.5) will continue to include hidden Audience Areas in its
statistics. This can be changed by checking the box Visible Audience Areas Only under the
statistics.
Create an Area group for every level of your amphitheater. Do this by selecting all areas one
by one first.
You could have done this quicker when you copied your Audience Areas to all floor Zones of
your project. If you want to try this, delete the groups you just created. Then select one of the
Zones and perform the Copy Areas operation again, from the Copy Areas button in the Object
Properties window. Select all other Zones, expand the Audience Area Groups panel and check
Create New Groups, then click OK.
3.10
Exporting Pictures
Once you finish working on your project and you are satisfied with the results you have obtained,
you can show them to the people you are working with or take them to the venue. One simple
way to do this is by exporting pictures from windows. All CON:SEQUENZA+ windows that display
pictures, maps or plots are able to export them to files as well: to do that, use the menu item File |
Export Picture. This will open a submenu with a list of all available windows: those which cannot
export a valid picture are grayed out, the others are enabled. If you select one of the enabled
items, a dialog will appear asking where you want to save the picture and offering different
formats to choose from. Once the picture has been saved, it will be opened automatically with
your default program.