Olor (p. 26), Finely adjusting the key color (removed color), Modifying the superimposed video – Roland V-8HD HDMI Video Switcher and UVC-01 USB Capture Device Kit User Manual
Page 26: Video operations
26
Video Operations
Finely adjusting the key color (removed color)
1 .
Press the [MENU] button
0
select “DSK”, and press
the [VALUE] knob.
2 .
Use the [VALUE] knob to select the menu items
shown below, and press the [VALUE] knob.
Menu item
Explanation
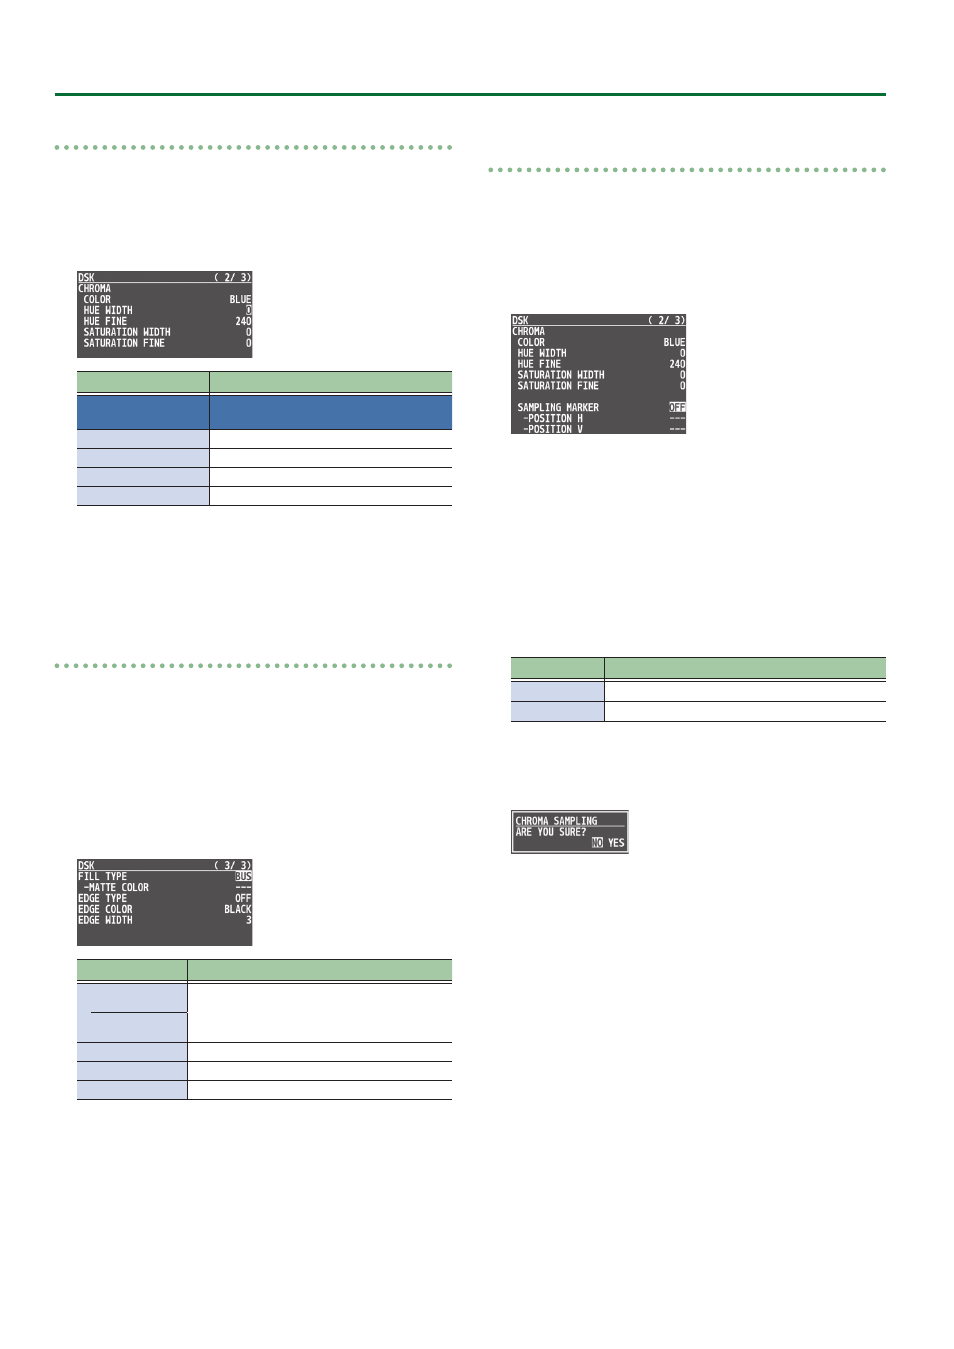
CHROMA
Use the following items to make fine
adjustments to the key color.
HUE WIDTH
Adjusts the hue width.
HUE FINE
Adjusts the center position of the hue.
SATURATION WIDTH
Adjusts the saturation width.
SATURATION FINE
Adjusts the center position of saturation.
3 .
Use the [VALUE] knob to change the value, and
press the [VALUE] knob.
4 .
Press the [MENU] button to quit the menu.
Modifying the superimposed video
When using chroma key compositing, you can fill-in the superimposed
image or add an edge to it.
* This setting is in common with luminance key.
1 .
Press the [MENU] button
0
select “DSK”, and press
the [VALUE] knob.
2 .
Use the [VALUE] knob to select the menu items
shown below, and press the [VALUE] knob.
Menu item
Explanation
FILL TYPE
If this is set to “MATTE”, the superimposed video
is filled-in with the specified color.
The fill-in color is specified by “MATTE COLOR”.
MATTE COLOR
EDGE TYPE
Specifies the type of edge.
EDGE COLOR
Specifies the color of the edge.
EDGE WIDTH
Specifies the width of the edge.
3 .
Use the [VALUE] knob to change the value, and
press the [VALUE] knob.
4 .
Press the [MENU] button to quit the menu.
To specify a desired color as the key color
(sampling marker)
You can specify the key color to be made transparent simply by
sampling (detecting) a color from the video. (This is called the
sampling marker function.) You can also specify a key color other
than green or blue.
1 .
Press the [MENU] button
0
”DSK”
0
select
“SAMPLING MARKER”, and press the [VALUE] knob.
2 .
Use the [VALUE] knob to select “ON”, and press the
[VALUE] knob.
The sampling marker (cross-shaped cursor) is shown on the monitor
of the unit and in the OUTPUT 3 connector’s output video.
3 .
Use the [VALUE] knob to select “POSITION H” or
“POSITION V”, and press the [VALUE] knob.
4 .
Use the [VALUE] knob to adjust the position of the
sampling marker.
Menu item
Explanation
POSITION H
Adjusts the horizontal position.
POSITION V
Adjusts the vertical position.
5 .
Use the [VALUE] knob to select “SAMPLING EXECUTE”,
and press the [VALUE] knob.
A confirmation message appears.
* If you decide to cancel, press the [EXIT] button.
6 .
Use the [VALUE] knob to select “YES”, and press the
[VALUE] knob.
The key color is sampled.
The “HUE WIDTH”, “HUE FINE”, “SATURATION WIDTH”, and
“SATURATION FINE” settings are adjusted automatically.
7 .
Press the [MENU] button to quit the menu.