Rhf console connections (cont.) – Hypertherm HT4001 Plasma Arc Cutting System User Manual
Page 77
INSTALLATION
6-96
4-24
HT4001
Instruction Manual
RHF Console Connections (cont.)
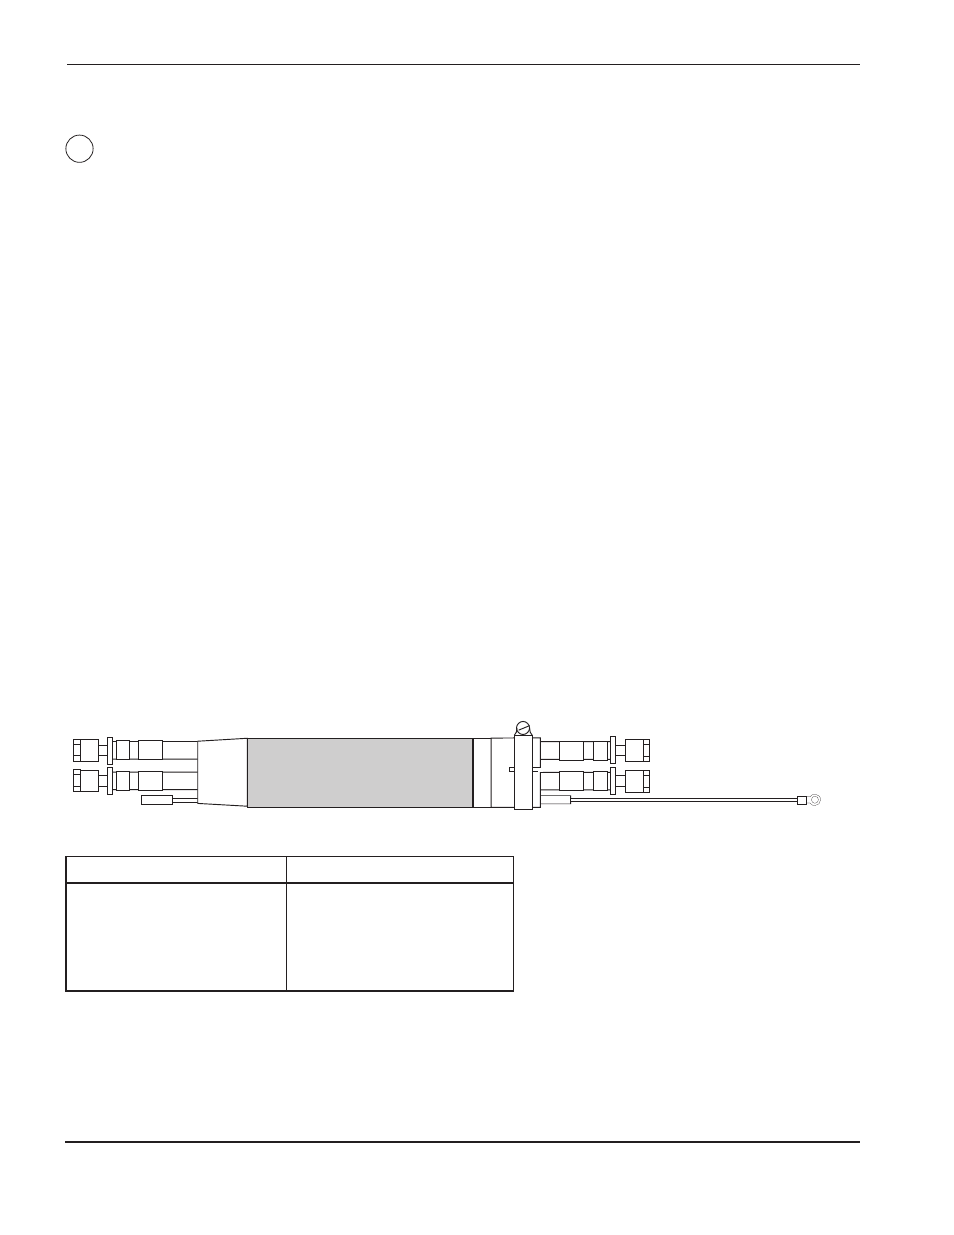
Shielded Torch Leads – RHF Console to Torch
Routing the Torch Leads
The leads must be routed between the RHF console and the torch before making connections. You will
usually need to route the leads through a festoon or a power track. Do not have the torch connected when
routing leads.
Connecting the Torch Leads to the RHF Console
Pass the torch leads through the brass ring of the RHF console and make connections as shown in Figure
4-13. The fittings on the cathode block are color-coded to correspond with the bands on the torch leads.
Match color to color. Connect pilot arc lead as shown.
Connecting the Torch Leads to the Torch
1. Slide the insulating sleeve over the torch leads with the threaded end pointing towards the unconnected
torch. (The insulating sleeve will screw onto the torch later.)
2. Using a 9/16" open-end wrench on the two largest torch fittings and a 1/2" open-end wrench on the two
largest lead fittings, connect the leads to the torch. Note color code on torch and torch leads.
3. Attach and hand tighten the white pilot arc lead from the torch leads to the corresponding connector on
the torch body.
See page 4-26 to connect injection water hose to torch, and 4-30 to connect plasma gas lead to torch. See
also page 4-38 to mount the torch to the torch mounting bracket.
17
Part No.
Length
028508
10 ft (3 m)
028509
15 ft (4.5 m)
028510
20 ft (6 m)
028511
25 ft (7.5 m)
028512
30 ft (9 m)
Part No.
Length
028513
35 ft (10.5 m)
028514
40 ft (12 m)
028515
45 ft (13.5 m)
028516
50 ft (15 m)