Configure baud rate of receiver ports, Figure 3: status bar, Figure 4: unit port configuration window – NavCom StarUtil-2110 Rev.B User Manual
Page 16: Rts (see figure 4)
StarUtil-2110 User Guide – Rev. B
6. Check both options together, RTS control enabled (Request To Send) and DTR control
enabled (Data Terminal Ready), as necessary, to configure the receiver and the computer to
acknowledge readiness before connection is established. This is optional and not required
by the SF-2110.
7. Click
the
OK button. If the connection is successful:
9
NCT Messages scroll down the Messages tab of the StarUtil window.
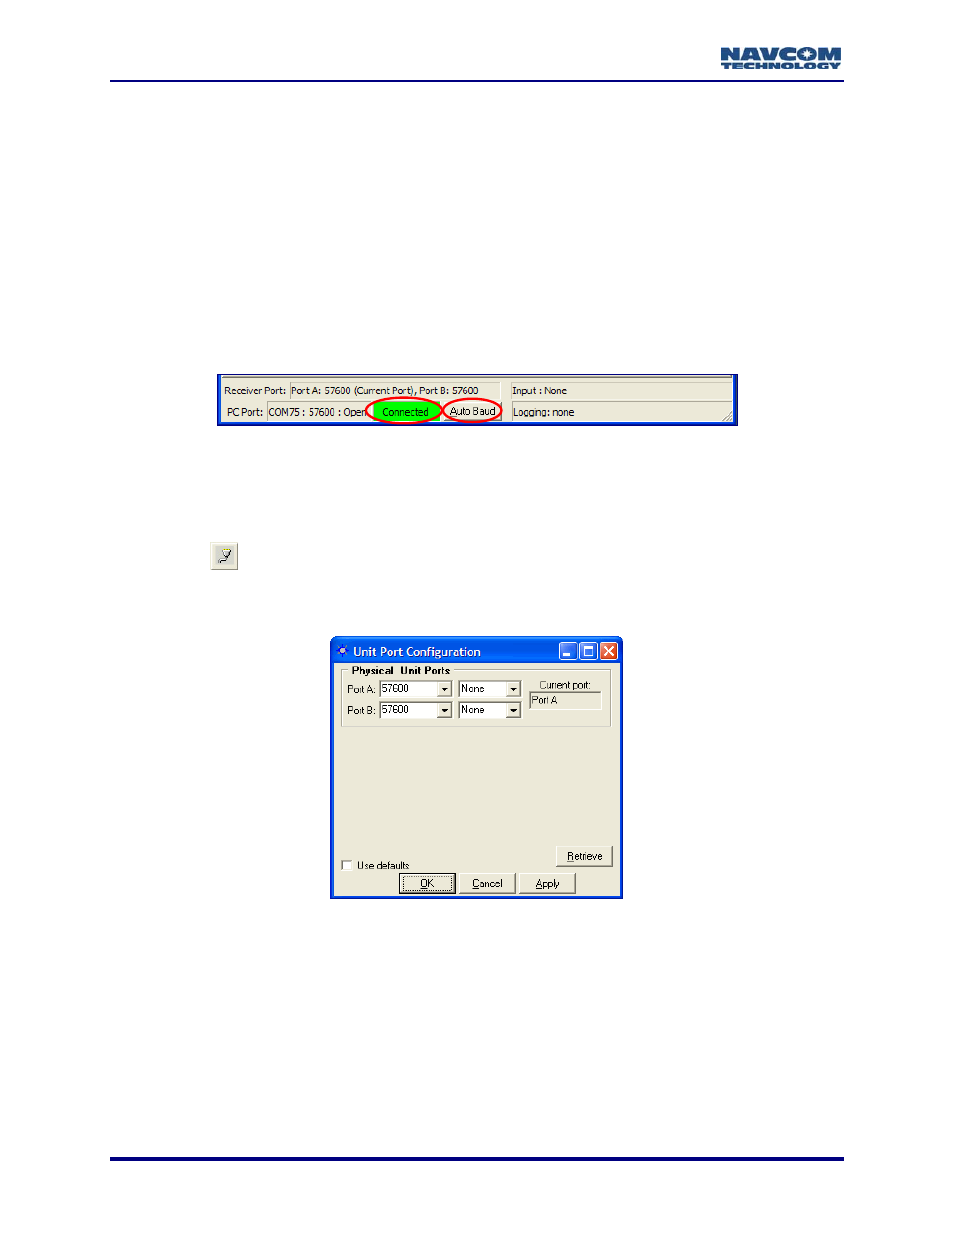
Refer to Figure 3 for a screen capture of the status bar.
9
The status bar at the bottom of the StarUtil window displays Connected in a green box. It
also provides connection information for both the receiver and PC ports.
9
The Auto Baud button in the status bar becomes active. If StarUtil becomes disconnected,
click the Auto Baud button to re-establish communications.
Figure 3: Status Bar
Configure Baud Rate of Receiver Ports
For the Bluetooth interface, go to the next section.
1. Click
the
icon on the toolbar to configure the baud rate of the receiver ports. The Unit
Port Configuration window opens (see Figure 4).
To open the window from the menu bar, select Receiver > Setup > Ports.
Figure 4: Unit Port Configuration Window
2. Click
the
Port A and/or Port B drop-down lists to select a new baud rate, and if necessary,
select the parity.
3. Click
the
Apply button and then click the Retrieve button to confirm that the receiver accepts
the new setting(s).
• If the receiver does not accept the new baud rate, the baud rate reverts to the previous
value. Click the Naks tab in the StarUtil window to view the error code.
• If the receiver accepts the new baud rate, it is retained in the field.
2-14