Installation wizard, Installation wizard -2 – Verilink T1 Access Router (34-00327) Product Manual User Manual
Page 26
2-2
T 1 A c c e s s R o u t e r
For specific applications, see Optional Equipment on page A-4 for additional
cables and adapters. Contact Verilink Technical Support for further assistance
and specific part numbers.
Installation Wizard
One of the ways to configure and monitor the T1 Access Router is through
the Web Browser interface. To gain access to this interface, the unit must be
configured with an IP Address. Verilink provides a DOS-based program – the
Verilink Configuration Wizard – to aid in this initial configuration.
To configure the IP Address using the Verilink Configuration Wizard, use the
CD-ROM disk included with this product and follow the steps listed below.
NOTICE:
You may also access the Verilink Configuration Wizard on
Verilink’s Web site: www.verilink.com.
1
Using the supplied cable, connect the unit’s DB-9 Supervisory port to a
COM port on your PC. (Take note of which COM port is connected.)
2
Insert the Verilink CD-ROM disc into your PC’s CD-ROM drive.
3
Use Windows “Explore” to view the contents of the CD and select the
folder labeled “Utilities.” In this folder will be a file named
ipwiz.exe
;
this executable file is the Verilink Configuration Wizard application.
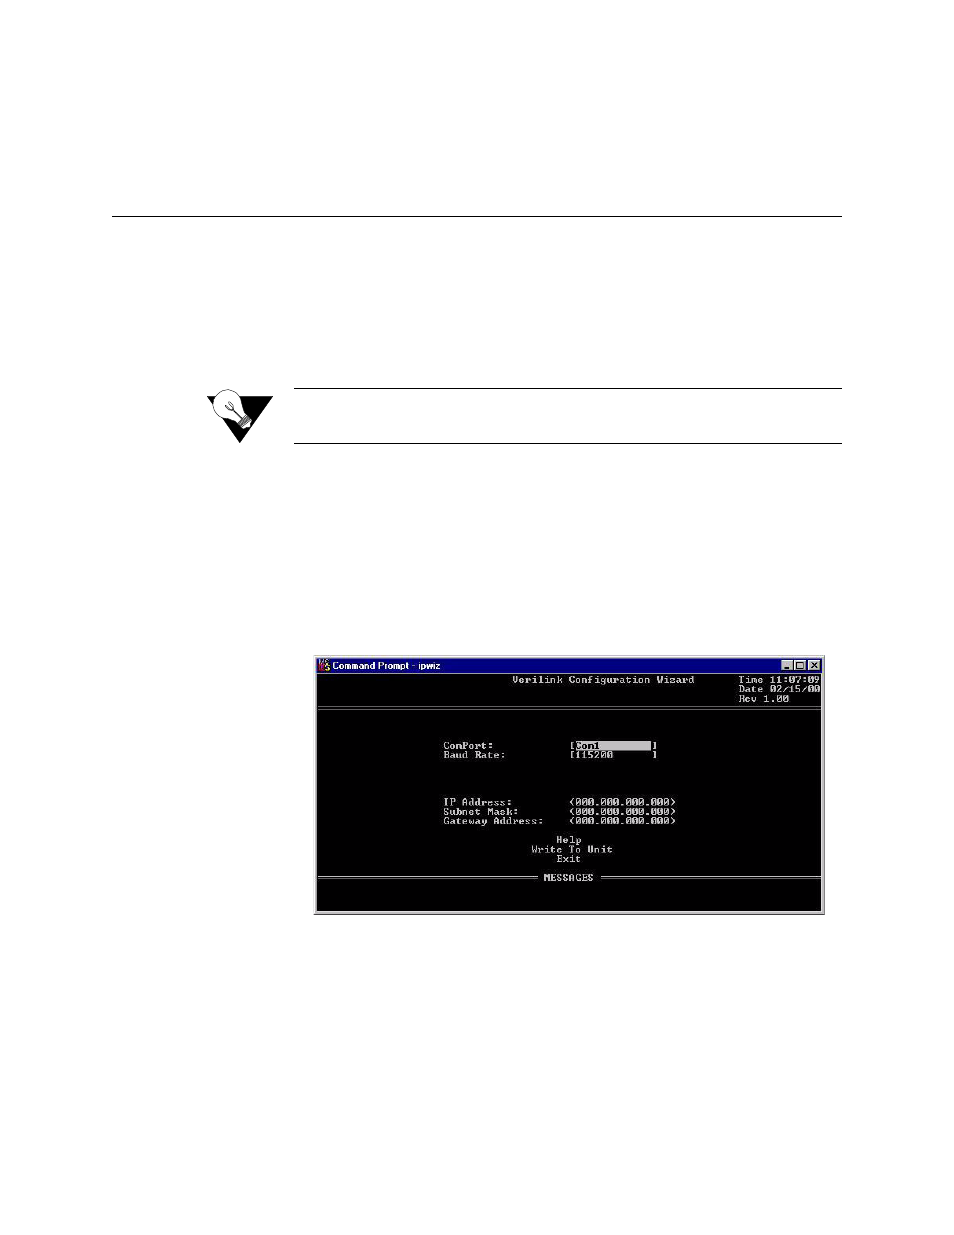
Double-click on this file to launch the program. After the program is fully
launched, you will see the following screen:
4
Using the Tab key to move from field to field, move the cursor to the “COM
Port” field. Using the Spacebar, toggle between the available options until
the correct COM port is shown (COM1, COM2, COM3, or COM4). Be sure
to choose the same COM port as the port to which you connected the unit.
5
By default, the “Baud Rate” field will display 115200 (bits per second). For
the purpose of this installation, do not change the displayed baud rate from
its default. Proceed directly to the next step.