Advanced internet settings – Wavetronix SmartSensor 105 (SS-105) - User Guide User Manual
Page 41
40
CHAPTER 4 • COMMUNICATION
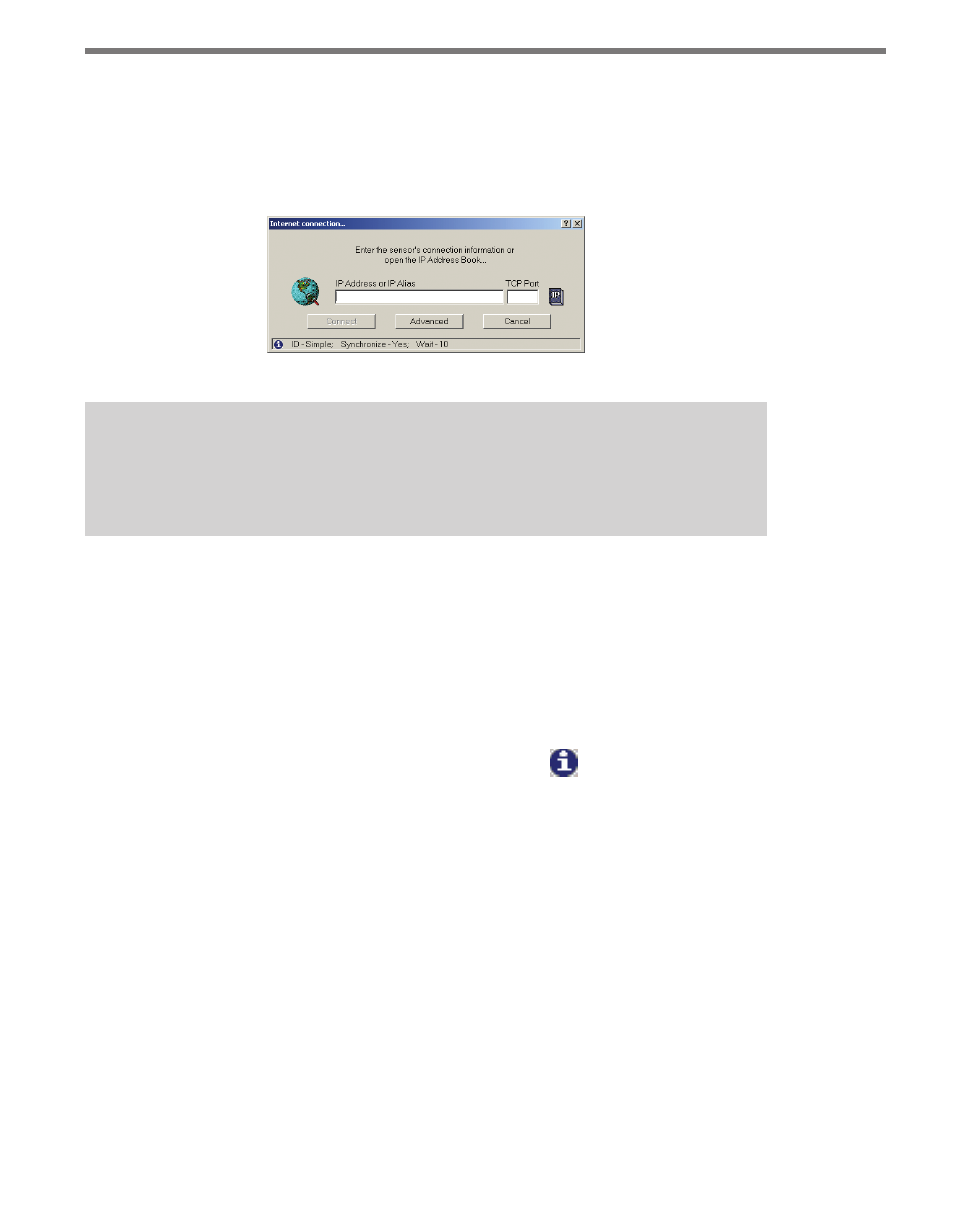
sensor’s IP address. The Internet Connection page has two text boxes in which you can
enter the sensor IP address and port number (see Figure 4.6). The Connect button does
not become active until both the IP address and port number boxes are filled. You can also
establish an Internet connection using a domain name by entering that domain name in
the IP address text field.
Figure 4.6 – Internet Connection
Note
When this window is first opened, the connection properties for the Internet connec-
tion you used most recently will automatically appear in the text fields.
The IP icon next to the text fields allows you to browse through previously saved addresses
in the SSM address book, which is especially useful if you are connecting to more than one
sensor using an Internet connection. For more information, see the Address Book section
of this chapter.
Once the IP address and port number are entered, click Connect to make a connection.
Click Cancel to stop the action and return to the New Connection page.
The message bar at the bottom of the page, identified by the
icon, shows the Internet
settings being used. If the default settings are used, the message bar will display the fol-
lowing:
ID - Simple; Synchronize - Yes; Wait - 0
Advanced Internet Settings
The following settings are part of the Internet connection advanced functions and can be
found by clicking the Advanced button (see Figure 4.7):