Step 2: configure the sensor, Interval data buffer status – Wavetronix SmartSensor 105 (SS-105) - User Guide User Manual
Page 76
CHAPTER 7 • DATA COLLECTION
75
Step 2: Configure the Sensor
When you are ready to begin the study, click on the Start button to:
˽
Enable flash storage
˽
Save the selected settings to the sensor
˽
Synchronize the sensor date and time
˽
Erase stored data from both SRAM and flash memory
It will take several seconds before the study actually begins. When the study does begin, the
start time will be displayed in the status bar at the bottom of the screen.
Note
If the start time does not coincide directly with the beginning of an interval, the first
interval in memory will contain a partial aggregation of data.
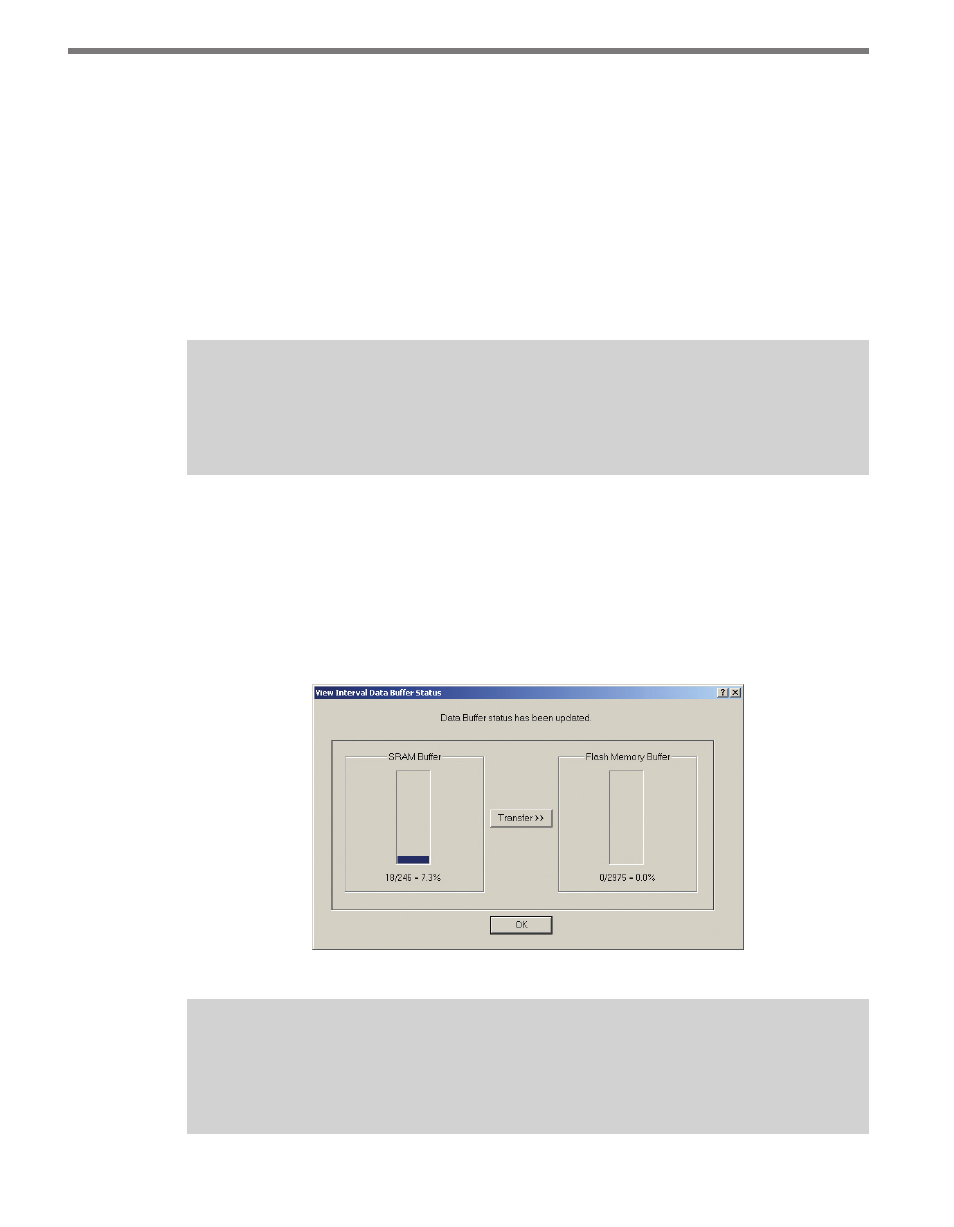
Interval Data Buffer Status
As soon as the study begins, the View Interval Data Buffer Status window will appear. This
window shows you how much of the guaranteed onboard storage space is filled with inter-
val data. If the data collection setup process has just finished, the storage space should be
mostly unused. If you leave this window open, the status will be updated every 30 seconds.
The blue bars indicate the amount of memory that contains data (see Figure 7.2).
Figure 7.2 – View Interval Data Buffer Status
Note
This screen can be accessed via the Data Collection Download screen by clicking on
the
View Data Buffer Status button.