Commissioning the sunny boy control light, Switching on the sunny boy control light, 2 commissioning the sunny boy control light – SMA Sunny Boy Control Light User Manual
Page 14: 1 switching on the sunny boy control light, Boot boot boot, Boot boot
Sunny Boy Control Light
Chapter 2: Commissioning the Sunny Boy Control Light
SUNBCL-11:NE
- 14 -
SMA Regelsysteme GmbH
2 Commissioning the Sunny Boy Control Light
The initial installation and setting up of a Sunny Boy Control Light is quite simple
(Plug & Play). This means that the installation can be done without any tools while
the procedure is self-explaining.
For initial installation simply follow the configuration steps described in this chapter
and the Sunny Boy Control Light will be ready for performance. After the hardware
installation you will be systematically lead through the configuration dialogs in the
remaining passages of this chapter. Most dialogs are simply confirmed by pressing
the
[[[[
Enter
]]]]
key.
Please keep in mind that the initial installation is only done once. It defines basic
settings like language, display settings, date and time and finally starts the automatic
device detection. After the completion of the initial installation the Sunny Boy
Control Light begins its normal startup sequence. The initial installation is also
executed after resetting the device to the default values.
2.1 Switching on the Sunny Boy Control Light
The installation of the Sunny Boy Control Light is as simple as the connection of an
electric household device. You simply plug the plug-in into the socket. During the
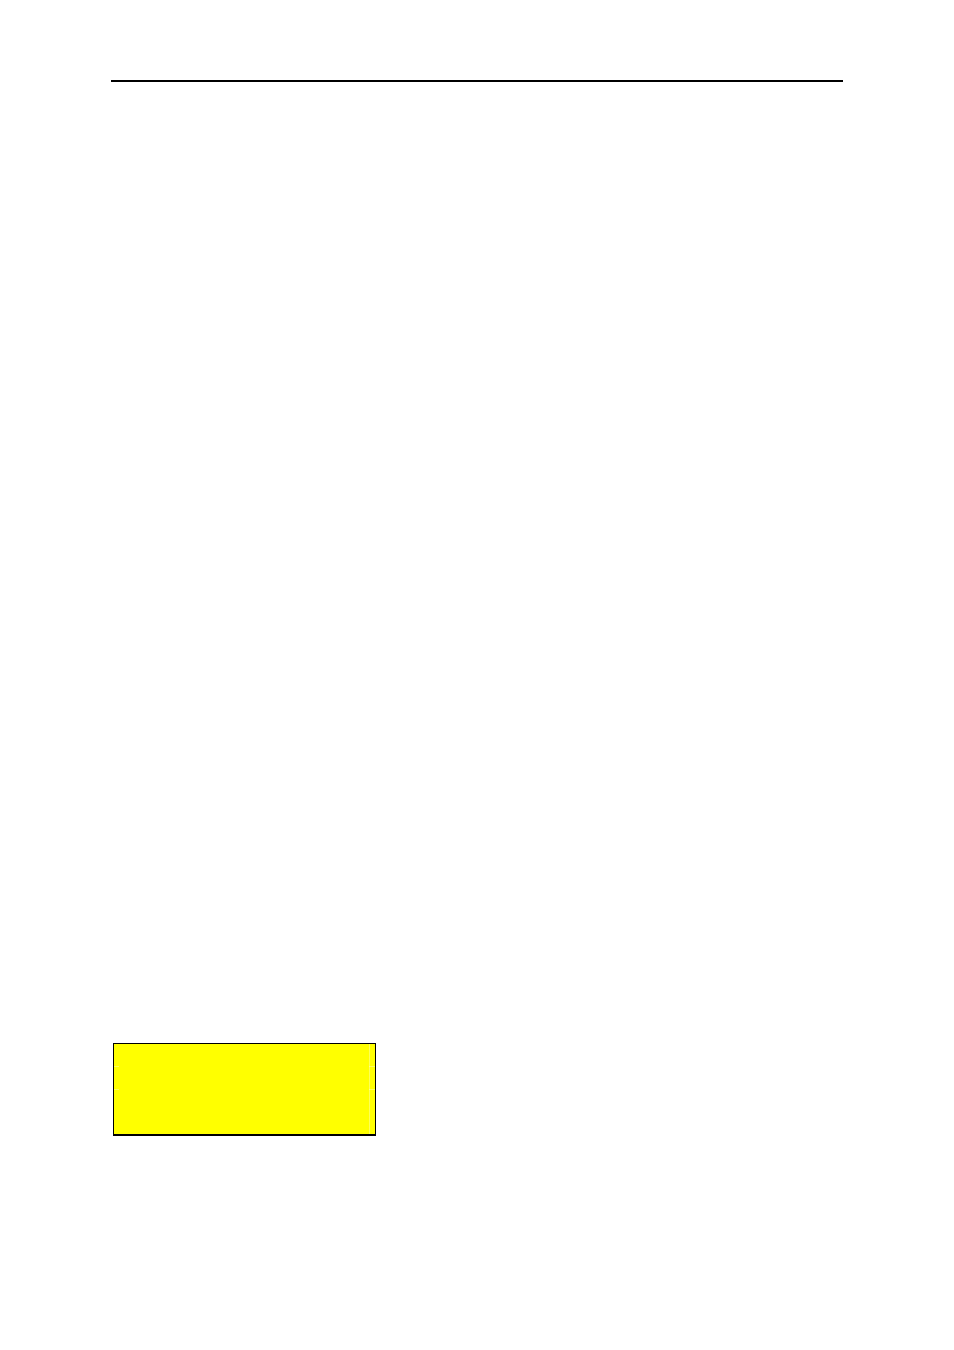
initialization of the Sunny Boy Control Light, "
BOOT
BOOT
BOOT
BOOT
" appears on the display, the
Sunny Boy Control Light display contrast is adjusted automatically. You will notice
a short darkening of the display.
BOOT BOOT BOOT
BOOT BOOT
BOOT BOOT BOOT
BOOT BOOT
Fig. 2.1: Initialization of the Sunny Boy Control Light