Adjusting the audio recording level, Monitoring the audio – Panasonic AG-CX350 4K Camcorder User Manual
Page 131
– 131 –
Chapter 5 Shooting — Audio input
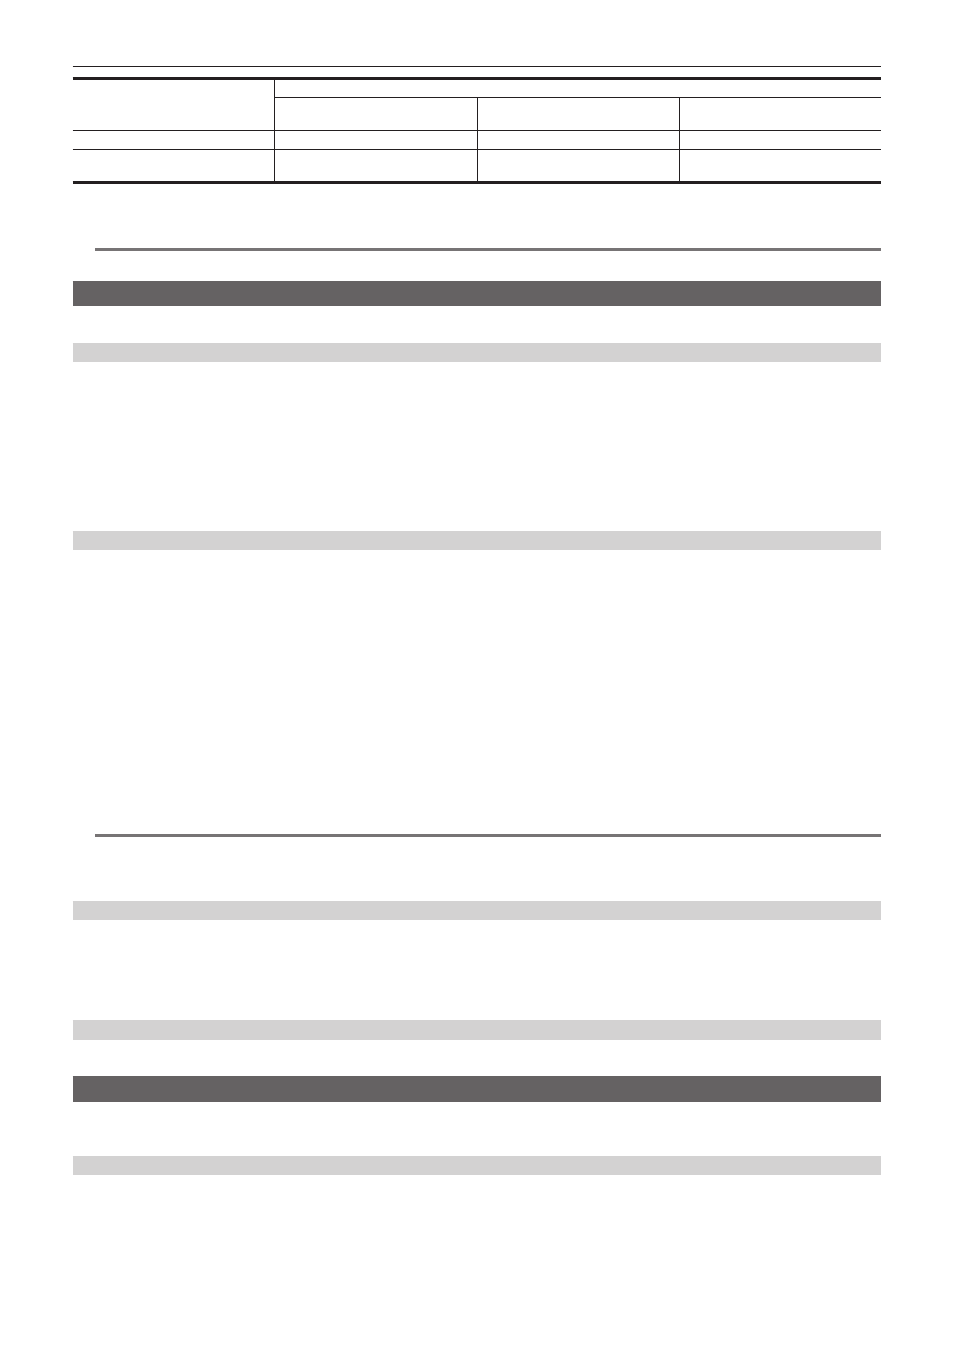
Connected device
Menu settings (you can set each channel individually)
<INPUT1>/<INPUT2>
[INPUT1 MIC LEVEL]/[INPUT2 MIC
LEVEL]*
1
[INPUT1 LINE LEVEL]/[INPUT2 LINE
LEVEL]*
2
External microphone
<MIC>
[
−
40dB], [
−
50dB], [
−
60dB]
Disabled
External microphone (with power
supply)
<
+
48V>
[
−
40dB], [
−
50dB], [
−
60dB]
Disabled
*1 Factory setting: [
−
50dB]
*2
Factory setting: [0dB]
@
@
NOTE
t
When using a super-directional microphone AG-MC200G (optional), set [INPUT1 MIC LEVEL]/[INPUT2 MIC LEVEL] to [
−
50dB].
Adjusting the audio recording level
There are manual adjustment and automatic adjustment as the adjustment method of the audio recording level.
Automatic adjustment of the recording level
1
Select the [AUDIO] menu
→
[REC CH SETTINGS]
→
[CH1 LEVEL]/[CH2 LEVEL]/[CH3 LEVEL]/[CH4 LEVEL]
→
[AUTO].
f
Audio channel 1 to audio channel 4 can be individually set.
f
Following settings are disabled when the [AUDIO] menu
→
[REC CH SETTINGS]
→
[CH1 LEVEL]/[CH2 LEVEL]
→
[AUTO] is selected.
‑
Adjustment of the recording level by the <AUDIO LEVEL CH1>/<AUDIO LEVEL CH2> dial
‑
[AUDIO] menu
→
[REC CH SETTINGS]
→
[CH1 LIMITER]/[CH2 LIMITER] setting
f
Following settings are disabled when the [AUDIO] menu
→
[REC CH SETTINGS]
→
[CH3 LEVEL]/[CH4 LEVEL]
→
[AUTO] is selected.
‑
[AUDIO] menu
→
[REC CH SETTINGS]
→
[CH3 LEVEL CONTROL]/[CH4 LEVEL CONTROL] setting
‑
[AUDIO] menu
→
[REC CH SETTINGS]
→
[CH3 LIMITER]/[CH4 LIMITER] setting
Manual adjustment of the recording level
r
Audio channel 1/audio channel 2 settings
1
Select the [AUDIO] menu
→
[REC CH SETTINGS]
→
[CH1 LEVEL]/[CH2 LEVEL]
→
[MANUAL].
2
Adjust the recording level with the <AUDIO LEVEL CH1>/<AUDIO LEVEL CH2> dial.
f
When the input level of audio exceeds 0 dB, the level display exceeding 0 dB is displayed in red in the camera image screen and the audio level
meter in the AUDIO screen of the the mode check. This is indicating that the input volume is too high.
Adjust so that the maximum value of the audio level does not exceed 0 dB.
r
Audio channel 3/audio channel 4 settings
1
Select the [AUDIO] menu
→
[REC CH SETTINGS]
→
[CH3 LEVEL]/[CH4 LEVEL]
→
[MANUAL].
2
Adjust the recording level with the [AUDIO] menu
→
[REC CH SETTINGS]
→
[CH3 LEVEL CONTROL]/[CH4 LEVEL CONTROL].
The larger the value, the larger the level.
@
@
NOTE
t
Following setting is enabled when the [AUDIO] menu
→
[REC CH SETTINGS]
→
[CH1 LEVEL]/[CH2 LEVEL]/[CH3 LEVEL]/[CH4 LEVEL]
→
[MANUAL] is selected.
‑
[AUDIO] menu
→
[REC CH SETTINGS]
→
[CH1 LIMITER]/[CH2 LIMITER]/[CH3 LIMITER]/[CH4 LIMITER] setting
Recording standard level
The recording standard level can be set.
1
Select the [AUDIO] menu
→
[REC CH SETTINGS]
→
[HEAD ROOM]
→
[12dB]/[18dB]/[20dB].
[20dB]:
Select this when matching the recording standard level with the Panasonic broadcasting AJ series camera.
[12dB]:
Select this when matching the recording standard level with the Panasonic professional AG-UX series camera.
Confirming the audio input level
The input level of the audio can be confirmed in the camera image screen and the AUDIO screen of the mode check.
Monitoring the audio
Audio recorded with the camera can be heard with a speaker or headphones.
Audio is not output from the speaker during shooting.
Setting the output audio
Sets the audio channel and the format to be output from the headphone terminal.
1
Select the [AUDIO] menu
→
[OUTPUT SETTINGS]
→
[AUDIO OUT].
2
Select the type of audio.
[CH1]:
Outputs the signal for audio channel 1 as monaural.