Casio YC-430 User Manual
Page 102

102
Projection Area Capture
4.
After the image is composed the way you want, click the [Shutter]
button on the Projection Area Capture dialog box.
z This performs the Projection Area Capture operation and displays an image preview
dialog box.
z To close the dialog box without recording, click the [Cancel] button.
z Click the [Save] button on the preview dialog box to close it.
z The extracted text produced by Projection Area Capture is combined with the original
projection image, and the result is stored as an image file. For details about the image
file, see “Projection Area Capture Image Files” (page 104).
Displaying the Camera’s Monitor Screen Image on Your
Computer Screen
z The following explanation uses Projection Area Capture, but the same procedure can also
be performed with Board Area Capture.
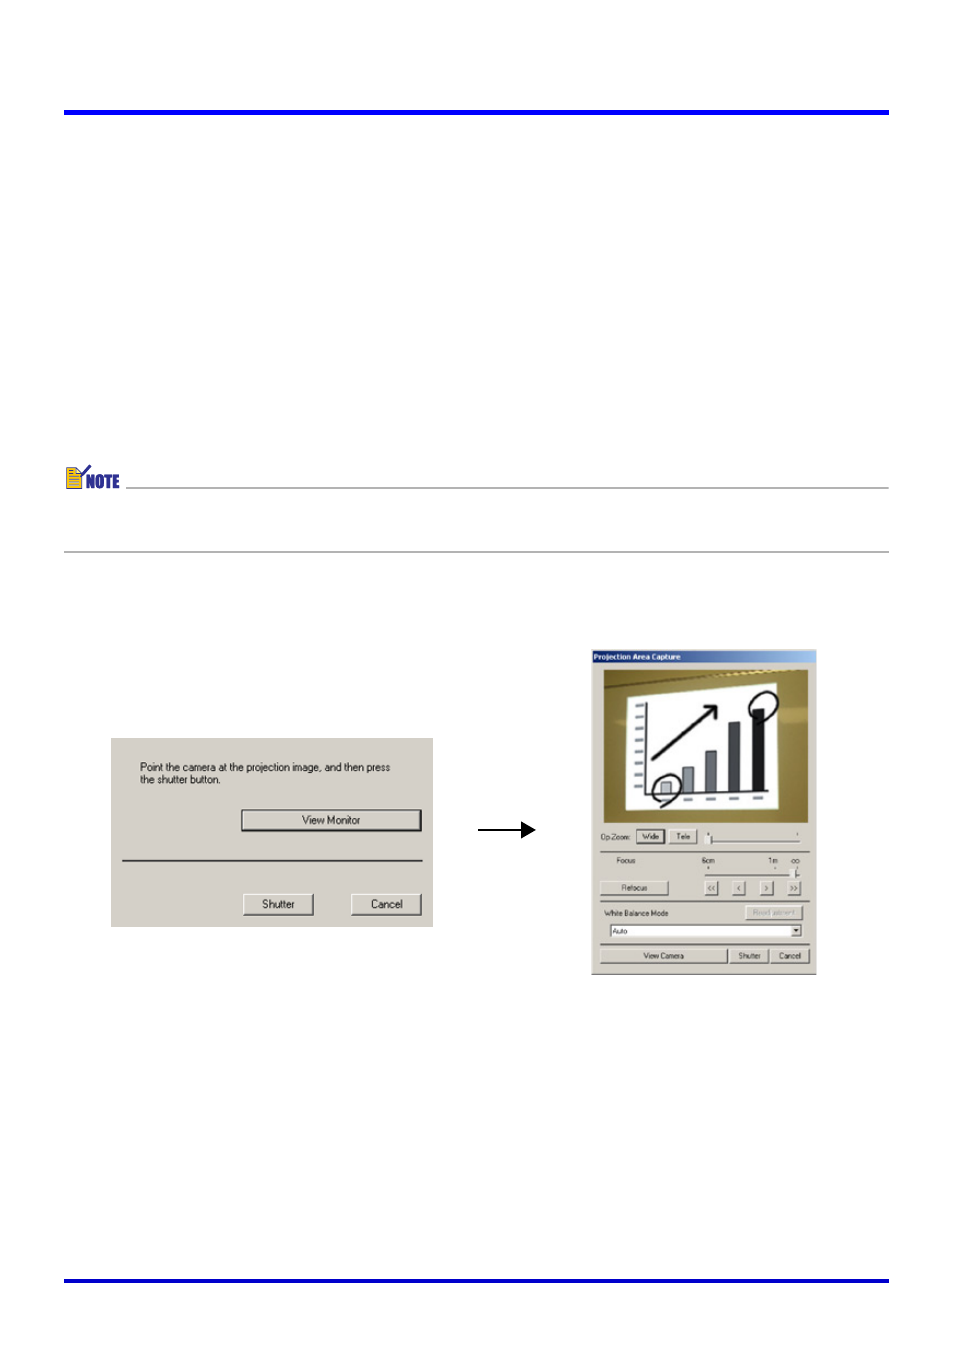
Clicking the [View Monitor] button on the dialog box that appears when you start a Projection
Area Capture operation will display the image from the PJ Camera’s monitor screen on the
dialog box. This also causes the PJ Camera’s monitor screen to turn off.
Initial Projection Area Capture
dialog box
Monitor screen image
display