Using manual scanning – Casio YC-430 User Manual
Page 52
52
Scanning Images (Scanner Mode)
6.
After confirming that the preview image of the previous image is no
longer displayed, replace the document on the document stage with the
next one you want to scan.
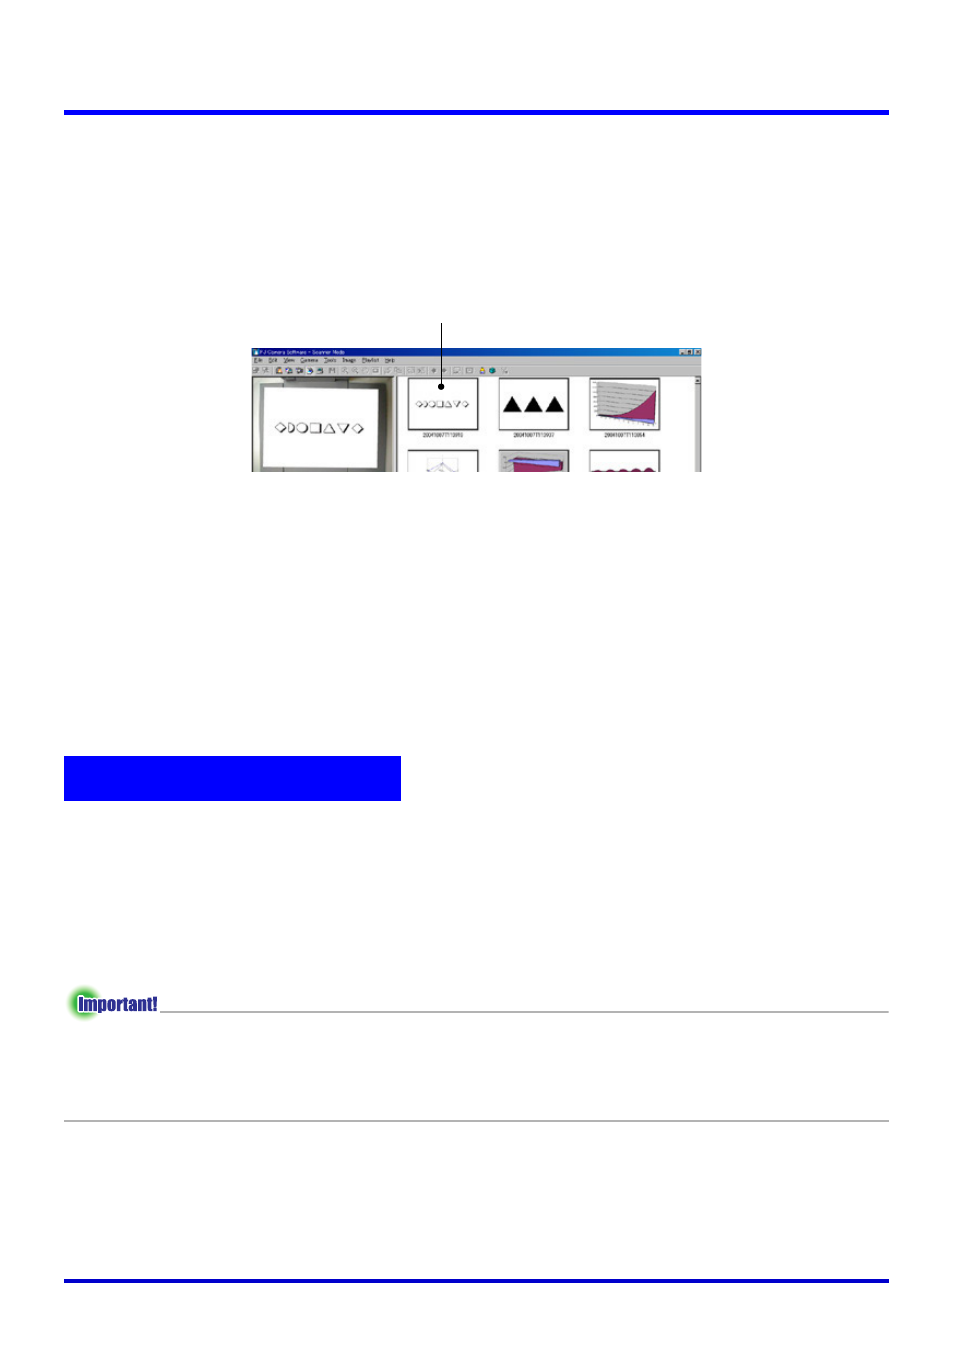
z Scanning is performed each time you replace the current document with another one.
After the preview image appears, the thumbnail of the new document is added to the
top of the preview list area.
z Repeat step 6 to record all of the pages that you want.
7.
When you are finished auto scanning, click the [Stop] button on the
scanner window.
z This causes the [Stop] button to change back to a [Start] button, and stops auto
scanning.
8.
To quit scanning, select [Exit] on the [File] menu.
z This exits PJ Camera Software and turns off the PJ Camera.
Use manual scanning when you want to be able to execute the scanning operation manually
for each document you place on the PJ Camera Stand. This option is best for small-volume
scanning jobs, or when scanning a document that is not compatible with auto scanning for
some reason.
Scanning Documents Using Manual Scanning
z The resolution of an image file is in accordance with the “Recording Resolution” setting
on the [Scanner] tab of the operating environment dialog box. The initial default setting is
4 megapixels. For more information, see “PJ Camera Software Operating Environment”
(page 110).
1.
Select [Operating Environment] on the [Tools] menu.
z This displays the [Common] tab of the operating environment dialog box.
Using Manual Scanning
Thumbnail of the newly recorded image