Casio YC-430 User Manual
Page 107
107
Board Area Capture
3.
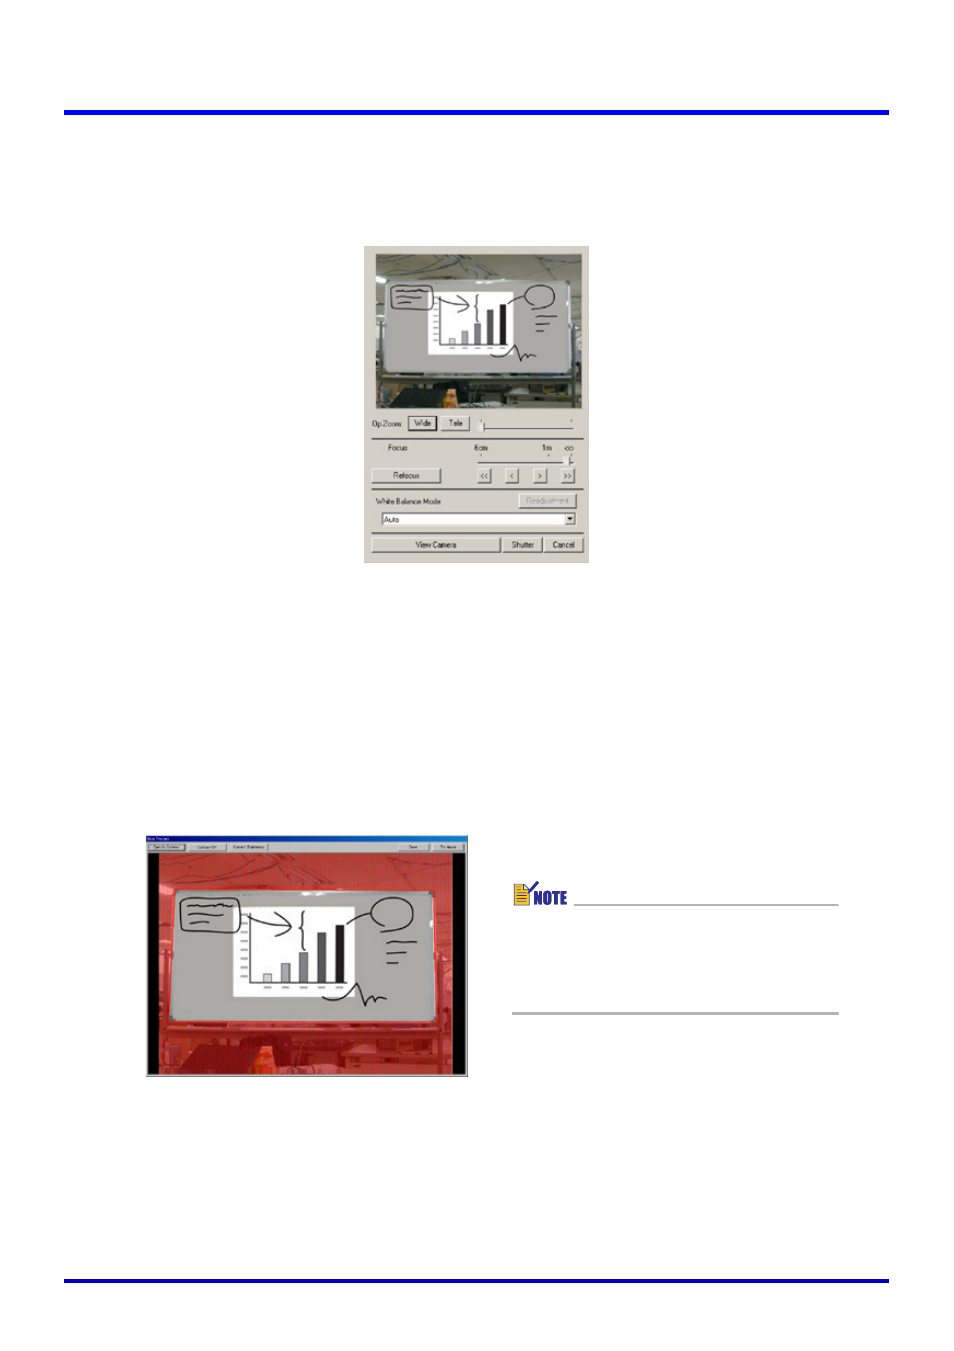
While watching the PJ Camera’s monitor screen, use the camera’s zoom
buttons to compose the image.
z Zoom the image until the projection area on the whiteboard fills the camera’s monitor
screen as much as possible.
z On the Board Area Capture dialog box, click the [View Monitor] button. This displays
the camera’s monitor screen image on your computer screen.
z For details, see “Displaying the Camera’s Monitor Screen Image on Your Computer
4.
After the image is composed the way you want, click the [Shutter]
button on the Board Area Capture dialog box.
z This performs the Board Area Capture operation and displays an image preview dialog
box.
z To close the dialog box without recording, click the [Cancel] button.
z To save the recorded image, click the [Save] button. On the confirmation dialog box that
appears, click the [Save] button.
This records the current whiteboard contents (projected image, and handwritten text and
graphics) and stores the result as an image file. For details about the image file, see
“Board Area Capture Image Files” (page 108).
z For details about operations you
can perform on the preview
dialog box, see “Preview Dialog
Box Operations” (page 108).