Wavetronix SmartSensor HD (101-0415) - User Guide User Manual
Page 22
CHAPTER 2 • CONNECTING POWER AND SURGE
21
Smart
Sensor
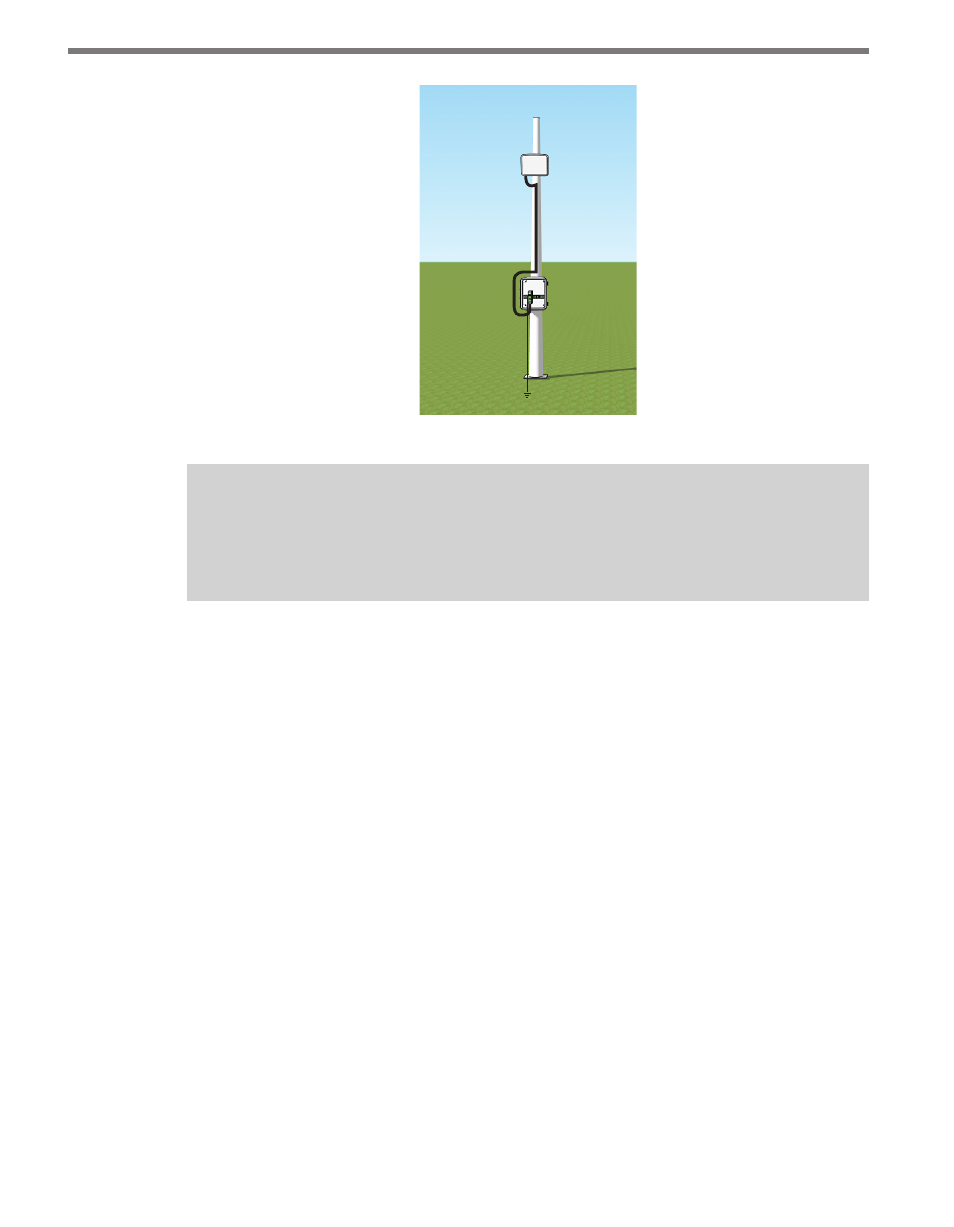
Figure 2.1 – Using a Single Click 200
Note
The different cables available and how to wire them into the Click 200 will be covered
later in this section.
If you are using the two-part installation option, you’ll have an underground cable run as
part of your installation, connecting the power and comms devices in the main traffic cabi-
net to the pole-mount box and sensor. When there is an underground cable run, it is safest
practice, as well as Wavetronix standard procedure, to use two Click 200s, one on each end
of the cable: one in the main traffic cabinet and the other in the pole-mount cabinet. Both
ends of the cable should be connected to the UNPROTECTED side of their Click 200s. This
is important because the underground cable run will be susceptible to surges caused by
lightning striking the ground near it.
If this run is shorter than 600 ft. (182.9 m), you can use a Wavetronix cable; see Appendix
D for more on cable lengths.
1 Install one Click 200 device in a pole-mount cabinet on the same pole as the sensor
being protected. Install it by snapping it onto the DIN rail.
2 Connect the cable from the sensor to the PROTECTED side of this Click 200. This
cable should be kept as short as possible.
3 Install another Click 200 in the main traffic cabinet. You will likely have power and com-
munications devices in this cabinet; make sure the Click 200 is connected to them via wires
or the shared communication bus (connecting power will be covered later in this chapter;
for how to connect to communication devices, see the Click 100–400 Series User Guide).
4 Connect the pole-mount box and the main traffic cabinet by running a cable from the
UNPROTECTED side of the Click 200 in the pole-mount box to the UNPROTECTED
side of the Click 200 in the main traffic cabinet.