Shoulder area, Lane window – Wavetronix SmartSensor HD (101-0415) - User Guide User Manual
Page 61
60
CHAPTER 6 • LANES
Shoulder Area
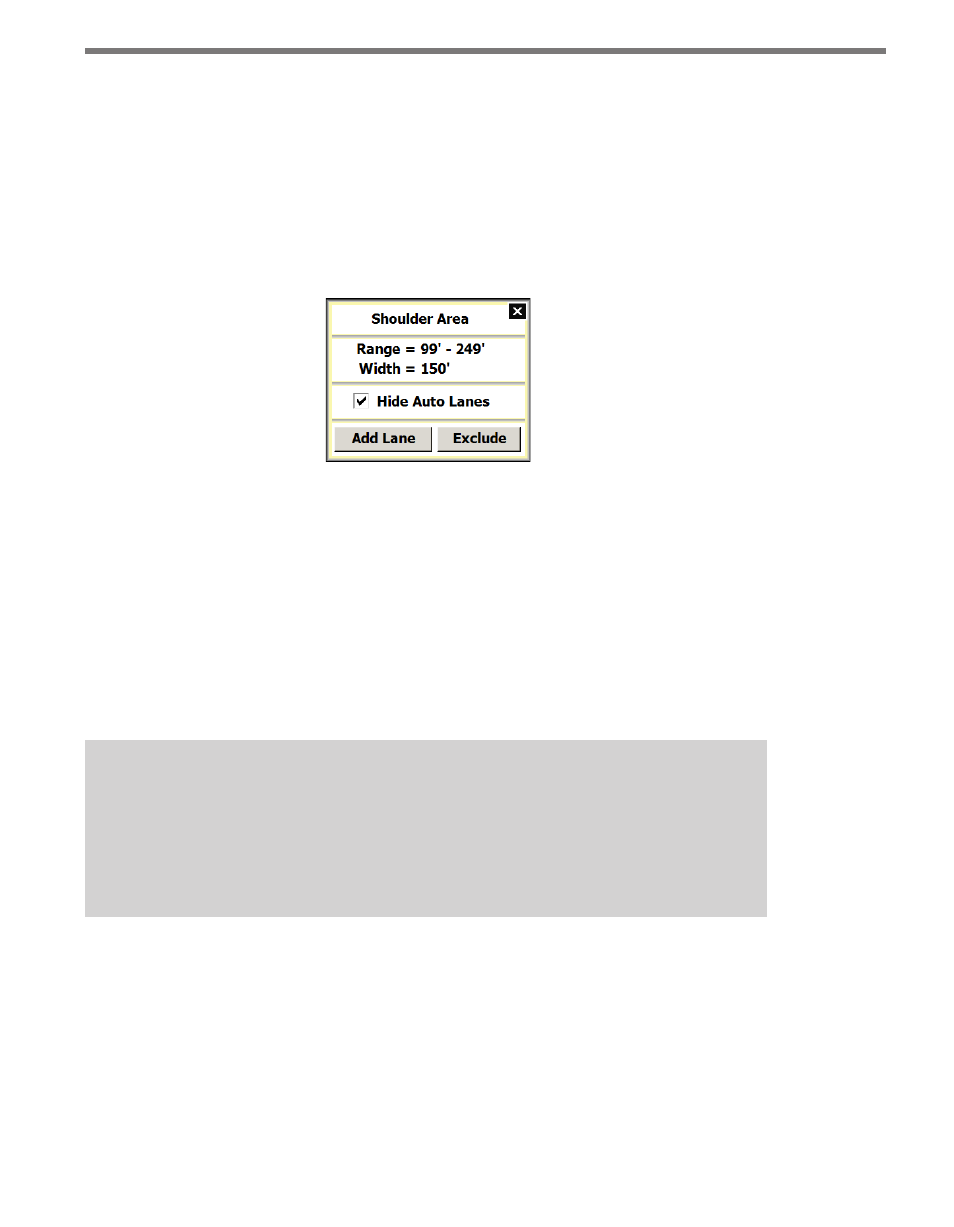
Click in the shoulder and the Shoulder Area window will appear, allowing you to add or
exclude the shoulder you just clicked on (see Figure 6.10). This is useful when aligning the
sensor when there are non-parallel lanes in its field of view. Alternatively, it can also stop
events from being generated in any non-lane areas. In the Verification screen, and when the
sensor is reporting data, any vehicles in non-lane defined areas will not be shown regardless
of whether the area is excluded or not. Click in an excluded area and the Excluded Area
window will appear, allowing you to include the area again.
Figure 6.10 – Edit Area Window
Lane Window
Click anywhere on a lane and the Lane window will appear, allowing you to change the
name, direction and activity of a lane (see Figure 6.11). SSMHD uses “LANE_xx” as the de-
fault lane name where “xx” is the number of the lane in range, beginning with “LANE_01.”
When a new lane is added, all lanes with the default lane name format will automatically be
renamed to indicate their increasing number in range. If this is not desired, the lane names
can be changed in any way; lane names are case and symbol sensitive and are limited to
eight characters.
Note
If you rename a lane with a new lane number, the software won't let you leave the
name in the form of LANE_XX. One easy way to get around this is to lowercase the
word "LANE." For example, to change the lane currently numbered as 1 to number 6,
change the name from LANE_01 to Lane_06.
For RTMS and Z4 data push types, the mapping of the lanes may be changed using the nota-
tion #xx (e.g. #08), where 08 is a lane number between 1 and 99. In this case, ALL lanes in
the configuration must be assigned a lane number using the #xx notation in order for the
new lane mapping to take effect.