Ready to copy – TA Triumph-Adler DC 2045 User Manual
Page 210
Section 8 OPTIONAL EQUIPMENT
8-2
2
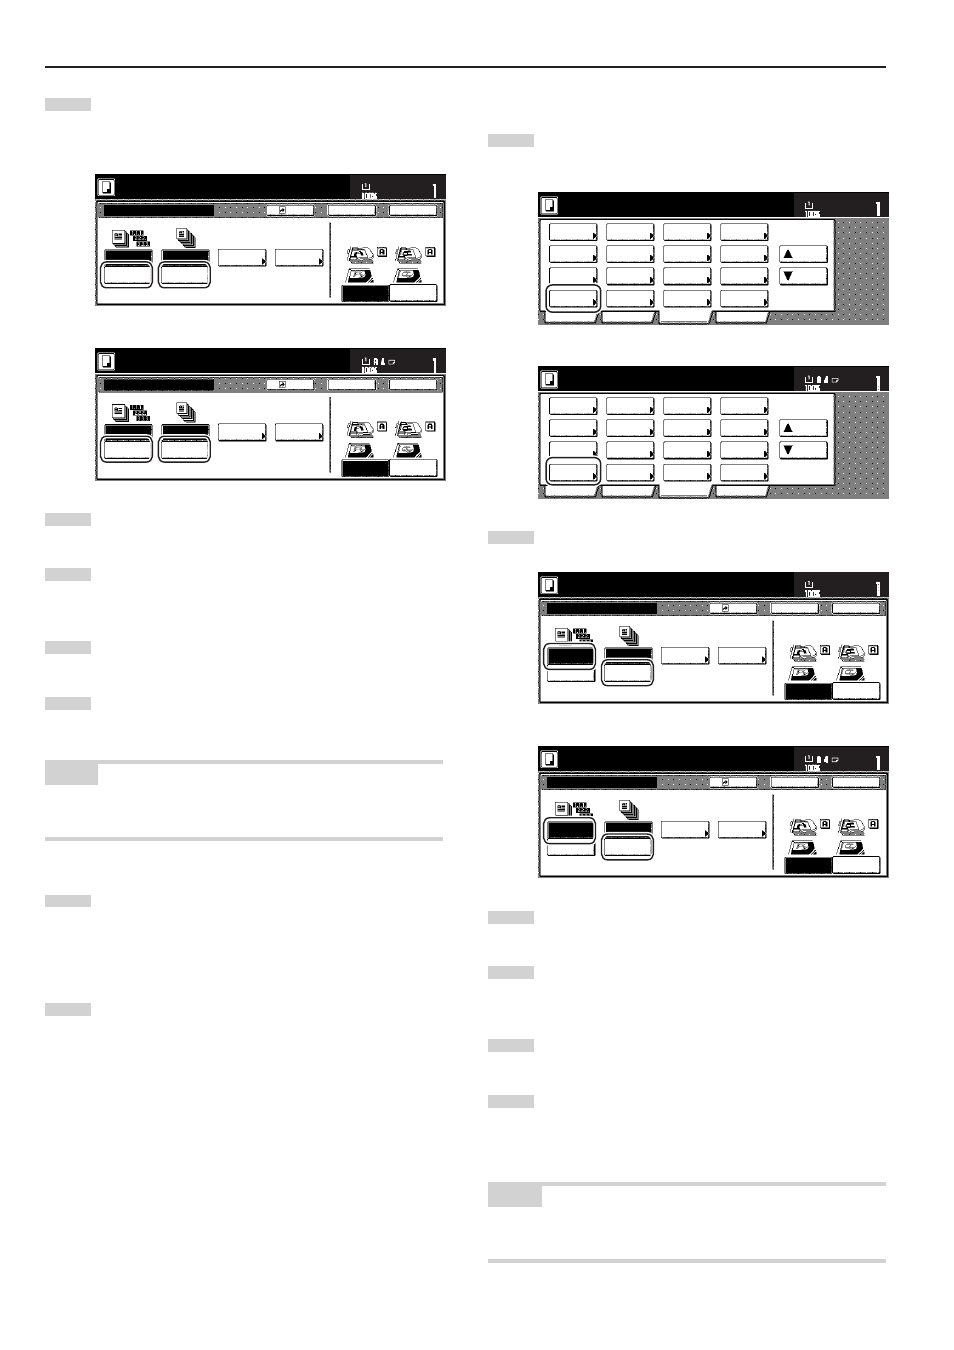
Touch the “Sort:ON” key.
The “One page per file” [“Output each page”] key will change
to the “1 set” key.
Inch specifications
Sort:OFF
None
One page
per file
Sort:ON
S o r t i n g
S o r t
S t a p l e
Staple
mode
P u n c h
Punch
mode
Back
Register
Close
Sort/Finished
Ready to copy.
Back Edge
Left top
corner
Check direction
Check direction of
original top side.
Set
Paper size
11x8
1
/
2
"
Metric specifications
Sort:Off
None
Output
each page
Sort:On
G r o u p
S o r t
S t a p l e
Staple
Mode
P u n c h
Punch
Mode
Back
Register
Close
Sort/Finished
Ready to copy.
Back Edge
Left top
corner
Check direction
Check direction of original.
Set
Paper size
3
Touch the “1 set” key.
4
Touch the “Close” key. The touch panel will return to the
screen in step 1.
5
Set the originals to be copied.
6
Press the [Start] key.
Scanning of the originals will start and the number of
originals that was set will be displayed.
NOTE
If you do not set the originals in the Document Processor, perform the
appropriate procedure to set all of the originals to be copied.
7
Once all of the originals have been completely scanned,
touch the “Scanning finished” key. Copying will start and each
of the finished copy sets will be stacked separately by shifting
their position of ejection.
8
Once copying is completed, removed the finished copy sets
from the Finisher.
2
Copying in the Group mode
1
Touch the “Function” tab and then touch the “Sort/Finished”
key. The “Sort/Finished” screen will be displayed.
Inch specifications
2 sided/
Separation
Select
paper
Combine
Reduce
/Enlarge
Margin
Centering
Form
Overlay
Page #
Function
Basic
User choice
Program
Cover
Booklet
/Stitching
Sort/
Finished
Border
Erase
Exposure
Orig.image
quality
Ready to copy.
Select
original size
Auto
Selection
Batch
scanning
Up
Down
Set
Paper size
11x8
1
/
2
"
Metric specifications
Select
paper
2-sided/
Split
Merge copy
Reduce/
Enlarge
Margin/
Image shift
Page
numbering
Function
Basic
User choice
Program
Cover
Mode
Booklet/
Stitching
Erase
Mode
Exposure
Mode
Image
quality
Sort/
Finished
Ready to copy.
Select
size orig.
Auto
selection
Large # of
originals
Form
overlay
Up
Down
Set
Paper size
2
Touch the “Sort:OFF” key.
Inch specifications
Sort:OFF
None
One page
per file
Sort:ON
S o r t i n g
S o r t
S t a p l e
Staple
mode
P u n c h
Punch
mode
Back
Register
Close
Sort/Finished
Ready to copy.
Back Edge
Left top
corner
Check direction
Check direction of
original top side.
Set
Paper size
11x8
1
/
2
"
Metric specifications
Sort:Off
None
Output
each page
Sort:On
G r o u p
S o r t
S t a p l e
Staple
Mode
P u n c h
Punch
Mode
Back
Register
Close
Sort/Finished
Ready to copy.
Back Edge
Left top
corner
Check direction
Check direction of original.
Set
Paper size
3
Touch the “One page per file” [“Output each page”] key.
4
Touch the “Close” key. The touch panel will return to the
screen in step 1.
5
Set the originals to be copied.
6
Press the [Start] key.
Scanning of the originals will start and the number of
originals that was set will be displayed.
NOTE
If you do not set the originals in the Document Processor, perform the
appropriate procedure to set all of the originals to be copied.