Configure dns client, Configure dns client -46 – Verilink 8100A (34-00237) Product Manual User Manual
Page 120
4-46
8 0 0 0 S e r i e s
Configure DNS Client
DNS Client allows the IAD to use fully qualified domain names (for example,
www.verilink.com). To configure the IAD as a DNS Client, type “N” on the
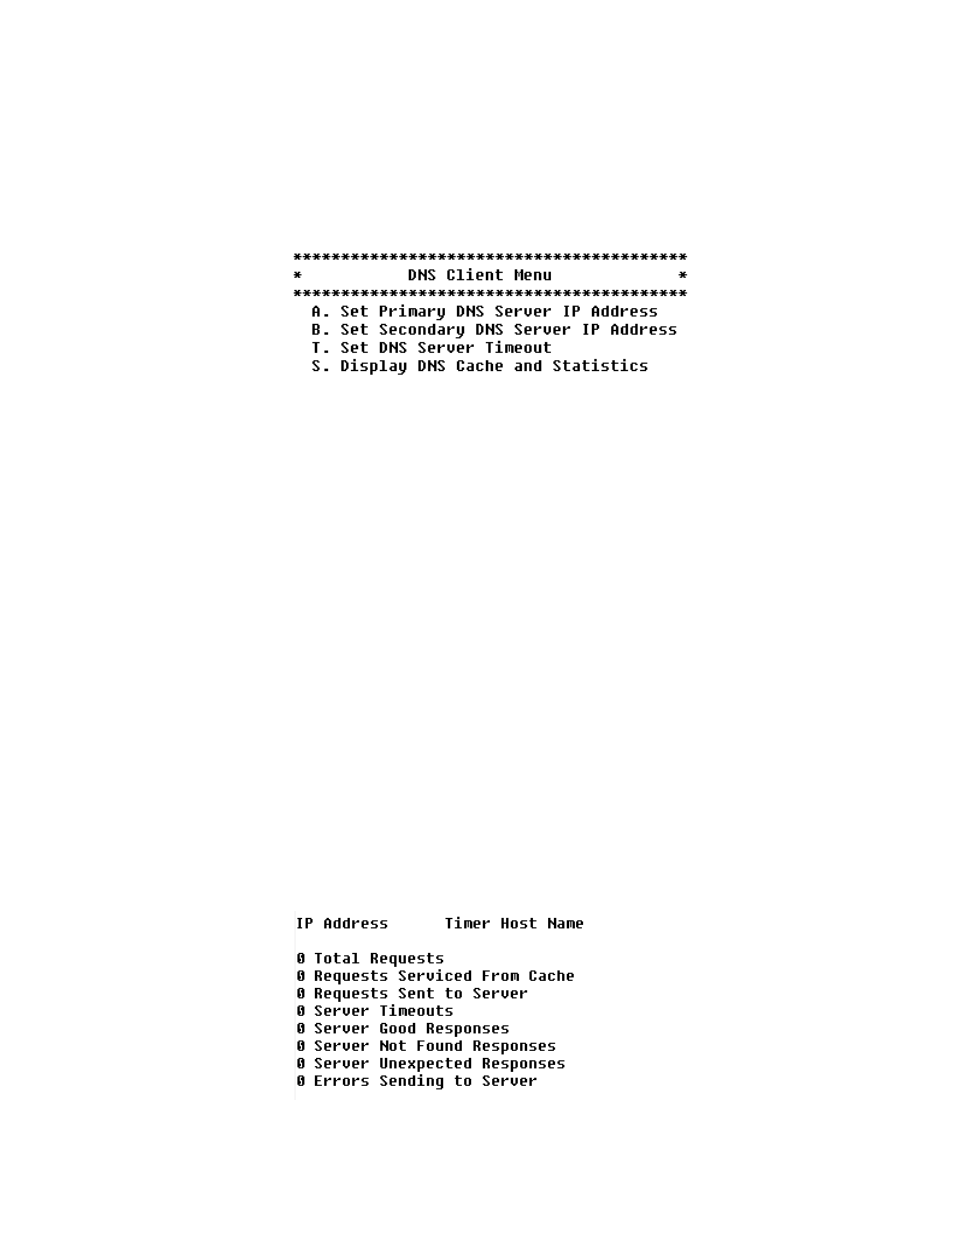
Router Configuration menu (Figure 4.59). The IAD displays the DNS Client
menu:
Figure 4.62
DNS Client Menu
Each option on this menu is described in detail below.
Set Primary (or
Secondary) DNS
Server IP Address
To set the Primary (or Secondary) DNS Server IP Address, follow the steps
below.
1
On the DNS Client menu, type “A” to select Set DNS Server IP Address.
The IAD displays the current address and prompts you to enter a new one.
2
Type the new DNS server address and press Enter. The IAD updates the
configuration and displays the DNS Client menu.
3
Continue with other configuration tasks, or press Escape to return to the
Router Modification menu.
Set DNS Server
Timeout
To set the DNS Server Timeout, follow the steps below.
1
On the DNS Client menu, type “T” to select Set DNS Server Timeout. The
IAD displays the current value and lets you specify a new value.
2
Type the new timeout value (default 5) and press Enter. The IAD updates
the configuration and displays the DNS Client menu.
3
Continue with other configuration tasks, or press Escape to return to the
Router Modification menu.
Display the DNS Cache
and Statistics
To display information about the data in the DNS cache, type “S” on the
DNS Client menu. When DNS Client is enabled, the IAD displays the
information shown below.