Set system defaults, Save system settings as defaults – Verilink 8100A (34-00237) Product Manual User Manual
Page 66
3-16
8 0 0 0 S e r i e s
Set System Defaults
You may set the IAD to boot from the previously saved custom configuration,
or boot from the factory-supplied configuration file as described below.
1
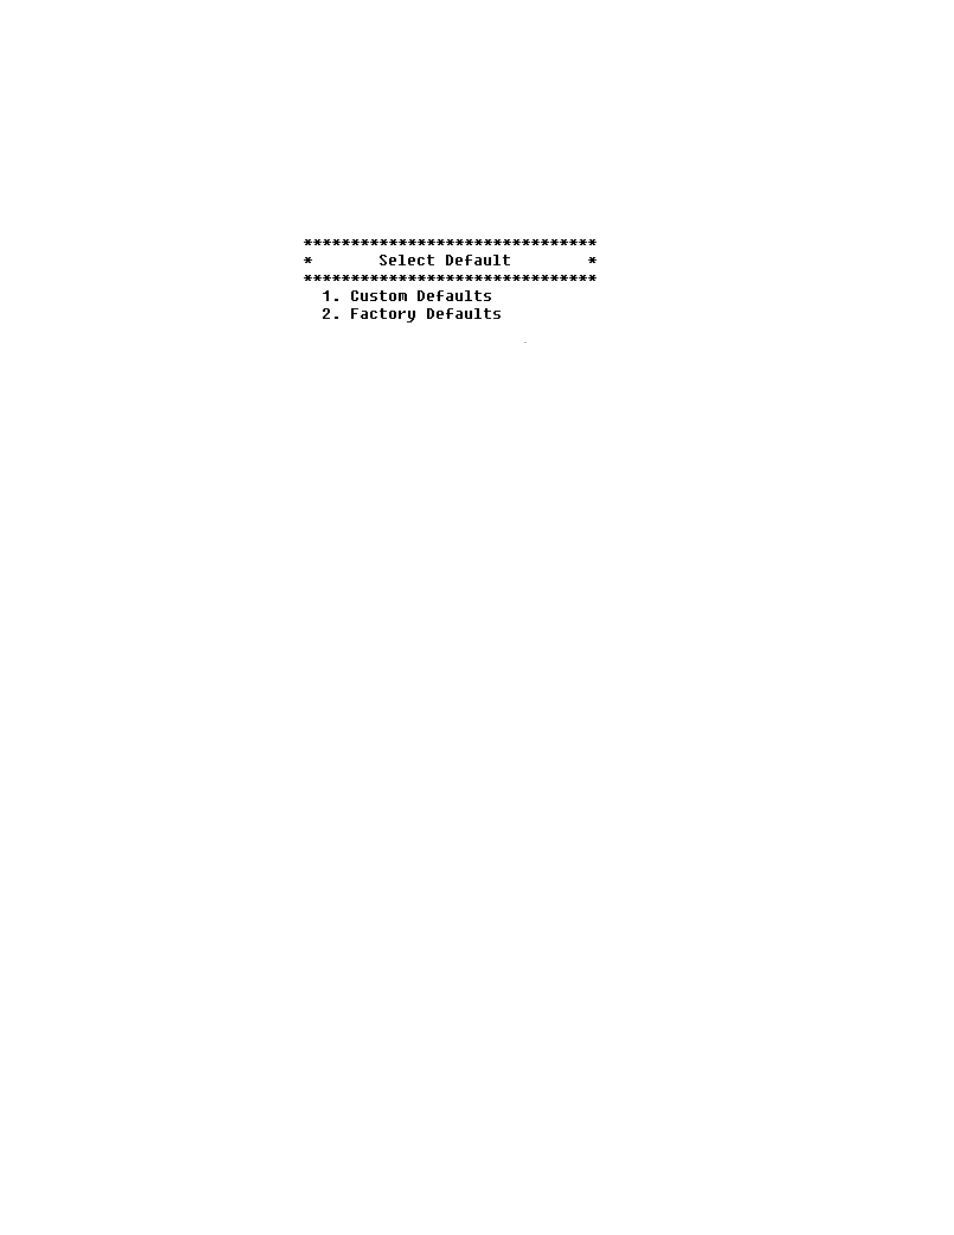
Type “D” on the Utilities menu. The IAD displays the following menu:
Figure 3.7
System Default Menu
2
Type “1” to set the previously saved custom configuration file as the boot
file
—or—
Type “2” to set the default.st config file as the boot file.
3
The IAD displays a warning and asks you to confirm your decision.
4
Type “Y” to confirm the process. The IAD updates the setting and displays
the Utility menu.
5
Reset the IAD to reboot with the new config file.
Save System Settings as Defaults
To save the current configuration as the custom default configuration, follow
the steps below.
1
Type “W” on the Utilities menu.
When the IAD is configured as a DHCP client, the following question is
asked:
This unit is configured as a DHCP client. Do you
want a defaulted unit to TFTP download a
configuration file from the IP address specified in
the ‘siaddr’ field returned by the DHCP server after
booting?
Press Y to download configuration on boot->
If you type “Y” in answer to this prompt, a defaulted IAD will download its
configuration file via TFTP from a file named MAC-address.cfg on the server
indicated by DHCP information.
2
The IAD displays a warning and asks you to confirm your decision to save
custom defaults.Type “Y” to save the current configuration as custdef.st, a
custom default configuration file.
The IAD saves the custom configuration file and displays the Utility menu.