Guralp Systems CMG-6TD User Manual
Page 41
Installing the 6TD
You will need to go back to DeviceInstaller to find out the new IP
address.
6. Configure your wireless access point or router to use the new name and
security settings, and power cycle the 6TD to make it reconnect to the
network.
7. Reconnect your computer to the wireless network using the new name
and security settings.
8. The Wi-Port has two serial channels which you can connect to. By
default these are exposed on ports 10,001 and 10,002.
Channel 1 (normally port 10,001) is connected to a serial console
which is exposed on the instrument's main connector. If you have
problems connecting to the 6TD over a network, you can attach a
diagnostics cable, CAS-PEP-0041, to this port and use Scream! to access
the console.
Channel 2 (normally port 10,002) is connected to the 6TD's digital
output, unless you have connected a serial data cable from the breakout
box to a computer. If the breakout box is connected, the 6TD will send
data streams through that interface rather than to the Wi-Port.
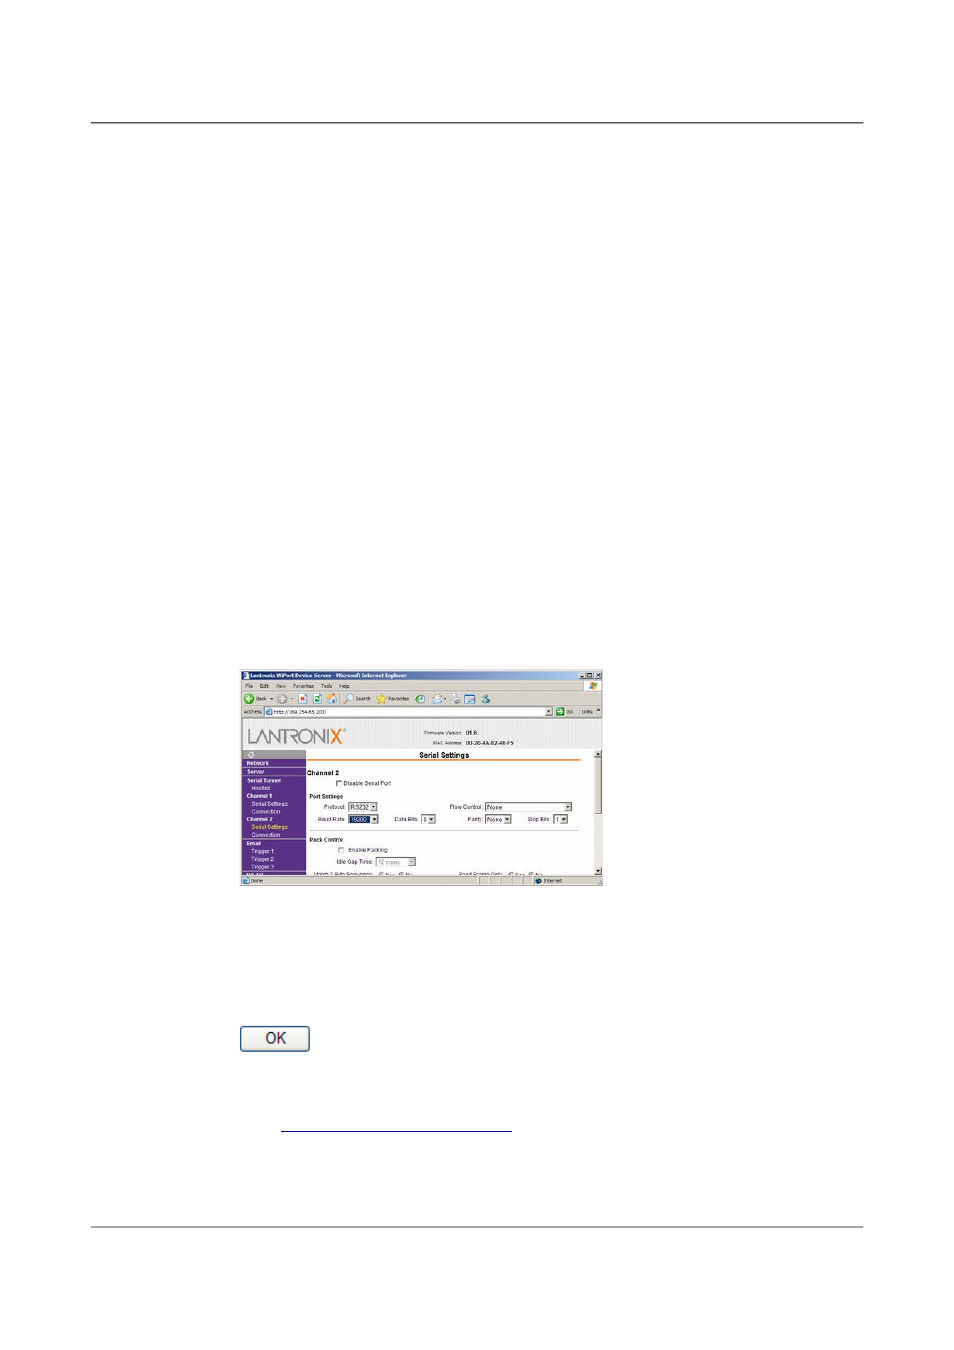
Click on Channel 2 – Serial Settings.
9. Set the Baud Rate to 19200. This is the default baud rate for the 6TD's
digital output. If you change the baud rate in Scream! or using the
terminal, you must come back to this page and change the Baud Rate
setting.
10. The remaining settings can be left at their default values. Click
to save your changes.
For full information on the Wi-Port's configuration options, please refer
to the Wi-Port documentation, which is available on the Lantronix Web
site,
41
Issue F - February 2014