Replacing the torch body, See replacing the torch body on – Hypertherm Powermax30 XP Service Manual User Manual
Page 178
178
Powermax30 XP Service Manual 808150 Revision 1
7 – Torch Component Replacement
7. Compress the trigger spring into the front half of the trigger. Slide the trigger and spring
into place.
8. Making sure that the handle does not pinch the wires, align the left half of the handle with
the right half. Verify that the trigger pivots are both located in the trigger pivot holes. (See
Figure 106 on page 176.)
9. Install the handle screws.
10. Install the consumables.
11. Reconnect the gas supply and power cord, and set the power switch to ON (I).
Replacing the torch body
1. Complete the following procedures:
a. Set the power switch to OFF (O), disconnect the power cord from the power source, and disconnect the gas
supply.
b. Remove all components from the torch. See Remove the handle on page 173.
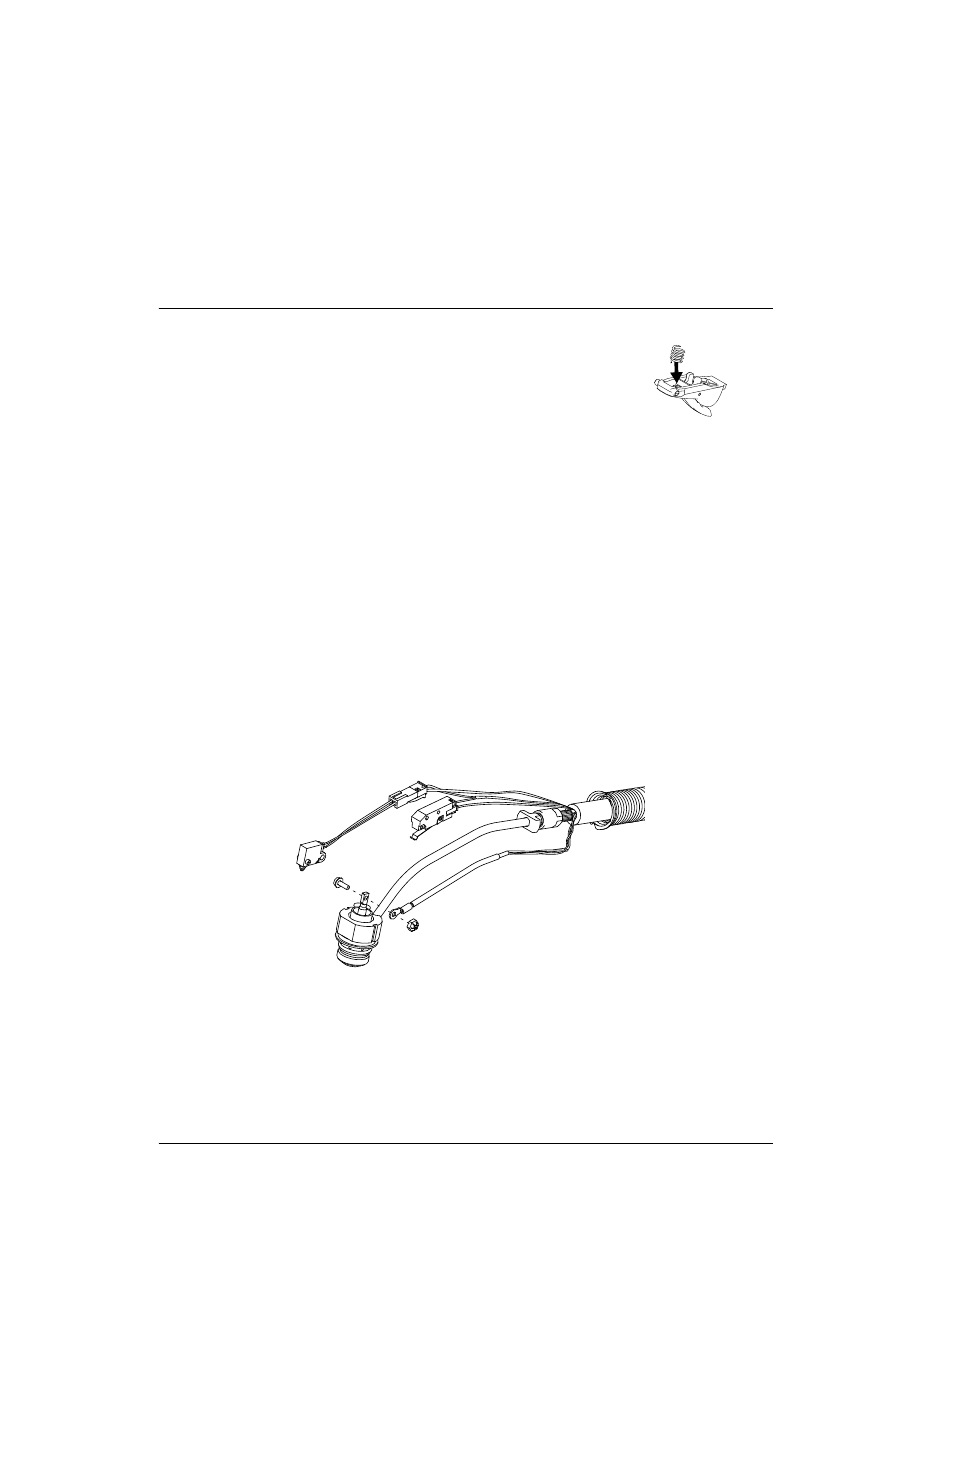
2. Remove the screw that attaches the torch power wire to the torch body. Set the nut and screw aside.
Figure 108
Kit
Description