Test 6 – plasma start – Hypertherm Powermax30 XP Service Manual User Manual
Page 82

82
Powermax30 XP Service Manual 808150 Revision 1
5 – Troubleshooting and System Tests
8. In either case, make sure that the torch plunger moves freely in the torch head.
9. If it does not, replace the torch body. (See Replacing the torch body on page 178.) If the torch parts are working
properly, replace the torch lead. (See
Replacing the torch lead on page 182.)
10. Because “torch stuck open” and “torch stuck closed” failures can be intermittent, repeat the test several times.
Test 6 – plasma start
Verify that the control board LED is receiving a valid start signal.
1. Set the power switch to OFF (O) and disconnect the power cord from the power source.
2. Remove the power supply handle and cover. (See Remove the power supply cover on page 88.)
3. Remove the component barrier. (See Remove the component barrier on page 90.)
4. Connect the electrical power and turn the power ON (I).
5. Look at the Start LED on the control board (see Control board LEDs on page 69 for the location of the Start LED)
and pull the torch trigger. It should illuminate whenever the trigger is pulled.
6. Turn OFF (O) the power.
7. Check the resistance at the 2 torch-start test points on the power board.
a. With the trigger pulled, the resistance should 10 Ω or less.
b. With the trigger released, the circuit should read approximately 3 kΩ.
8. If this test fails, check the torch start-switch and the torch wires.
CAUTION!
While testing, avoid any contact with the tip of the torch.
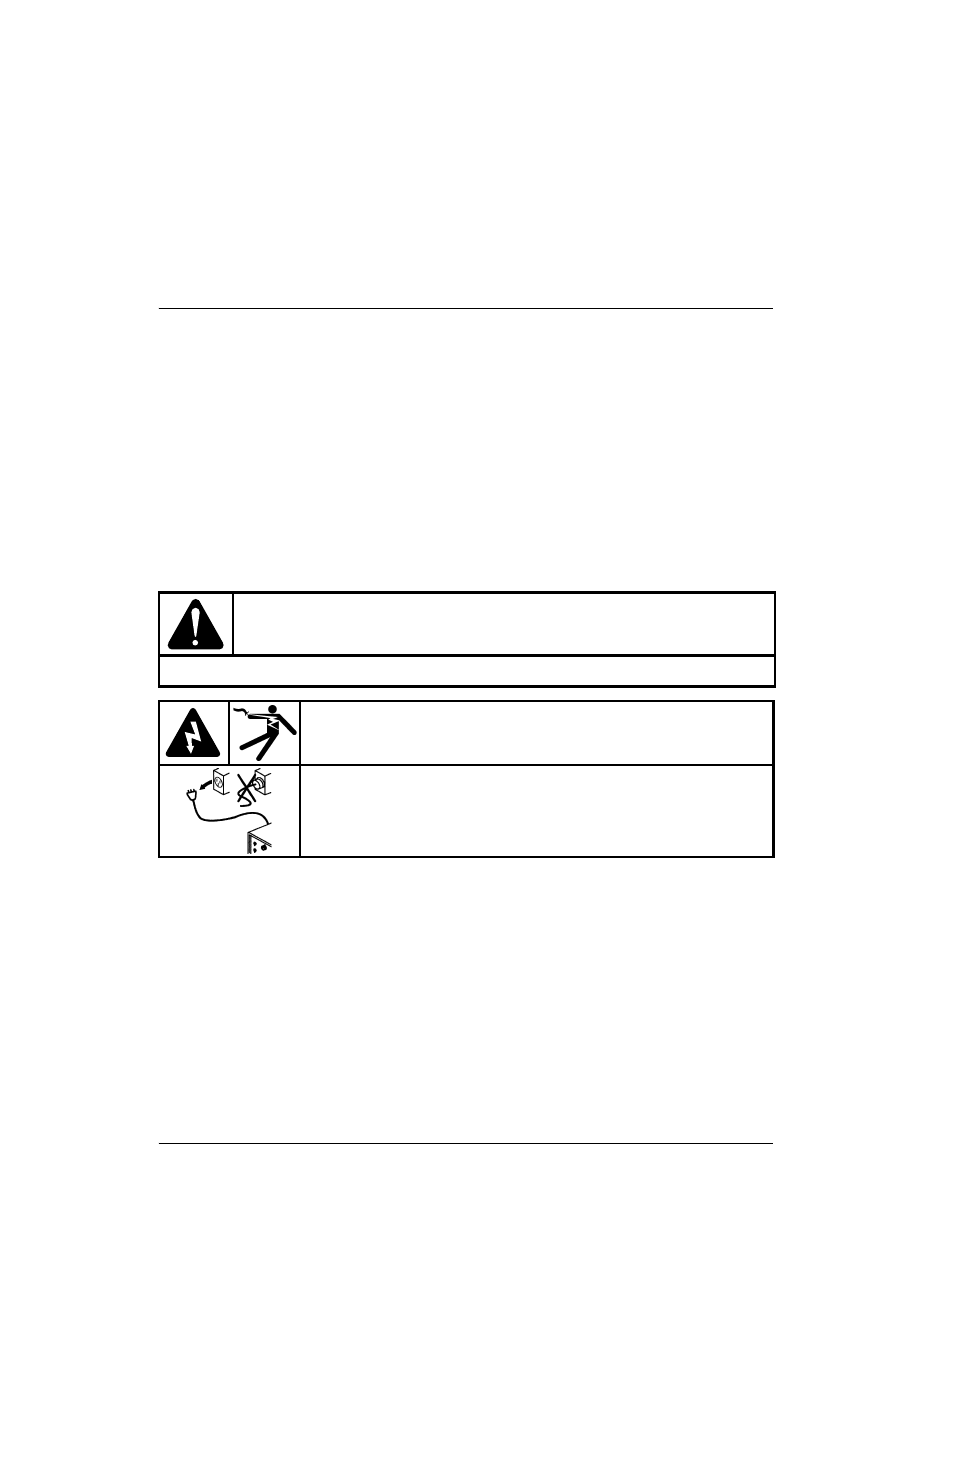
WARNING!
ELECTRIC SHOCK CAN KILL
Use extreme caution when working near live electrical circuits. Dangerous
voltages exist inside the power supply that can cause serious injury or death.
See the WARNING! on page 58 before proceeding.