Figure 3.61 place the point and submit changes – RLE FMS V.1.13 User Manual
Page 119
rletech.com
FMS User Guide
119
3
Web Interface Configuration
5
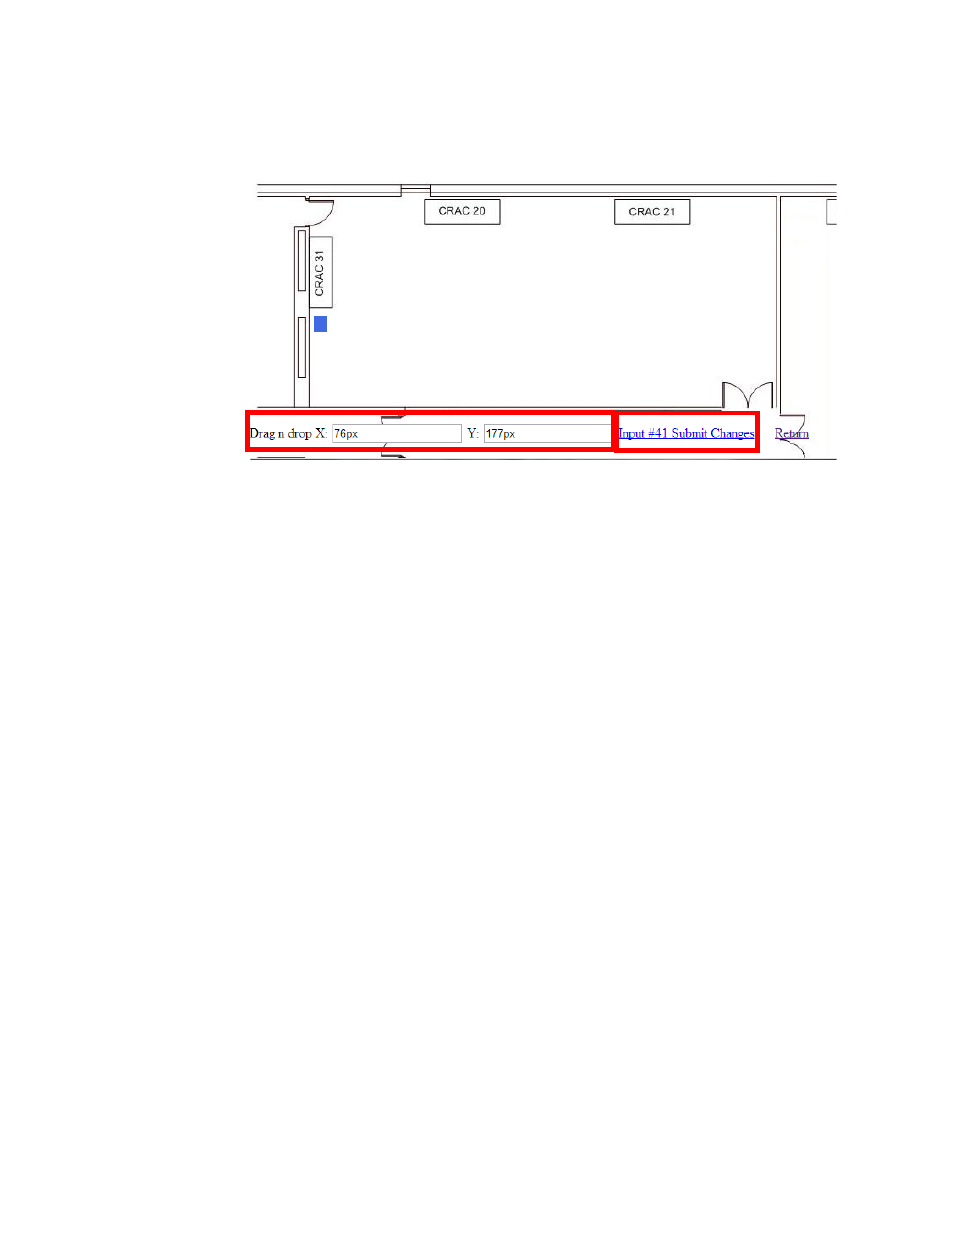
Drag and drop the blue square into the desired location. The X and Y coordinate boxes at
the bottom of the screen will populate to indicate the coordinates of the monitored point.
You can drag and drop the point as many times as you need to in order to place it correctly.
Figure 3.61
Place the Point and Submit Changes
6
Once you are satisfied with the point’s location, click the “Submit Changes” link. You’ll
see a brief System Updating message, and then be redirected back to the Configuration
Input page. You’ll then notice that the X and Y coordinate boxes at the bottom of the page
have been filled in with the location you selected when you placed the object on the map.
You can accept these coordinates as they are, or if you feel a need to fine tune the location,
you can edit the coordinates directly.
7
You will also see Map Box Size fields. These fields allow you to adjust the size of the input
as it appears on the map. Analog inputs appear on the map as a value, highlighted by a red,
yellow, or green box. Changing the numbers in the Map Box Size fields adjusts the size of
the highlighted area. You can expand the box to fill a predetermined area on your map, or
leave it the same size as the displayed analog value.
NOTE Unlike configuring the inputs themselves, you do not need to click the Submit Changes button
on each Configuration Input page to save the map coordinates. The FMS saves the
coordinates before it populates them in the X,Y coordinate boxes. If, however, you choose to
manually adjust any values in the coordinate boxes, you will need to click the Submit Changes
button to save those adjusted values.
8
Click the Next Input>> link at the top of the page to map the next input.
NOTE The map you see through the Configuration screens is ONLY a view of the input you’re
mapping - not a comprehensive view of all the points mapped on the FMS. Through this view,
the FMS is simply accepting data for ONE mapped point at a time, not showing you the map in
its entirety. To view the entire map, click the Test Map link. This will show you all inputs
mapped to date.