Registering click white balance in the camera – Canon PowerShot G7 X Mark II User Manual
Page 123
123
The shot image is displayed.
The shot image will be saved in the folder created in step 2.
The images in the folder mentioned above will be displayed in
the thumbnail display area.
You can also create a sub-folder in the folder mentioned above to
save images. To create a sub-folder, click the [Create subfolder]
button on the remote shooting window, enter [Folder name] on
the screen appeared, then click the [OK] button.
Do not quit “EOS Utility” when remote shooting is being set or
performed.
In the cases below, perform shooting with EOS Utility.
• You want to autofocus with EOS Utility’s shoot button
• You want to perform continuous shooting
You can perform shooting while comparing the shot image with a
pinned image by pinning an image
. This is convenient for
image selection.
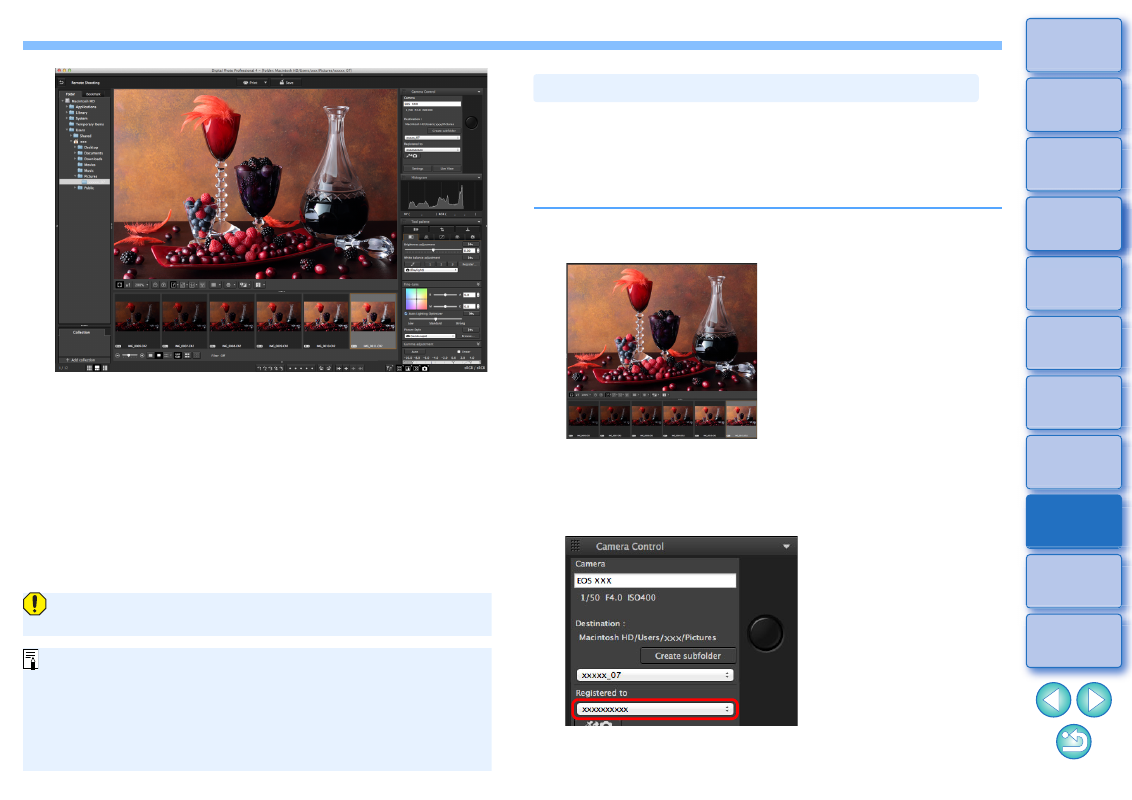
During remote shooting, you can register click white balance to the
connected camera. To use this function, EOS Utility version 3.4.20 or
later must be installed on your computer.
This function is not available on EOS M cameras or PowerShot
cameras.
1
Display the shot image to be used as the standard
for white balance.
This function supports only RAW images with a “.CR2”
extension.
2
Select the destination where to register click white
balance.
Select the destination where to register white balance from the
[Registered to] list box. Options in the list box depend on the
camera model.
Registering Click White Balance in the Camera