Checking an image in multi-function preview – Canon PowerShot G7 X Mark II User Manual
Page 22
22
3
Select an image and click the [
] button.
The image and properties selected in step 2 are displayed in the
screen.
If the recipe contents of an image being edited are displayed in
before/after comparison (two-screen display/split-image display),
edited items are displayed in red.
All the property items may not be displayed depending on the
combination of window, preview window, or the size of thumbnails.
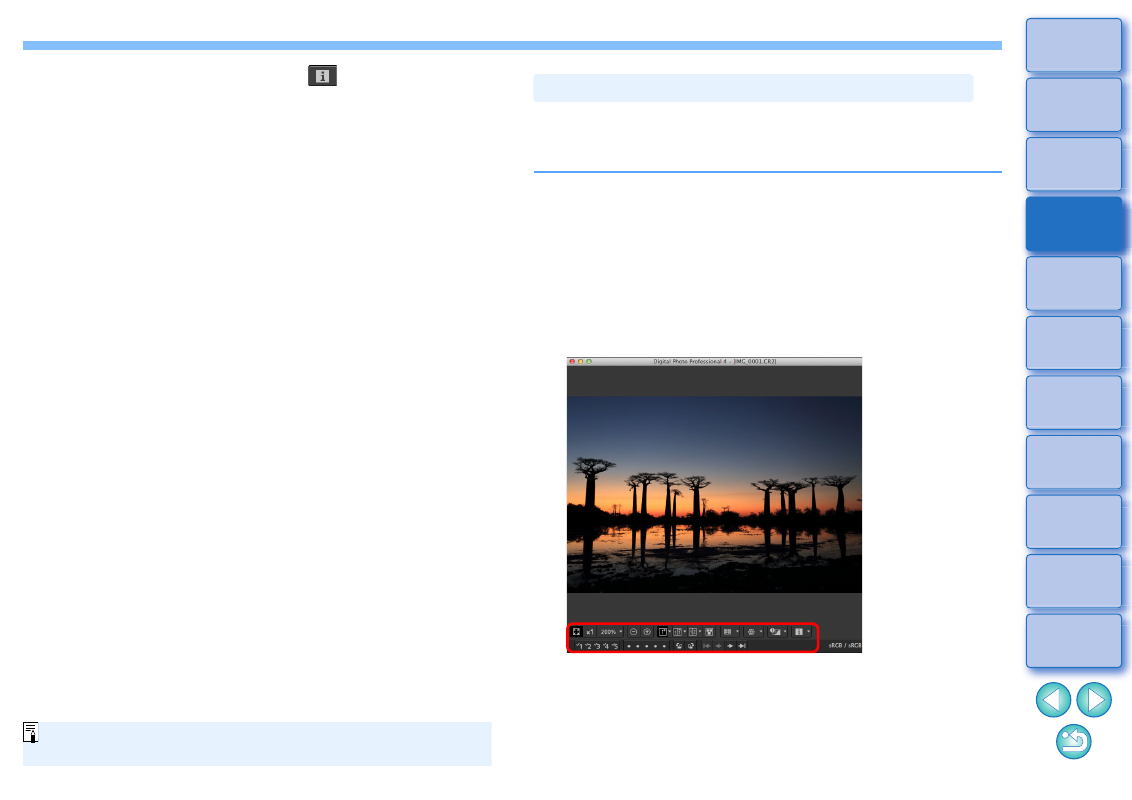
The preview window shows the coordinates of the mouse cursor and the
work color space. By switching to multi-function preview, you can also
check image details in the same way as the main window (multi-layout).
1
Select the [Tools] menu [Preview screen display
settings], and then [Multi-function preview] from the
dialog that appears.
After selecting, click the [Close] button.
2
Open the preview window
A multi-function preview with various functions at the bottom of
the screen is displayed.
For how to use the displayed functions, see “Viewing an Image in
the Main Window (Thumbnail Layout)”
and “Checking an
Image Using the Preview Control Panel”
.
Checking an Image in Multi-Function Preview