Chapter three main menu – RLE FMS8 User Manual
Page 19
Falcon User Guide
19
Chapter Three
Main Menu
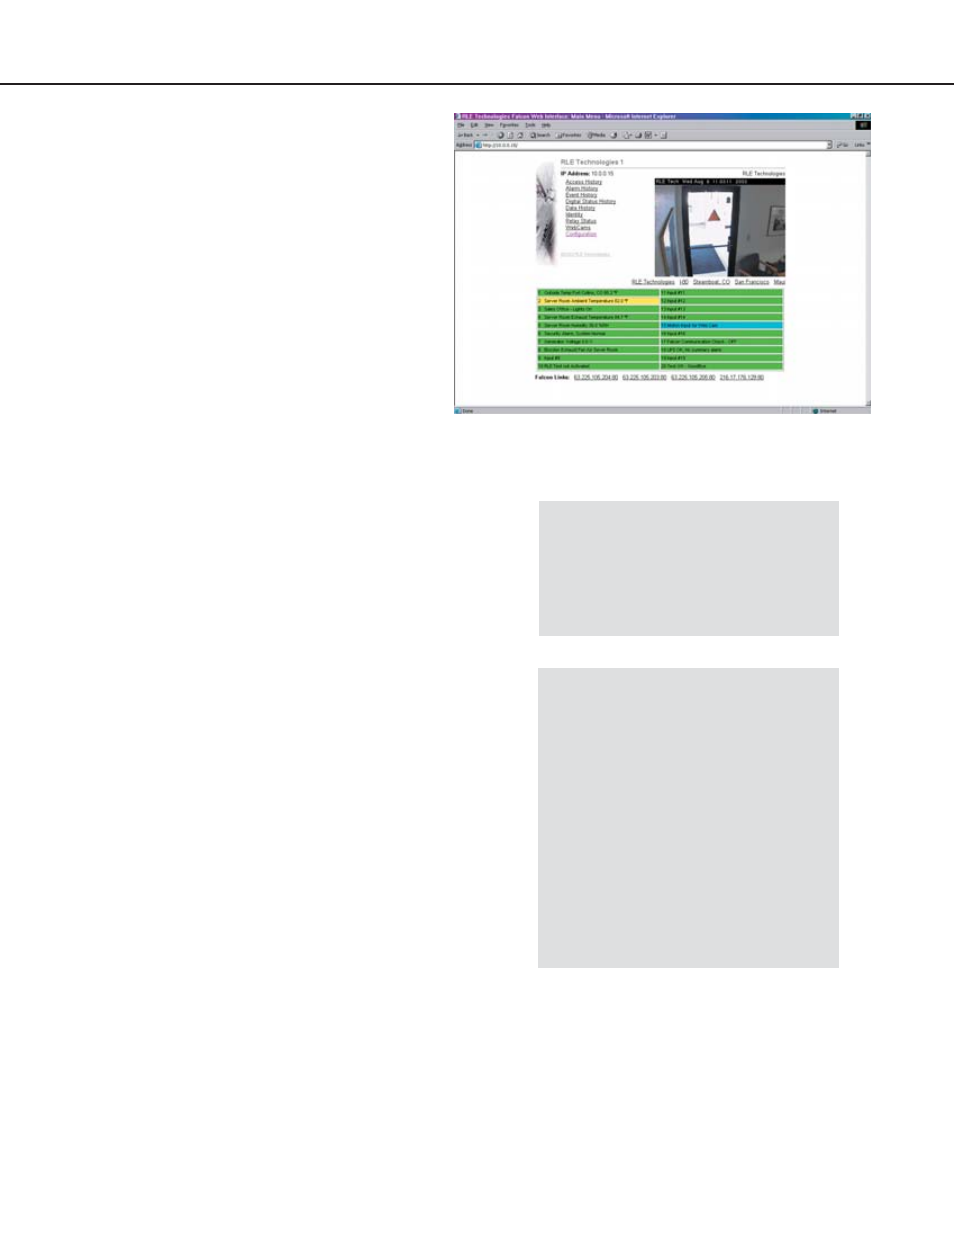
The Falcon’s web interface main menu provides
a convenient way to check the Falcon’s status
and reconfigure basic settings from any
Internet-enabled computer. A click of the
mouse allows users with proper permissions to
view the monitoring system’s output and alter
specific Falcon configuration settings.
The Falcon is shipped to the user with the IP
address configured as 10.0.0.186 and a subnet of
255.255.255.0. The user name is preconfigured
as Falcon. The unit is configured without a
password; when a password is requested, just leave
the space blank. These preconfigurations can be
changed to a personalized IP address, user name,
and password. Do this through the System link on
the Configuration Menu of the web interface.
To access the Falcon web interface, simply type the
IP address of the Falcon into the location bar of the
web browser. Then enter a user name and password.
The bottom of the Falcon web interface features
two columns that list the Falcon’s configured inputs.
The number of inputs displayed corresponds with
the number of inputs on the Falcon. Each input
is numbered. The input’s name is followed by its
status.
The space behind each input is shaded. This
shading changes as the input’s status changes. This
allows users to tell, at a glance, the status of their
points. Shading is as follows:
Green: Input is normal - not in an alarm state.
Yellow: Analog inputs only - input is in high
alarm 1 or low alarm 1 state.
Red: Analog input - input is in high alarm 2
or low alarm 2 state.
Digital input - input is in an alarm
state.
Blue: Alarm/Input disabled by a schedule.
Initial Falcon IP Address
Configuration:
Refer to chapter two to learn how to
change the Falcon’s factory assigned IP
address to one that will enable it to work
within a user’s network.
Optimize Use of Falcon Web Interface
Netscape’s “Smart Browsing” feature
complicates use of the Falcon Web
Interface. Turn off Smart Browsing to
avoid these complications:
• In the menu bar at the top of the
Netscape browser, click on Edit,
then on Preferences.
• Smart Browsing is a subcategory
of the Navigator category. Access
Smart Browsing and click the box
in front of the “Enable ‘What’s
Related’” option. Eliminate the
check mark to disable this option.