Customizing the screen saver, Preparing a screen saver image, Enabling a custom screen saver – Roland SP-404MKII Creative Sampler and Effector User Manual
Page 104
Customizing This Unit
104
Customizing the Screen Saver
You can set your own custom image as the screen saver image.
A maximum of 16 screen saver images can be registered per project.
Steps for using your custom images as the screen saver
You must perform the following operations (summarized) to use your custom images as the screen saver.
1.
Create your custom image (
Preparing a Screen Saver Image
(P.104)).
2.
Switch the settings to use a custom screen saver (
Enabling a Custom Screen Saver
(P.104)).
3.
Export the project to an SD card (
Exporting a Project (EXPORT PROJECT)
(P.119)).
4.
Save your custom images to the SD card (
Saving the Screen Saver Image to a Project
(P.105)).
5.
Load the project from the SD card (
Importing a Project (IMPORT PROJECT)
(P.118)).
Preparing a Screen Saver Image
Create your custom image in the format shown below.
Format
Specifications
Image file format BMP
Size
128 (x) × 64 (y) pixels
Color depth
1-bit, 4-bit, 8-bit, 24-bit
●
Note that only monochromatic images can be displayed. Intermediate colors cannot be displayed.
Filename and
extension
screen_saver_*.bmp
Substitute a number (1–16) for the asterisk. The unit does not recognize filenames in any other format. If
the filename is not recognized, the default screen saver is shown.
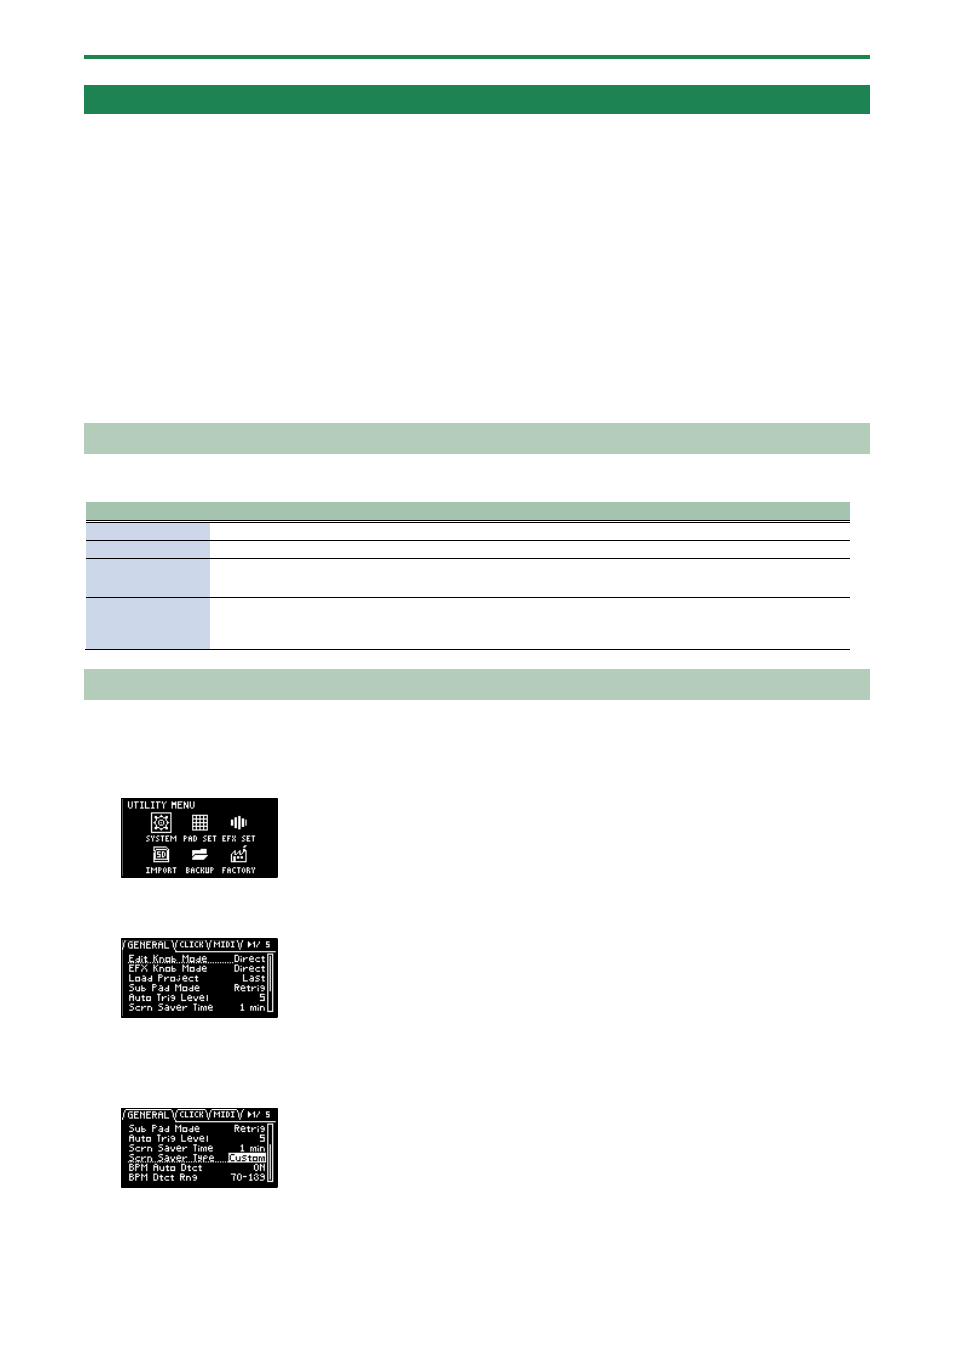
Enabling a Custom Screen Saver
This shows how you can load a custom image as a screen saver (the “Screen Saver Type” parameter).
1.
Hold down the [SHIFT] button and press the pad [13].
The UTILITY MENU screen appears.
2.
Use the [VALUE] knob to select “SYSTEM”, and press the [VALUE] knob.
The system screen appears.
3.
Turn the [CTRL 3] knob to select the “GENERAL” tab.
4.
Use the [VALUE] knob to move the cursor to “Screen Saver Type”, and press the [VALUE] knob.
The value display is highlighted, and you can now edit the value.
5.
Use the [VALUE] knob to select “Custom”, and press the [VALUE] knob.
6.
Press the [EXIT] button.