Assigning effects to bus 1 and bus 2, Deciding on effects to use for each sample – Roland SP-404MKII Creative Sampler and Effector User Manual
Page 30
Using the Effects
30
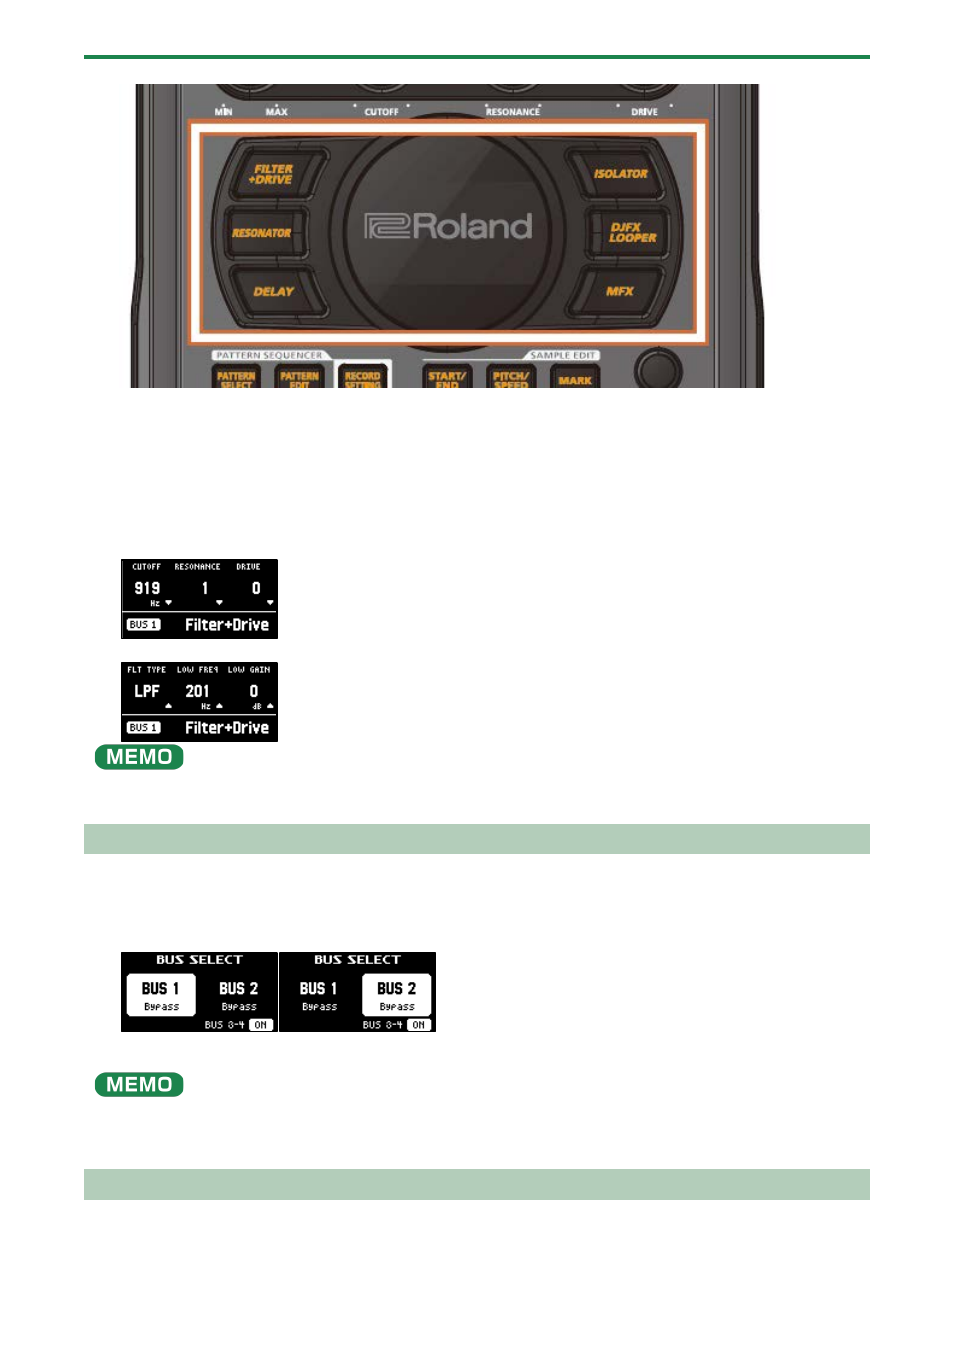
Press the buttons of the effects you want to apply, including the [FILTER+DRIVE] button, the [RESONATOR] button, the
[DELAY] button, the [ISOLATOR] button, the [DJFX LOOPER] button, and the [MFX] button.
This turns the effects on.
2.
Press pads [1]–[16] to play back the samples.
Effects are applied to the samples.
3.
Use the [CTRL 1]–[CTRL 3] knobs to adjust the parameters.
The parameters change how the effects are applied.
You can also access the effect sub-parameters by holding down the [VALUE] knob and operating the knobs.
You can assign the effects you like to the effect buttons.
For details, refer to “
Assigning the Desired Effect to an Effect Button (DIRECT FX)
(P.111)”.
Assigning Effects to BUS 1 and BUS 2
Here’s how to assign the built-in effects of this unit to BUS 1 or BUS 2. You can use two types of effects separately.
1.
Press the [BUS FX] button to select the bus to configure.
When the button is lit orange, BUS 1 is selected; and when the button is blinking orange, BUS 2 is selected.
2.
Press the [FILTER+DRIVE]–[MFX] buttons to select the effect to assign to the bus.
You can assign the built-in effects of this unit to BUS 3 or BUS 4. Up to four effects are available.
To assign an effect to BUS 3 or BUS 4, change the settings in the effect setting screen.
→
Configuring the Effect Settings (EFX SET)
(P.108)”
Deciding on Effects to Use for Each Sample
Sets which sample playback audio is sent to which bus (meaning which effects are used) for each sample.
In this example, we apply the effect assigned to BUS 2 to the sample on pad [1].