Editing a sample (sample edit), Setting the playback and loop regions (start/end) – Roland SP-404MKII Creative Sampler and Effector User Manual
Page 44
Editing a Sample (SAMPLE EDIT)
44
Editing a Sample (SAMPLE EDIT)
You can edit the playback speed, waveform and other parameters for the samples.
Setting the Playback and Loop Regions (START/END)
You can prevent unnecessary parts of a sample from playing, such as silence or noise at the beginning or at the end.
This shows you how to set the start point (where a sample begins playing back) and the end point (where a sample stops playing
back). You can also use the same operations to set the loop point (the starting point for loop playback).
1.
Press the [START/END] button.
The marker setting screen appears.
2.
Press pads [1]–[16] to select the sample you wan to edit.
3.
Use the [CTRL 1]–[CTRL 3] knobs to adjust the start and end points.
Controller
Operation
[CTRL 1] knob
Moves the start point.
[CTRL 2] knob
(when the loop is on)
Moves the loop point.
[CTRL 3] knob
Moves the end point.
[SHIFT] button + [CTRL]
knob (turn)
Zooms the area around each point in/out.
[VALUE] knob (turn)
Zooms the area in/out around each point you just manipulated.
[SHIFT] button +
[VALUE] knob (press)
You can use a numerical value to set the position of each point.
Use the [VALUE] knob to select the point to set, and press pads [1]–[10] to input the position
(press pad [10] to input a “0”).
To confirm the inputted position, press the [VALUE] knob.
[DEL] button
Initializes the start and end point positions.
●
When a confirmation message appears, use the [VALUE] knob to select “OK”, and press
the [VALUE] knob.
[REMAIN] button
On: Prevents the start point from being moved beyond the loop point or the end point.
Off: When the start point moves beyond the loop point or the end point, this moves the
loop point or the end point as well.
[MARK] button
When this button is pressed while a sample is playing back, this sets the start point and end
point in order.
●
The loop point is set to the same position as the start point.
[ROLL] button
While this button is pressed, you can preview the sound several seconds before the end
point.
[RESAMPLE] button
Moves the start point to the zero cross-point (*) that’s closest to the start point time (SNAP
to Zero-Cross function).
Similarly, the loop point and end point are also moved.
This function is enabled when the [RESAMPLE] button is lit.
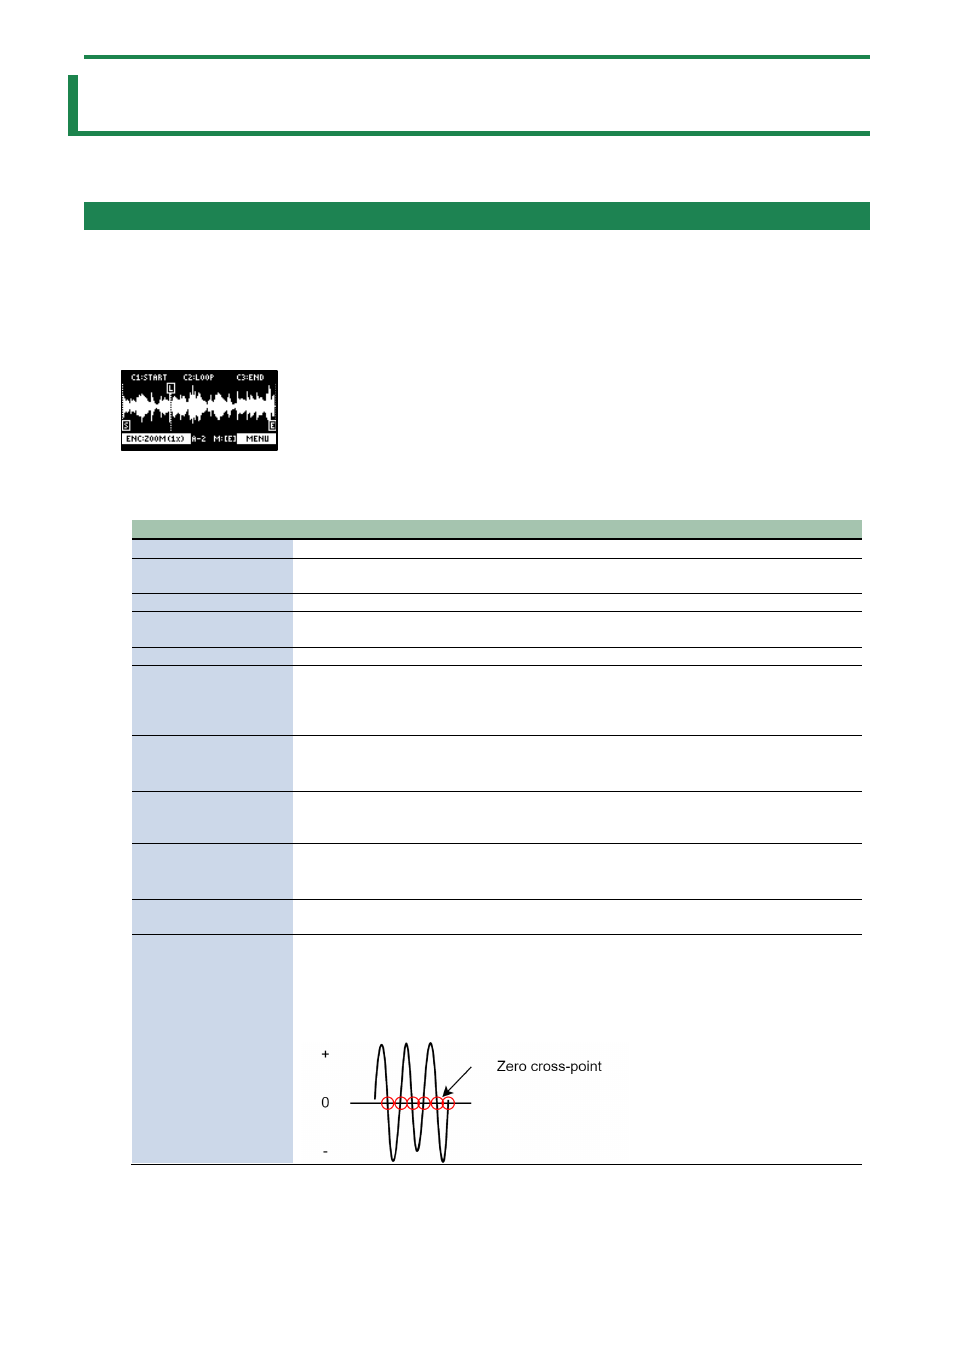
●
The “zero cross-point” is the time at which the value of the sample waveform crosses
from zero into a positive or negative number.
4.
Once you’ve confirmed the start/end point, press the [EXIT] button.