Sampling, Adding a count-in before sampling, Snap) – Roland SP-404MKII Creative Sampler and Effector User Manual
Page 39
Sampling (SAMPLING)
39
Sampling
This shows how to sample (record) the audio that’s inputted into this unit to create your own samples.
1.
Press the [REC] button.
Empty pads to which samples haven’t been assigned blink red.
The metronome sounds when the “Metronome:REC” parameter is “ON” (the SYSTEM parameter “
(P.124)”).
Press pad [9] while holding down the [SHIFT] button to turn the metronome sound on/off.
2.
Use the [CTRL 1] knob to adjust the tempo during sampling (the sample tempo), and use the [CTRL 3]
knob to adjust the volume of audio input from an external device.
You can also set the tempo using the tap tempo function. For details, refer to “
Setting the Tempo in Time with the Rhythm (Tap
(P.86)”.
3.
Press the pads [1]–[16] that are blinking red.
4.
Press the [REC] button.
Sampling begins.
If you decide to cancel sampling, press the [EXIT] button.
5.
To quit sampling, press the pads [1]–[16] used for sampling or the [REC] button once more.
The sample is saved to the pad.
Adding a Count-in Before Sampling
This feature adds a count-in before sampling begins. This gives you time to get ready to play before sampling actually begins.
1.
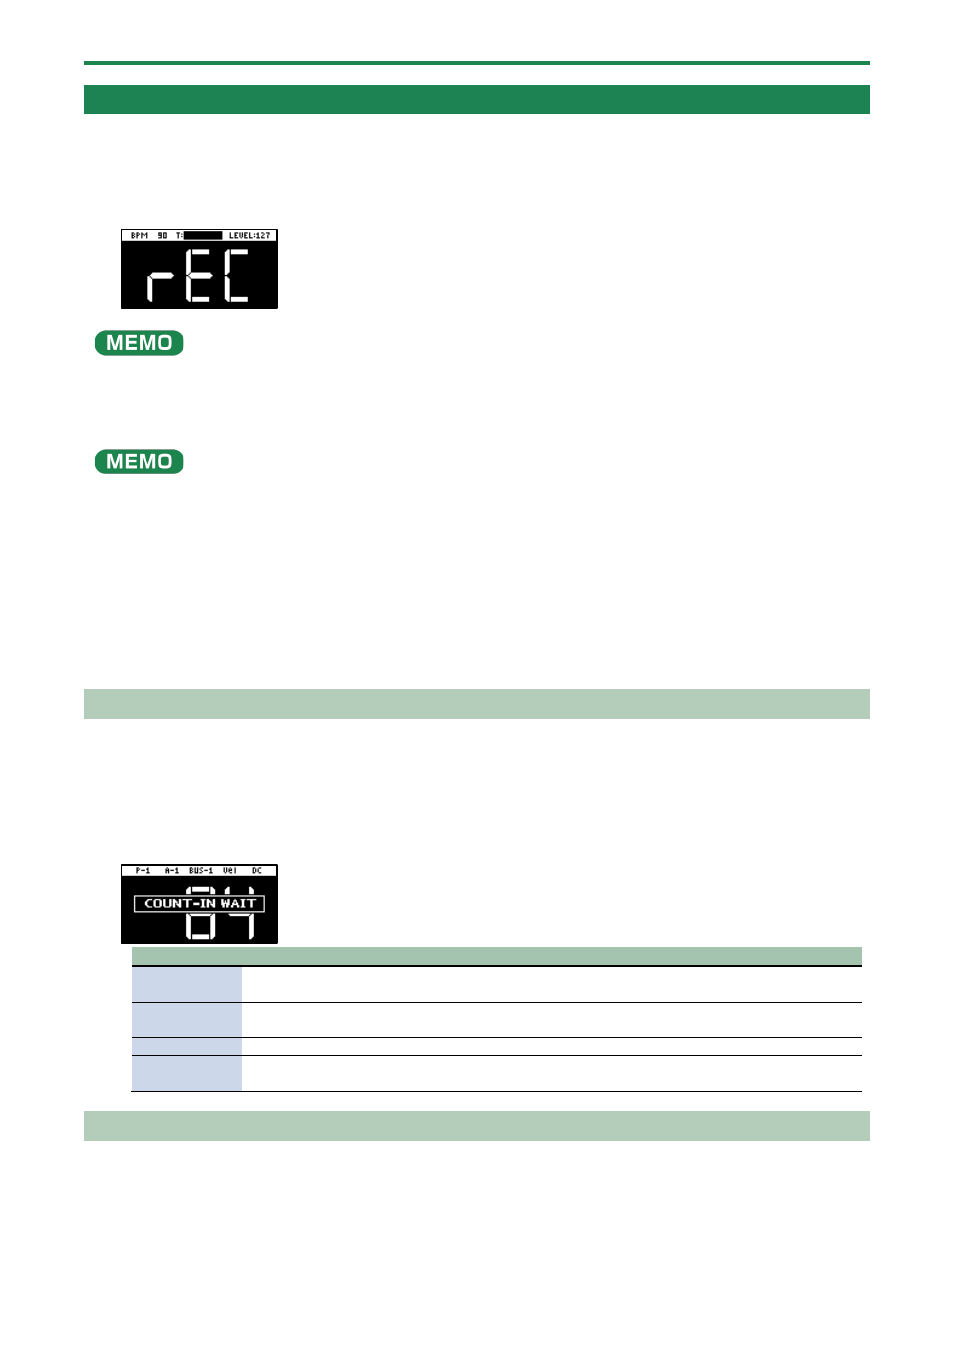
Hold down the [SHIFT] button and press the pad [10].
The value changes in order each time you press pad [10] while holding down the [SHIFT] button.
Edit the count-in setting.
Value
Explanation
COUNTIN
1MEAS
Adds a one-measure count-in before sampling.
COUNTIN
2MEAS
Adds a two-measure count-in before sampling.
COUNTIN WAIT When the input audio signal exceeds the level set in the Auto Trig Level parameter, sampling begins.
COUNTIN OFF No count-in is used. Sampling starts immediately after you press the pads [1]–[16] to sample and
then press the [REC] button.
Automatically Setting the End Point of a Sample (END SNAP)
By setting the BPM (tempo) and then sampling, you can automatically set the beat that’s just before the sampling end beat as the
“end point” (the timing at which the sample stops).
1.
Press the [REC] button.
Empty pads to which samples haven’t been assigned blink red.