Yaskawa iQpump Micro Quick Start User Manual
Page 74

n
E2-01: Motor Rated Current
Provides motor control, protects the motor, and calculates torque limits. Set E2-01 to the full load amps (FLA) stamped on
the motor nameplate. If Auto-Tuning completes successfully, the value entered to T1-04 will automatically be saved to E2-01.
No.
Parameter Name
Setting Range
Default
E2-01
Motor Rated Current
10% to 200% of the drive
rated current
<1>
Determined by
o2-04
<1> Display is in the following units:
BV0006 to BV0018, 2V0006 to 2V0040, and 4V0002 to 4V0023: 0.01 A units.
2V0056 to 2V0069 and 4V0031 to 4V0038: 0.1 A units.
Note:
An oPE02 error will occur if the motor rated current in E2-01 is set lower than the motor no-load current in E2-03. Set E2-03 correctly to
prevent this error.
n
H1-01 to H1-07: Functions for Terminals S1 to S7
These parameters assign functions to the multi-function digital inputs.
No.
Parameter Name
Setting
Range
Default
H1-01
Multi-Function Digital Input Terminal S1 Function Selection
2 to B0
40 (F)
<1>
: Forward Run Command (2-Wire sequence)
H1-02
Multi-Function Digital Input Terminal S2 Function Selection
2 to B0
F: Through Mode
H1-03
Multi-Function Digital Input Terminal S3 Function Selection
0 to B0
26: External Pump Fault
H1-04
Multi-Function Digital Input Terminal S4 Function Selection
0 to B0
14: Fault Reset
H1-05
Multi-Function Digital Input Terminal S5 Function Selection
0 to B0
8D (0)
<1>
: Multi Setpoint 1
H1-06
Multi-Function Digital Input Terminal S6 Function Selection
0 to B0
80 (3)
<1>
: HAND Mode
H1-07
Multi-Function Digital Input Terminal S7 Function Selection
0 to B0
81 (4)
<1>
: HAND Mode 2
<1> Number appearing in parenthesis is the default value after performing a 3-Wire initialization (A1-03 = 3330).
Setting F: Not Used/Through Mode
Select this setting when using the terminal in a pass-through mode. When set to F, an input does not trigger any function in
the drive. Setting F, however, still allows the input status of the terminal (open or closed) to be read out by a PLC via a
communication option or MEMOBUS/Modbus communications. The drive input terminals can then be used as remote I/O by
the PLC.
Setting 14: Fault Reset
When the drive detects a fault condition, the fault output contact closes, the drive output shuts off, and the motor coasts to
stop (specific stopping methods can be selected for some faults such as L1-04 for motor overheat). After removing the Run
command, clear the fault either by pressing the RESET key on the digital operator or closing a digital input configured as a
Fault Reset (H1-oo = 14).
Note:
Remove the Run command prior to resetting a fault. Fault Reset commands are ignored while the Run command is present.
Setting 20 to 2F: External Fault
The External fault command stops the drive when problems occur with external devices.
To use the External fault command, set one of the multi-function digital inputs to a value between 20 and 2F. The digital
operator will display EFo where o is the number of the terminal to which the external fault signal is assigned.
For example, if an external fault signal is input to terminal S3, “EF3” will be displayed.
Select the value to be set in H1-oo from a combination of any of the following three conditions:
• Signal input level from peripheral devices (N.O., N.C.)
• External fault detection method
• Operation after external fault detection
An “On-Delay” timer will be applied to the external fault if it is “Normally Open” and an “Off-Delay” timer will be applied
to the external fault if it is “Normally Closed”.
If the external fault is set to “During Run”, the time delay will start after the Run command is received.
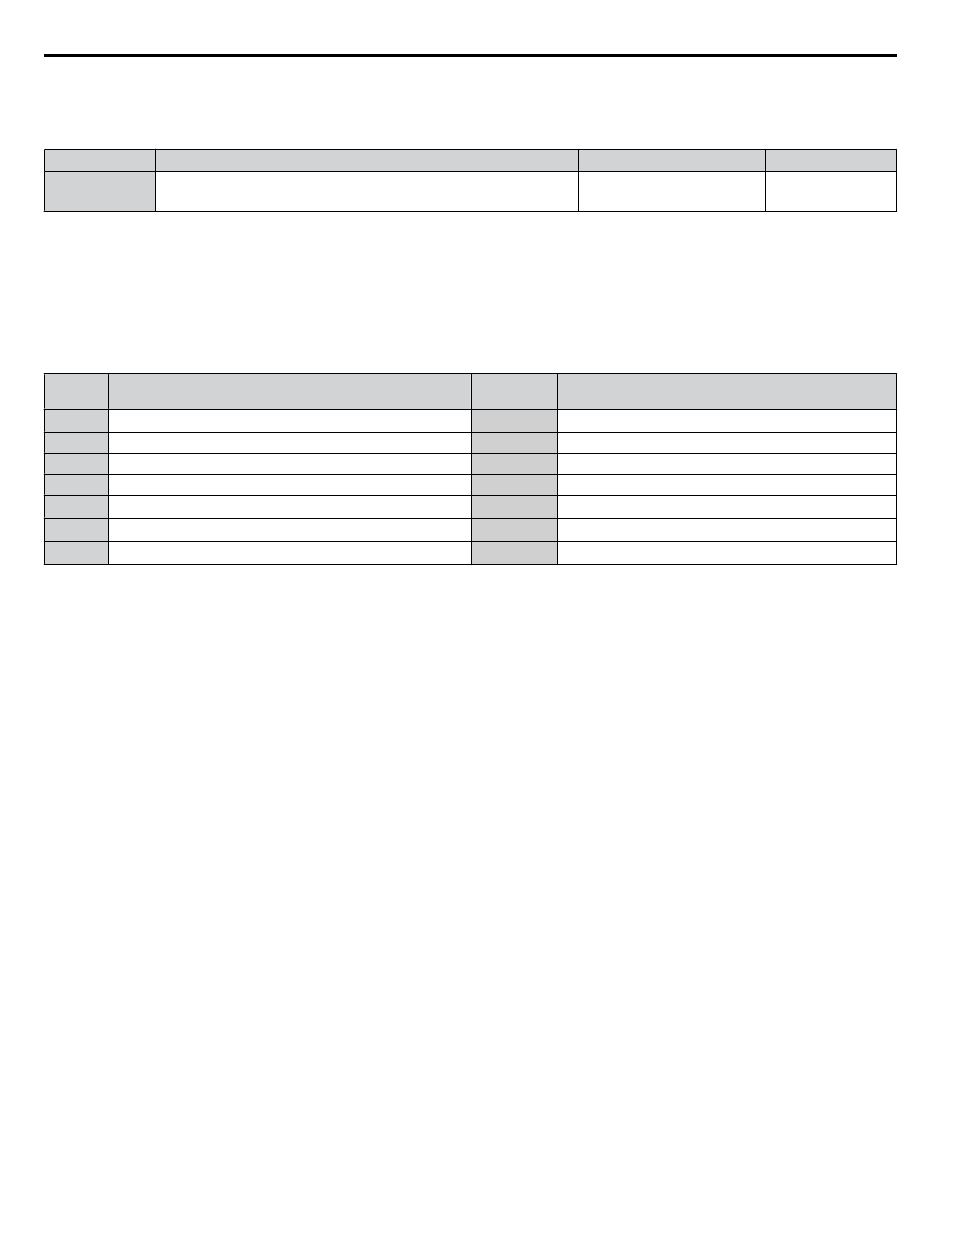
shows the relationship between the conditions and the value set to H1-oo:
Terminal statuses, detection conditions, and stopping methods marked with an “O” are applicable to the corresponding settings.
i.6 Start-Up Programming and Operation
74
YASKAWA TOEP YAIQPM 02B YASKAWA AC Drive - iQpump Micro Quick Start Guide