Corrective maintenance, Warning warning, Wa warning rning -- esd esd – Yaskawa SmartTrac AC1 User Manual
Page 64

SMART TRAC AC1
7-2
••
Smart Trac AC1 Maintenance Technical Manual TM 3554-000
At least once every three months:
1. Ground an ESD wrist strap to the Smart Trac AC1 housing and secure
the other end to your wrist. Touch the Smart Trac AC1 housing to
dissipate any static electricity.
2. Check and clean the Smart Trac AC1 within the housing. Remove any
accumulated dust and dirt. If in a harsh environment with more dust
and dirt, clean the Smart Trac AC1 more often.
3. Check that all mounting and electrical connections are tight. Tighten
any loose connections and check for corrosion and frayed wires.
Corrective Maintenance
Described below is a basic procedure applicable to removal of all base and
option cards from the housing.
To properly separate cards without breaking connecting pins, you need a 4.5mm
hex head driver, needle-nosed pliers, phillips screwdriver, a slotted screwdriver,
and a PC/104 card extraction tool.
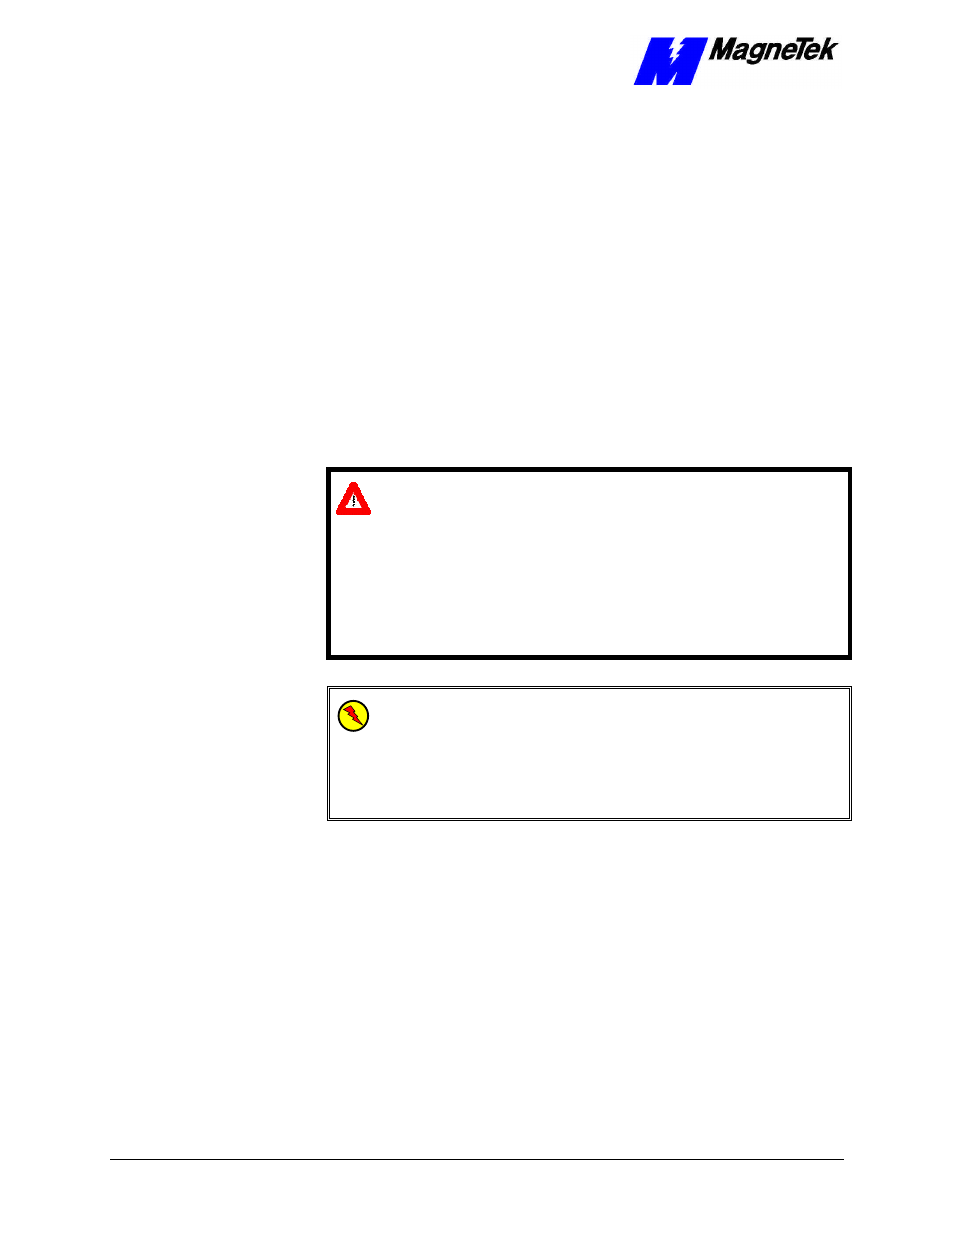
WARNING
WARNING
Disconnect, lock out and tag "out of service" all incoming single-phase
or three-phase line and control power. Do not touch circuit components
until main circuit power has been turned OFF. Never perform preventive
maintenance of the Smart Trac AC1 unless incoming three-phase and
control power are disconnected and locked out. Hazardous voltages may
exist in the Smart Trac AC1 circuits even with Smart Trac AC1 circuit
breaker in OFF position. Failure to comply may result in personal injury
or death..
WA
WARNING
RNING -- ESD
ESD
The Smart Trac AC1 electronics are electrostatic sensitive devices.
Follow Electrostatic Discharge (ESD) procedures when handling to
protect components. Failure to follow ESD procedures may result in
damage to the Smart Trac AC1 or its components. Failure to comply
may result in personal injury or death.
1. Power off the Smart Trac AC1. Disconnect it and tag "Out of Service."
2. Do one of the following:
•
Open the cover to the Smart Trac AC1 by rotating the spring-
loaded, captive screw counterclockwise. Use a large screwdriver, if
necessary, to free the slotted screw.
OR
•
Loosen the screws holding down the cover.
3. Disconnect the 12-pin wiring harness from connector J4 at the digital
operator.
4. Using a phillips screwdriver, remove the ground strap from the left
inside and the ground strap from the top inside of the Smart Trac AC1
adapter ring.
Replacing Parts
Tools Required
Removing and
Replacing Smart Trac
Cards (containing
printed circuit boards)