Teac MMR-16 v4.0 User Manual
Page 49
MMP-16 TASCAM MMP-16 Owner’s Manual • Chapter 3 • Keys and Status Displays
51
In the Normal state, the bottom line of the display shows time code (or feet & frames) that has been
entered manually, captured, or recalled from one of the memory or special-purpose registers. There is a
label in front of the time code (or feet & frames) to indicate what register is being displayed. The “Label”
identifies the memory or register that is currently being displayed through these abbreviations: SYNC,
OFST, RDR, TIME, FREE, HEAD, TAIL, IN, OUT, NEXT, PREV, and MEM n (where n = 0 - 9). If a
time code is manually entered, or if CLR was pressed, there will be no listing in the “Label” area of the
display, indicating the timecode Entry register is displayed.
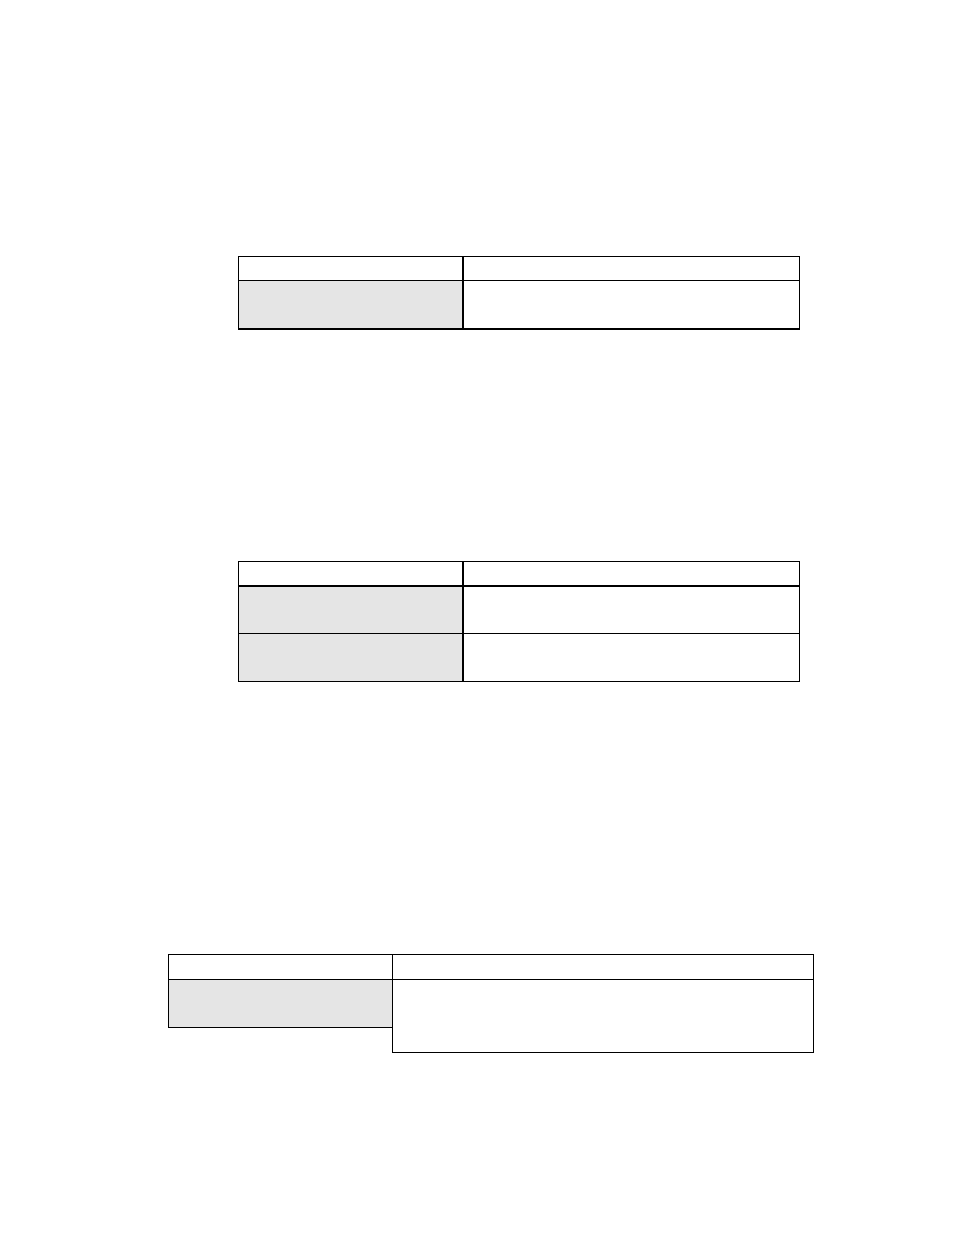
01234567890123456789
LCD character positions (left to right)
Label HH:MM:SS:FF.xx
(Bottom Line Display for time code)
Label TTTTT FF.xx
(Bottom Line Display for feet & frames)
Setup State Display
In the Setup state, the display is used to show a list of menus for setting various system parameters.
Pressing the SETUP key enters this state. The top line shows the 3-digit menu number and the name of
the menu. The bottom line shows the list of parameters. To scroll through the list of menus, use the
Up/Down arrow keys or the wheel. You may also jump directly to “banks” of menus by pressing any of
the numeric keys on the keypad. To scroll through the list of parameters for a selected menu, press TRIM,
then use the Up/Down arrow keys or the Wheel. Note that the currently selected parameter will always be
preceded by a * character. Many parameters have system default values which can be accessed by
pressing TRIM, followed by press SHIFT + CLR.
01234567890123456789
20 position LCD character positions
NNN Tttttttttttttttt
Top: (NNN indicates the menu number, t indicates
the menu name)
*Tttttttttttttttttttt
Bottom: (* indicates the currently selected
parameter, t indicates the parameter name)
To exit the Setup state and return to the Normal state, press SETUP, or press CLR, or press the EDIT,
MON, or INPUT Track Mode keys. To jump directly to one of the Track states from the Setup state, press
VIEW TRACK, TRACK, or SLIP. Note that attempting to set the MMP to an invalid condition may
result in an Error state, and that attempting to choose some menu parameters will put the system in the
Verify state for confirmation of the choice before it is finalized.
View Track State Display
In the View Track state, the display is used to show the name of the selected track. To enter this state,
press the TRACK key. Press the appropriate SEL key to display the desired track. The wheel and the
Up/Down arrow keys can be used to move to the next or previous track selection.
01234567890123456789
LCD character positions (left to right)
Track Contents:
Top: (Operator message)
T nnnnnnnnnnnnnnnnnn
Bottom: (T indicates the assigned track, nnn is the track name
in the EDL) and will read *Blank* if the track isn’t assigned.
To exit the View Track state and return to the Normal state, press TRACK, or press CLR.